Repurposed Topiary Form

I love it when utility, organization and creativity combine to solve a problem in my life!

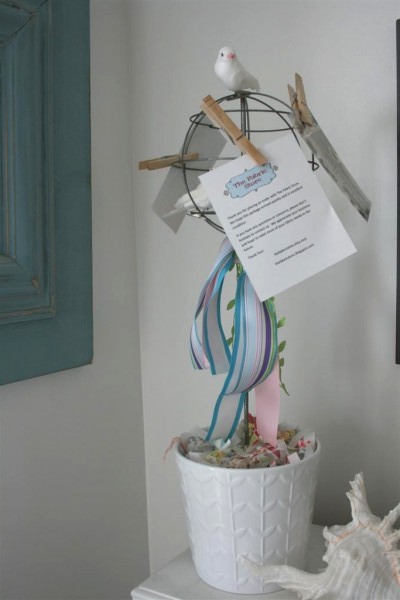
That’s what happened today when I put together this little reminder tree for our family.

I’ve been hunting for ways to control the paper clutter that enters my house with my children each day.  I have a file system that I use for the big papers, which works fine if I just deal with the stack consistently.  The little papers are another story.

Most of them come in the form of reminders.  Reminders for Scouts, food assignments, equipment lists for campouts, Activity days reminders, gymnastics info.  Many of the important little details that I MUST see in order for things to run smoothly around here come into my home on 1/4 sheet of paper.

Those papers get lost in the big ones.   I hate it when I find a reminder, too late.  So I’ve been looking for ways to keep track of the little papers.  The fridge is out because too many people like to take the magnets to do whatever with, or rearrange things for fun, and so forth.  My kitchen is very open and all the wall space consists of windows and cabinets (sigh…no awesome chalkboard or bulletin board in my kitchen’s future).   I wanted it in the kitchen, however, because it is the hub of our family activity.

In my basement today my eyes settled on an old topiary form and a light bulb turned on.  I’m going vertical with the reminders!  I gave myself 7 minutes to complete this project (including pictures) from start to finish because I had to pick children up from school.

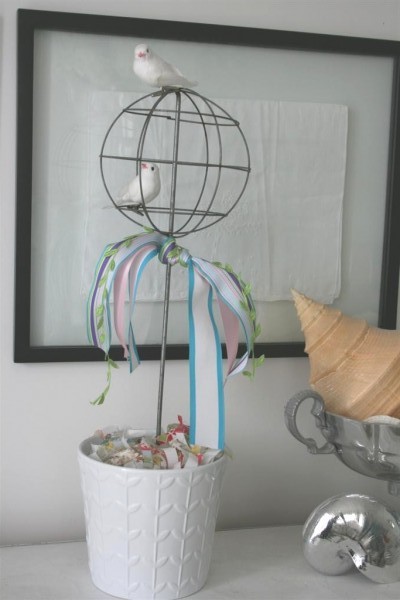
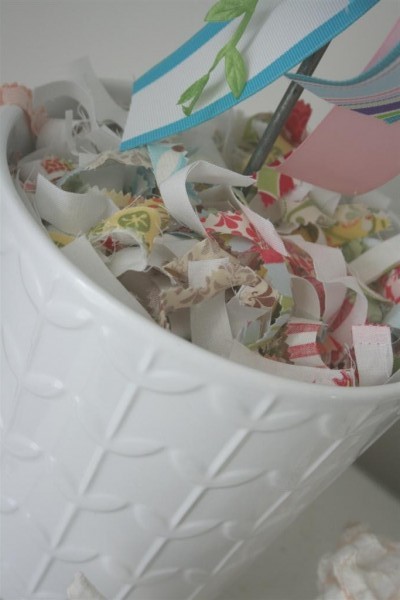
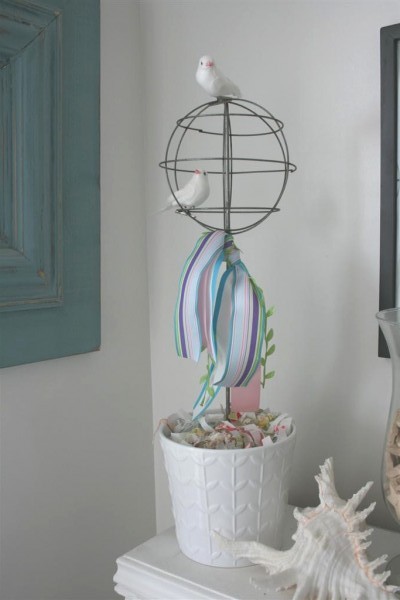
I took the form and set it in an IKEA pot that was in my pantry.  I weighted it with a bag of dry beans and then filled in the top with some fabric scraps.

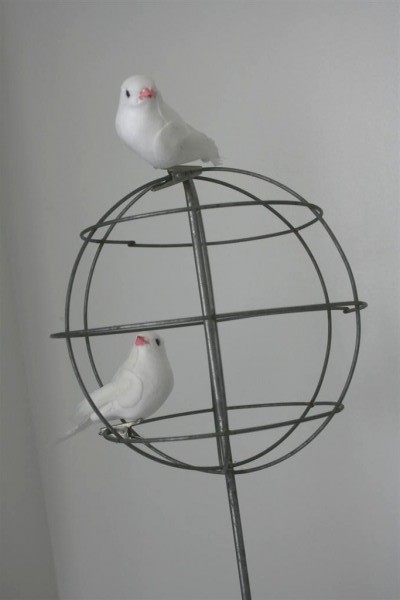
The ball on top seemed a bit bare, so I added a couple of birds for fun.

I cut a length of several bright and cheery ribbons (it’s raining today and I need some color to lift my spirits) and tied them in a simple knot at the base of the ball.  It’s ready to go.

A quick collection run around the house turned up some clothespins and we’re in business!  I now have a place to clip those little pieces of paper that are important for about 24 hours at a time before they’re replaced by another.
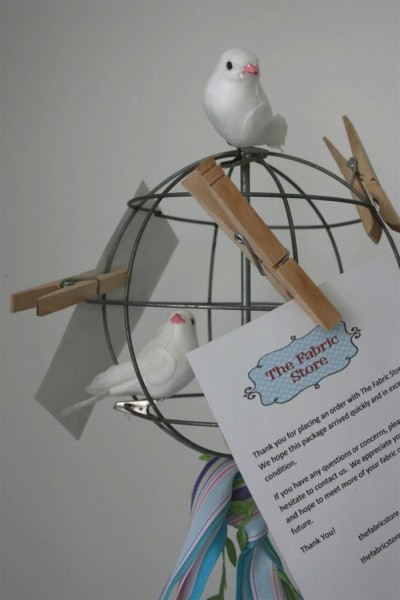

Amazingly, I didn’t have a single reminder paper for my children that’s current.  Last week was spring break and I guess nobody wanted to bother reminding us about things until after it ended so currently it only holds a couple of coupons I don’t want to forget.
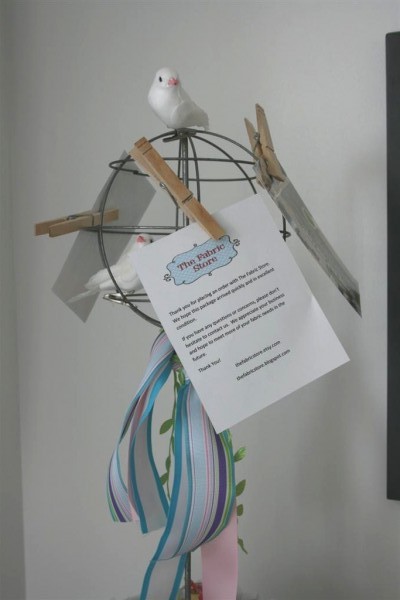

I have high hopes that this little tree will help all of us keep track of those frustrating but essential little papers.  The children were really excited about it when they came home from school.  I’m hoping that they’ll think it’s fun to clip their papers on, and it will be easy to see at a glance which papers are no longer needed.  When a clothespin is not in use it can be clipped wherever, on the ball, the trunk, or even around the edge of the pot.

So there you have it.  Seven minutes to a solution.    It now sits on my kitchen counter, cheerfully awaiting my first reminder of the week (please don’t let us forget the Pinewood Derby later this month).   I was thinking that this could be used for displaying other things, like photos, postcards or greeting cards.  Do you have any other ideas?  What do you think?  What would you use it for?


Note:  to see how I took the clothespins from regular to adorable, check out this post
Thanks for stopping by.  Have a great day.
Hopeful Homemaker linked to DIY Day and Remodelaholic

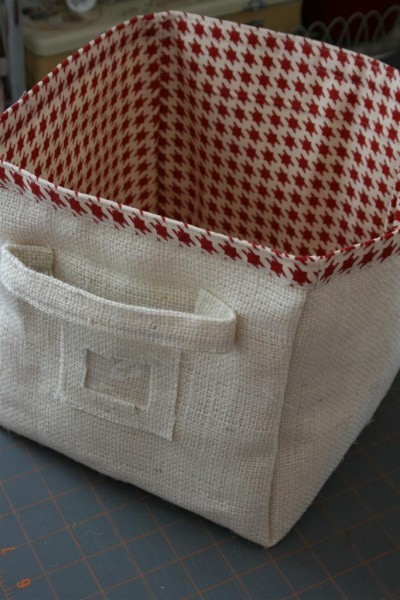
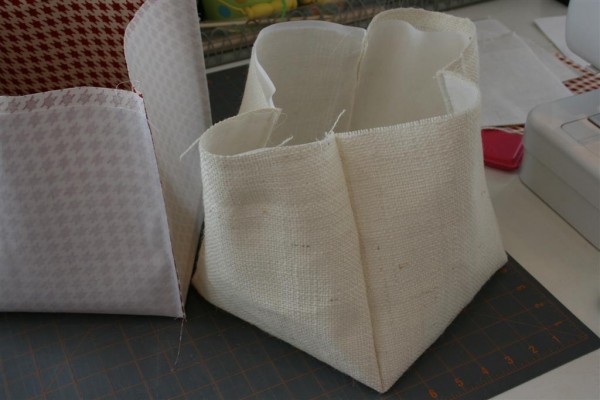
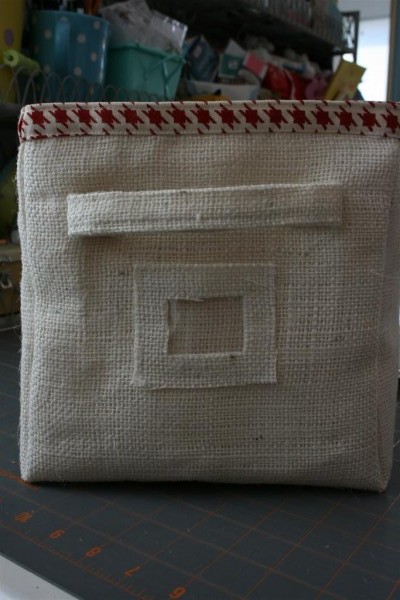
Burlap Storage Bin DIY

I’ve been looking for a storage bin to fit a certain spot for a long time.  Recently it occurred to me that I could just make one instead.

fabric storage bin

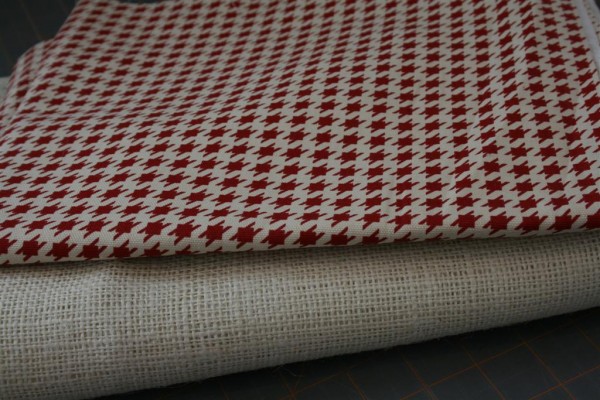
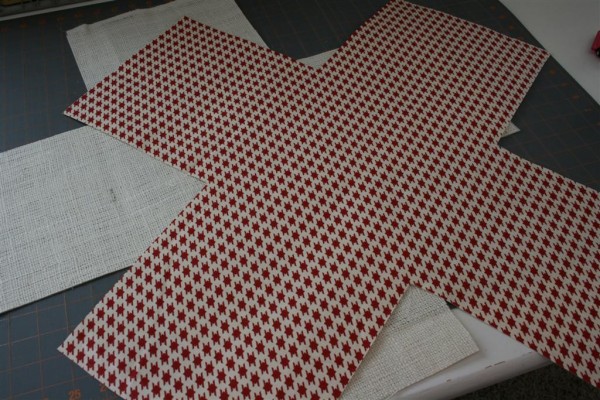
I used a bleached burlap for the outside and chose a coordinating hounds tooth pattern from my stash for the inner lining.


To determine the size of my fabric, I measured the space I wanted it to use on my shelf.  This would be the base, and then I decided how high the sides were to be.  Once you know those numbers, multiply the height of the sides times two, and add that to your dimensions for the base.  For example, if you want the base to be 8 inches wide by 10 inches deep, and your sides to be 6 inches high, then you need to add 12 to the width and height of the base.  This means you will cut your fabric to be 20 inches wide by 22 inches long.

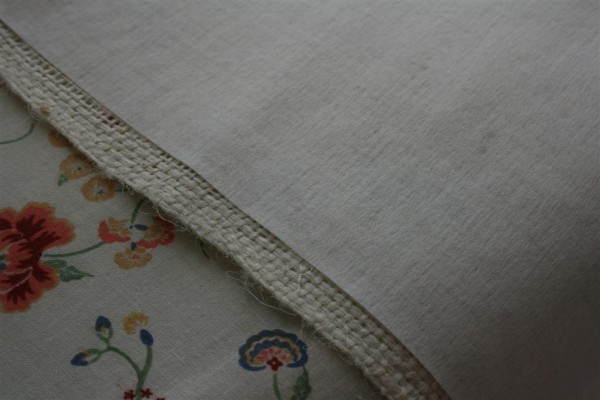
Once you do this, you might want to reinforce the fabric by ironing some interfacing to the wrong side of the fabric.


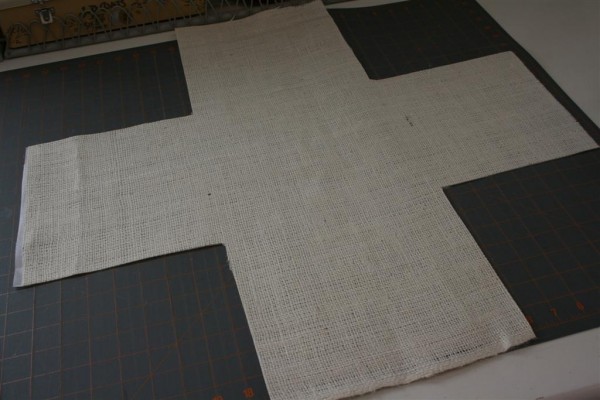
Now you need to lay the fabric flat and on each corner, cut out a square the size of the height of your bin.  If we continue the measurements from the above example, you will cut a 6 inch by 6 inch square out of each corner.  This will leave you with something of an “x” shaped fabric.


Repeat with the piece which will be your lining.


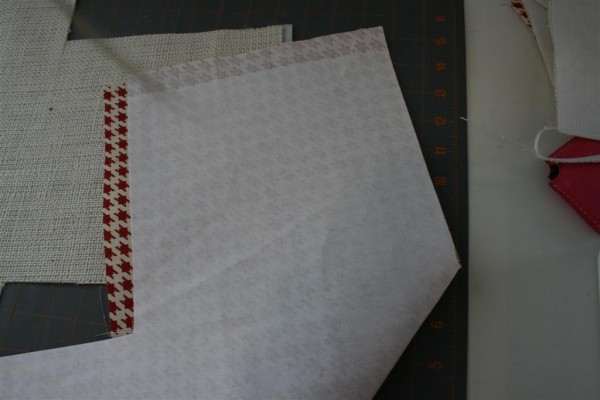
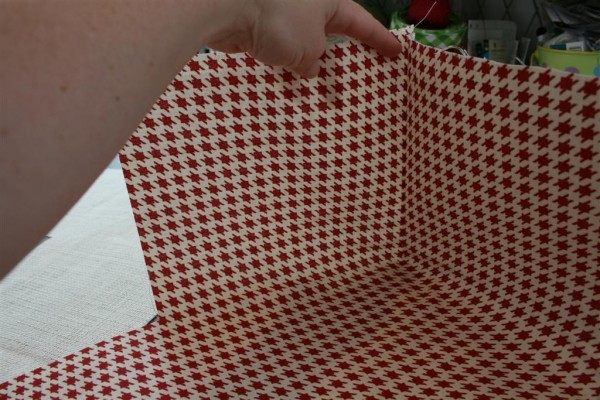
Fold each “x” in half on a diagonal line through the center square or rectangle.  Carefully line up the sides of each piece, with right sides together (RST) and sew down that six inch line.


You will be able to see that you have just formed one corner of the bin.


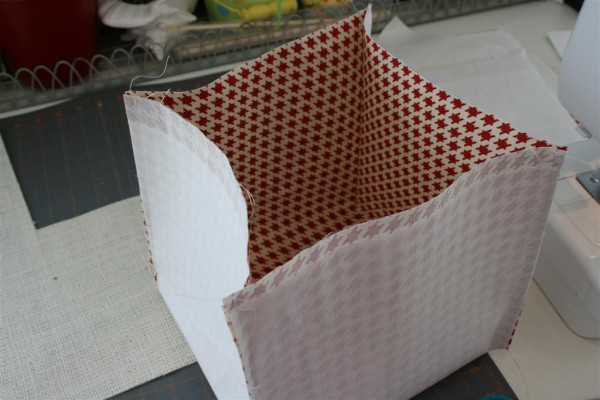
Repeat with the remaining three sides until you have made a little box.


Repeat with the other piece of fabric to form a second bin.  Turn the outer piece right side out.


Now for the embellishments!  I chose to make a handle and a little pocket for a label.


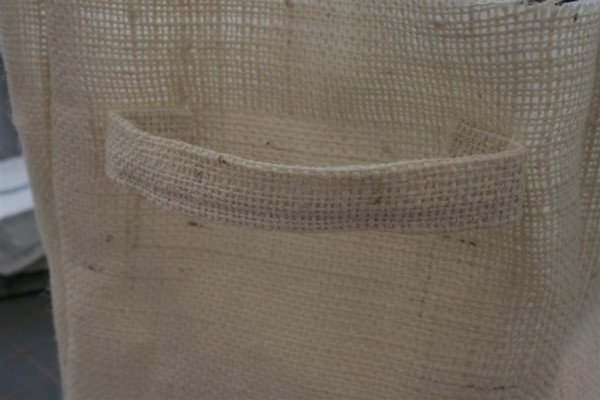
For the handle, decide how long you wish it to be, and cut your fabric that long, but twice as wide as you want it.  With RST, sew the fabric into a strip lengthwise.  Turn it right sides out, tuck the ends under, and attach it to the outer bin wherever you want it.


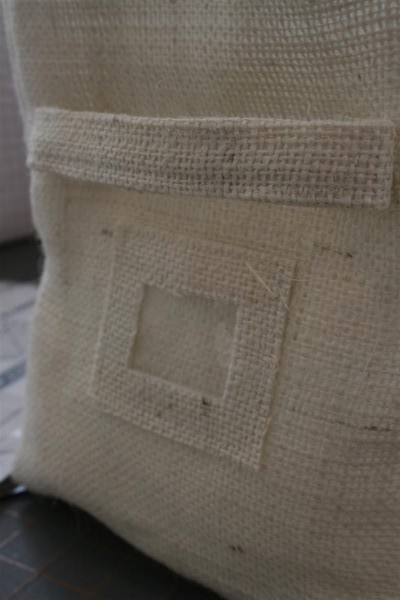
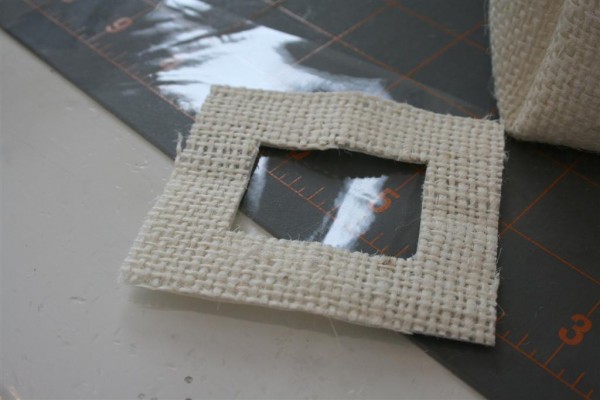
For the label holder, I cut a small rectangle, and then cut another, smaller rectangle out of the center.  I placed a piece of clear vinyl behind it and sewed around the inner edge of the burlap rectangle.  Then I sewed the rectangle to the bin on the sides and bottom only, leaving a pocket in the top.


Lastly, place the lining inside the outer shell.  Fold the liner under, and then fold it over the top of the outer shell to form a contrasting strip around the top of the storage bin.  Carefully sew into place.


You’re done!  Now go fill it with whatever you made it to hold.

fabric storage bin

I must say that the burlap was a bit of a hassle to deal with, especially in spots where I was sewing through several thicknesses of it.  Still, I’m happy with the result, and it’s nice to have the size I needed without spending any money.  I love it when I find useful ways to use my stash and it’s always fun to combine creativity with organization.

I hope you’ll try one and tell me what you think.  It was a lot of fun!

Hopeful Homemaker

Ribbon Organizer

After more time spent winding ribbon than I expected it to take, I have this to show:

ribbon closeup

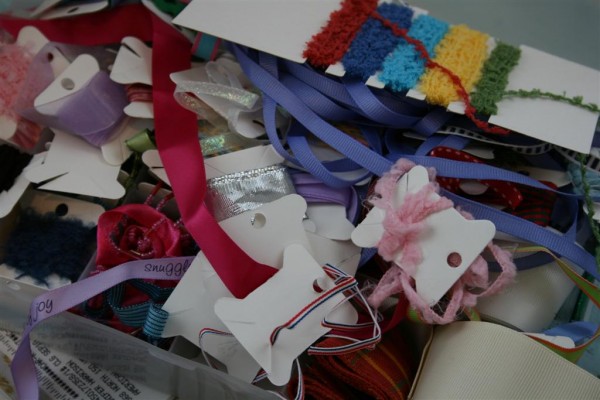
Much as I love ribbon, for years I’ve done a lousy job of storing those leftover pieces or strips of lovely ribbon off of packages of some sort.  Tired of sorting through this:

disorganized ribbon

I went on a walk through my house to see if I could find something better to keep it in.  I saw an awesome ribbon organizer back at Christmas time in a local craft store, but I didn’t want to spend any money and I don’t have room in my studio for some big thing.  Then I remembered this:

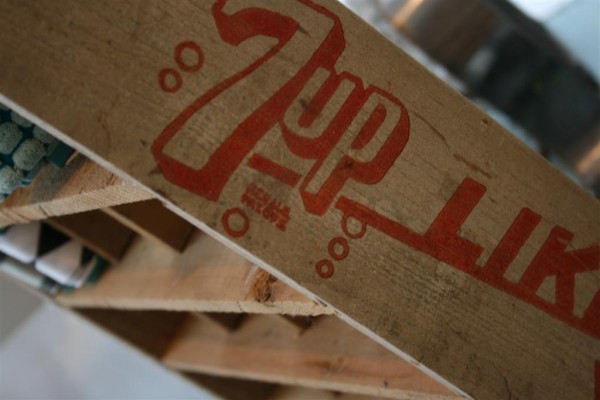
vintage 7-up crate

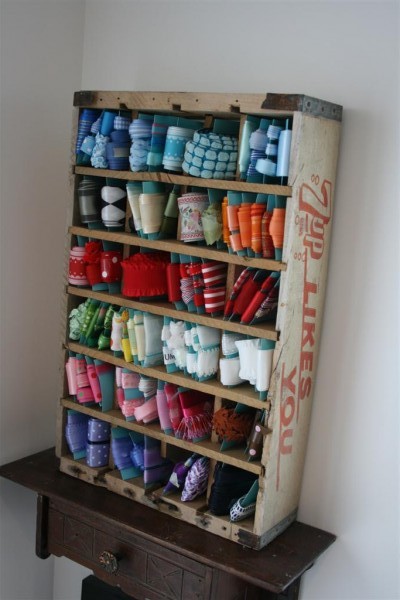
This old 7-up crate hung on the wall in my kitchen at our old house.  I kept little jars in each compartment and it served as my spice rack.  It didn’t work in my new kitchen when we moved, so it’s been waiting in the basement for a new use.  Well, it just found it.

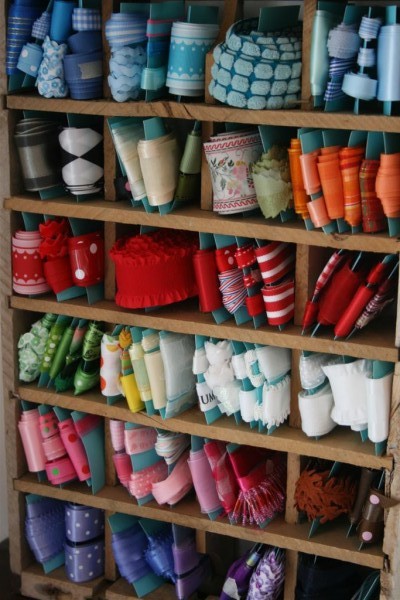
I measured the size of the compartments and cut several pieces of aqua cardstock to fit.  Then, using a bit of masking tape to secure the ends, I started wrapping.

And I kept wrapping.

Did I mention that I spent some time wrapping?

Little matter.  It took many more 5 minute segments of stolen time than I anticipated, but it’s finally done and I’m happy with it.

wood crate ribbon organizer

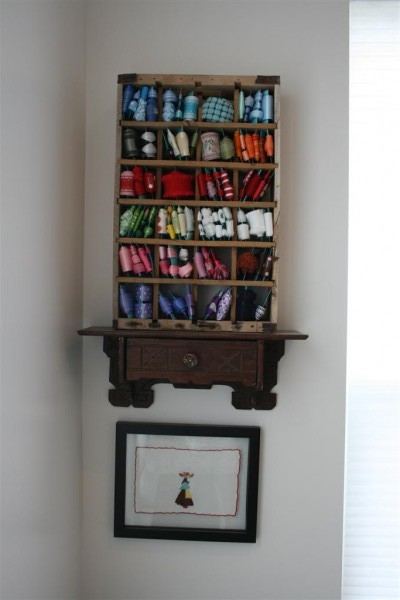
Wide ribbons were given a card to themselves, and narrow ones were grouped together on a card.  Organized by color (somewhat), I can now see at a glace what I’ve got, which means that I’ll actually use it!  I’m a big fan of being able to see what’s available, which is also why I opted to prop my new organizer on a little shelf in my studio.

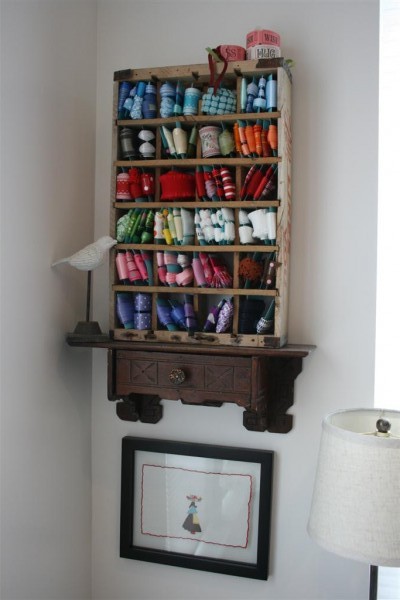
ribbon organizer on shelf

The shelf is a vintage piece for holding handkerchiefs.  It belonged to my great grandmother.  My parents gave it to me for my birthday a couple of years ago, and it’s been hanging in a corner of my studio ever since.  It means a lot to me to have it.  I had another decoration on it which I removed to make room for the ribbon.  Below it I have framed another piece of linen from my Marghab collection, which is a post for another day.

I added my wish, hug and kiss tickets to the top and a little bird on the corner and we’re set.  I like how this corner of my studio is now bright with color.

ribbon organizer corner

I have to say that the current trend for re-purposing is fabulous to me.  It’s become a little contest I have with myself all the time, walking around my house in search of something I can use differently to meet a new need.   It costs nothing, but forces me to think more creatively, to focus on line, size, shape and color in new ways.  It saves money, helps us use what we have more efficiently, and the challenge brings me joy.  As it has become more mainstream, I’ve really enjoyed seeing pictures of what others are doing.

So here’s my question for you:  What have you re-purposed lately?

And if you feel like you haven’t done it at all, my challenge is to take a walk around your house and find some small way in which you can use something differently, in a new way that makes you happy.

And please, tell me about it!
Jennifer

1 2 3 4 5