Meal Planner
So many things contribute to a smoothly running, organized, happy family (many of which I have yet to master).
In our home, meals are a huge part of that, and doing it well takes planning. If I’ve got it planned, all I have to do is execute, which frees up precious mental energy for other tasks. A few months ago I adjusted my approach, and I’m super happy with what I’ve come up with.
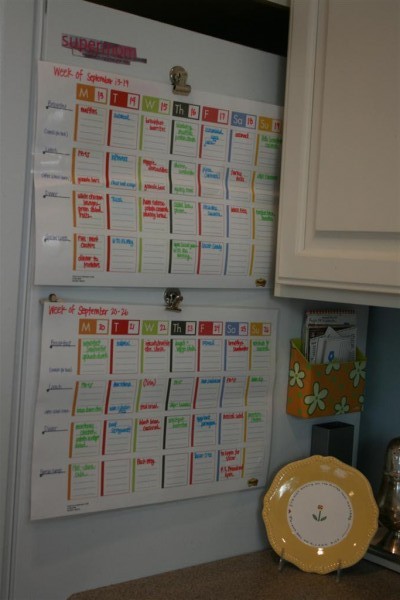
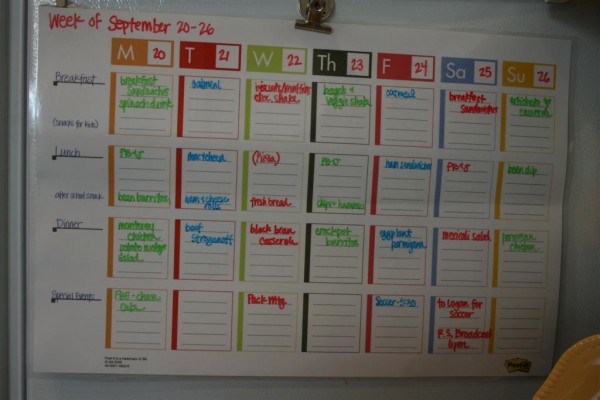
I found a really cool post-it note planner that I snagged for family scheduling. One day I glanced at it and realized I could use it for a meal planner, as well. I laminated a couple of them for use in my kitchen.
Each week has the dates and meals written in with dry erase markers. When one week ends, I already have the next week planned, so I simply move the bottom planner (next week) up to the top for immediate use. I erase the information on the current week and sit down right away to plan out the coming week. I then hang it on the bottom, and once again I’ve got two weeks of meals planned out. If it takes me a couple of days to get to the next week, it’s ok because I’ve got the current week taken care of. This means our eating schedules will continue uninterrupted and there are no last minute trips to the store for poorly planned meals.
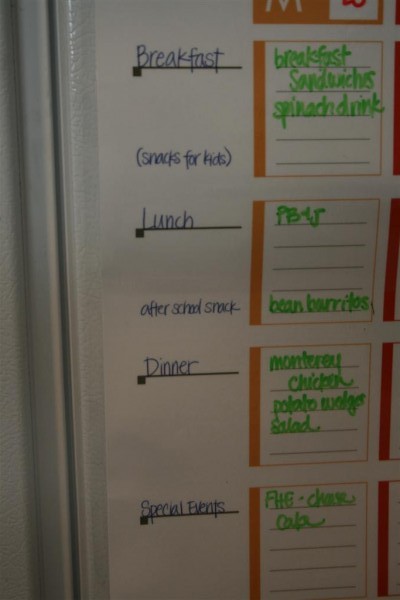
With a large, busy family I’ve learned that some nights allow more time than others for cooking and enjoying a nice meal. When I designed the weekly planner, I also left a spot to write in special events. This helps me plan our meals accordingly, and also to shop for additional items in my usual grocery shopping trip. That way I cut out last minute surprises and remember to use the crockpot or plan a meal on the go for crazy days. I also plan for a hearty after school snack – you can read about my reasoning here .
I have several goals for each week’s meals:
1. Cook one meal from food storage. This rotates the food we’re storing and also ensures that my family is eating the foods we would eat in an emergency. It also means that one meal each week is already sitting in my house, and therefore I don’t need to spend money on it. This frees up room in my budget to buy sale items in bulk, which is how I stock my storage room.
2. Cook at least one meatless meal each week. I often cook meals with beans in them on these nights. Beans are so good for your body. Sometimes we have two meatless meals, and the second one is usually some type of salad or salad bar. Again, this saves me money and helps us eat well.
3. Try one new recipe each week. I feel like this counters the food storage meals because it makes my family feel like we’re not eating the same things all the time. Occasionally I will count an old recipe from my files as a “new recipe” if I haven’t made it in a long time and am curious if my family will still like it.
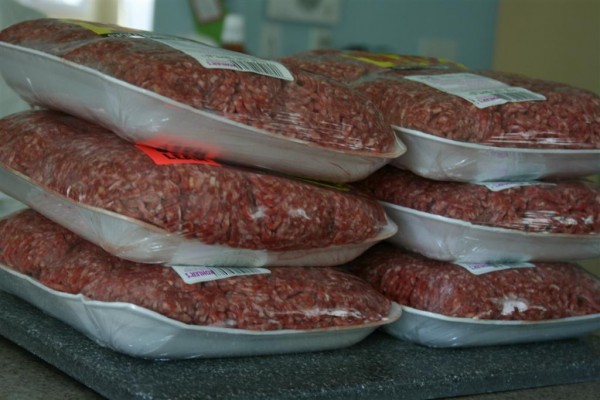
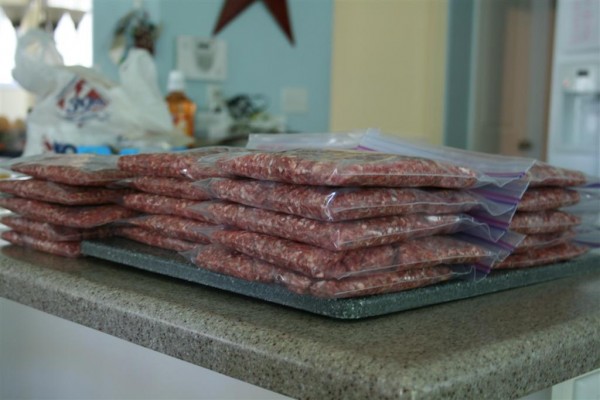
4. Every week I sit down with the ads from my local grocery stores. I go through them, circling items that our family uses that are on sale for a good price. Many of these I buy in bulk so that our money goes farther and we have food on hand ( click here to learn about how I do this ). I also scan these ads for items we like but which I don’t buy at full price. For instance, if seafood is on sale, I might scratch one of the meals I’ve got planned and substitute it instead. Or when I find roast beef on sale at the deli, I’ll substitute French dip sandwiches for a meal on the planner.
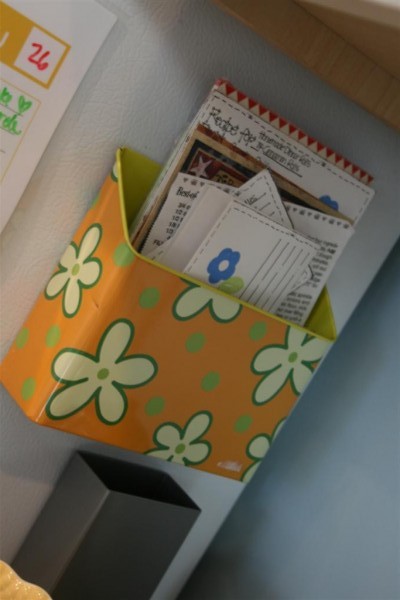
In the same area on the side of my fridge, I keep a container for holding recipes. When I plan my shopping list, I like to scan the recipes to be certain I have everything on hand. I then place them in the container for the week. At the end of the week when I plan again, I return the recipes to my files. (The container beneath holds dry erase markers. You can’t see them because I bought miniature ones, which is working out great. I know they’re there, but my kids can’t see them, which means they don’t disappear. )
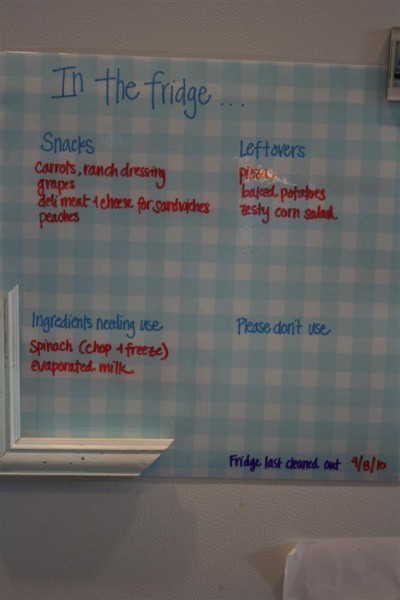
For the front of the fridge, I made a simple chart to show the family at a glance what’s inside that they can eat. It’s just a 12 x 12 sheet of scrapbook paper, which I wrote on and then laminated. Using my trusty markers, I can now list the snacks and leftovers we have. I also have a spot to list leftover ingredients from recipes I’ve made that need to be used so we don’t waste them. I don’t use it often, but I also put a spot for items that might look tempting to eat, but which are needed for a specific meal or occasion. In the bottom corner I also record when the fridge was last cleaned out, so we know that nothing in there is older than that date (and to help me get better at cleaning it consistently).
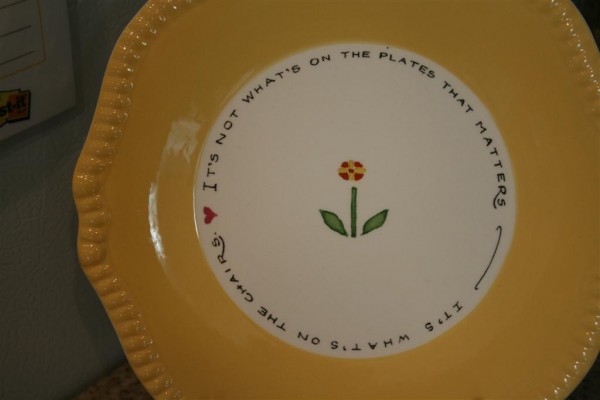
Lastly, I finished off my meal planning corner with my favorite Susan Branch plate.
A glance at this plate reminds me why I do what I do. Why I spend hours planning, cooking, cleaning each week. I do it because I love my family, and every effort to organize and simplify our lives gives me more time to enjoy them.
How do you plan your meals? I’d love to get more ideas!
Jennifer
post shared here .

