10 Minute Scarf
I discovered something amazing the other day, something I’d never heard of before (but probably should have) and which just opened up a world of possibilities in my brain.
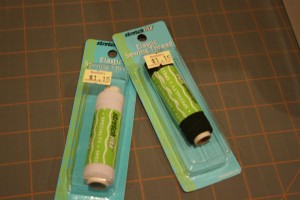
It’s called elastic thread. I was able to purchase it at a little fabric store in town. It came on a spool of 30 yards for $1.15. You can find it with the elastic in your store. I like it when I can find something I like this much for so little.
Thanks to this tutorial from Hope Studios , I learned how to use it to make a scarf in 10 minutes.
I’m not kidding you. Ten minutes. Two seams.
Here’s what you do. You need elastic thread (I only found it in black and white), matching regular thread, and material. Your fabric needs to be something that won’t fray or unravel since you won’t be finishing the edges.
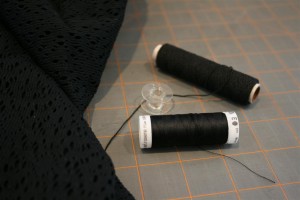
I bought this black stretchy fabric that has a lace-like pattern cut all over it. In the tutorial they used knit fabric. I liked this better.
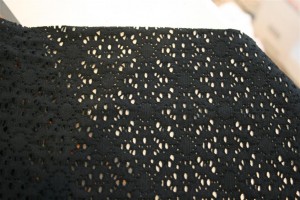
The big key is length, because the elastic thread makes it half as long when you’re finished. I bought everything that was left on the bolt, which was 1 2/3 yards (60 inches). The first scarf I made with that length was too short. It now belongs to my 11 year old daughter. I’ve since made one that was twice as long (I cut 2 lengths and sewed them together end to end for 120 inches in length) and one that was 1 1/2 times that long (90 inches). I liked both of them. So, basically you need at least two yards of fabric, but I would probably go for 2 1/2 or 3.
Cut a strip of fabric that is 2 1/2 yards long by 8 or 10 inches wide. I’ve tried both 10 inches and 8 inches wide and they were both really cute. (You’ll be able to make several of these scarves, but that’s a good thing because you’ll be so excited that you’ll want to make one for all your friends!) From my fabric I was able to make 5 scarves. Not bad for a $10.00 investment.
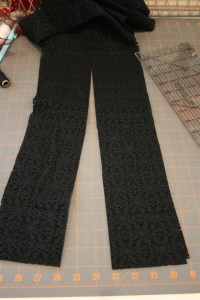
After you cut your fabric (or piece a couple of strips together if you need to), take one end of your strip, and make a straight cut into the fabric up the middle for about 16 inches. Do this on each end of the fabric. This will make kind of a tail on the scarf.
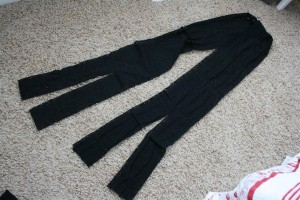
Now for the elastic thread. You’ll need to wind it onto the bobbin by hand, and then put it in your machine. Use regular thread on the top.
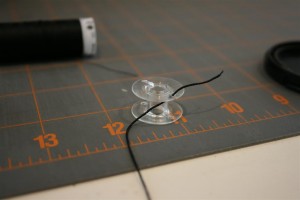
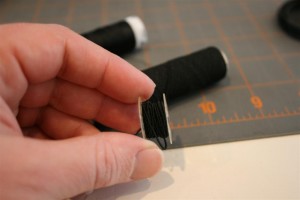
Now, working from one end of the fabric, pick one of your little tails and start sewing about 1.5 inches in from the cut you made. BE SURE TO BACK STITCH AT THE BEGINNING AND END OF YOUR SEAM!!!!
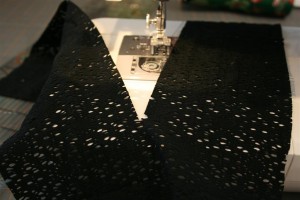
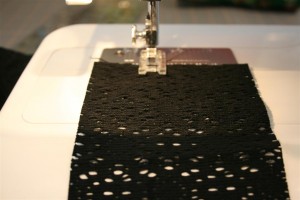
Sew down the entire length of your scarf. See how the elastic thread makes it gather as you sew?
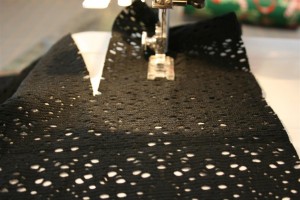
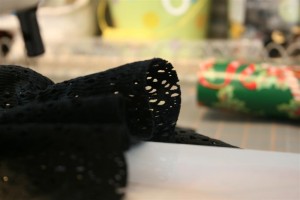
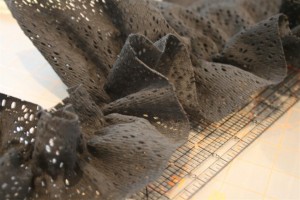
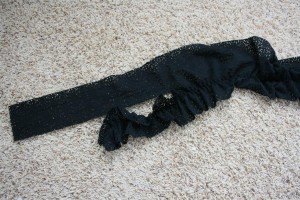
Then you just do the same thing down the other half of the scarf! Trim your thread and you’re finished. That’s it. I also made a long skinny one (4 inches wide) with my last piece of cloth. It’s really cute as well.
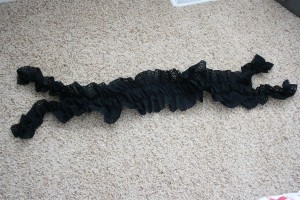
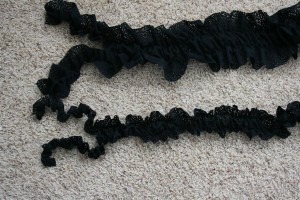
Now you can do what Jennifer at Hope Studios said to do: “Prance around all giddy-like with your new scarf.”
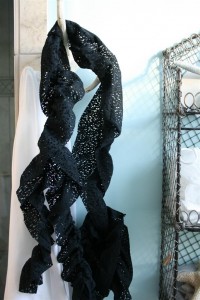
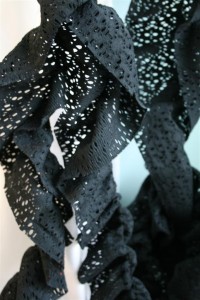
Super cute, super fun, super cheap, and super fast! I love it!
Seriously, go make one. As in, right now.
Hopeful Homemaker

I will obey your order. Off to search for elastic thread tomorrow. Too bad I did not see this before I went out today! CUTE!
love it. love it. love it!