
Dream On, Dream Big Quilt Top
When I made my “first real quilt” I had no idea I’d ever make another, let alone become a quilter. All I knew was that I was crossing something off my list of Things to do Before I Die, one of which was (of course) to make a “real quilt.” I didn’t have a friend or family member who introduced me to the craft, or anyone who taught me how things work in the great wide world of quilting. I was busy having my last three babies, figuring out how on earth to take care of all my young children, and generally trying to remember which way was up, so I was a little slow to figure things out. In fact, it wasn’t until I introduced my youngest sister to quilting that I learned about designers releasing new collections twice a year, and how quickly they sometimes sell out. I learned it, at last, because she told me.
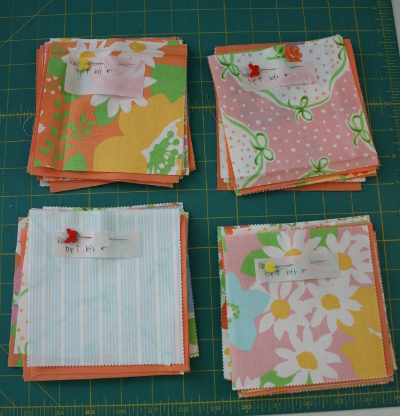
This explains why, in 2010, I didn’t buy a single piece of Dream On by Urban Chiks. For that matter, I also missed their Sweet and Swell lines. I vaguely knew about them but had no clue they’d be gone so quickly! It was, therefore, a happy day when on Instagram I watched the beginning of #thegreatfabricdestash and was able to purchase three charm packs of Dream On.
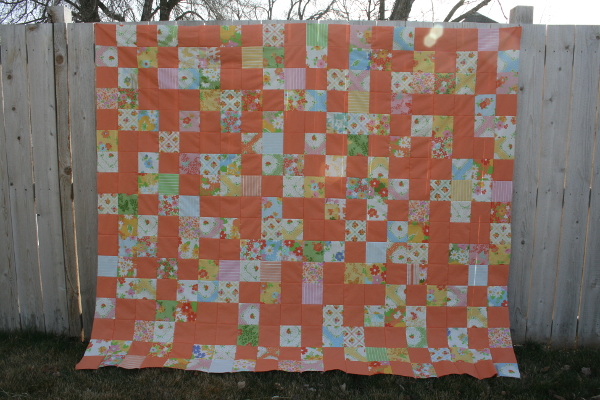
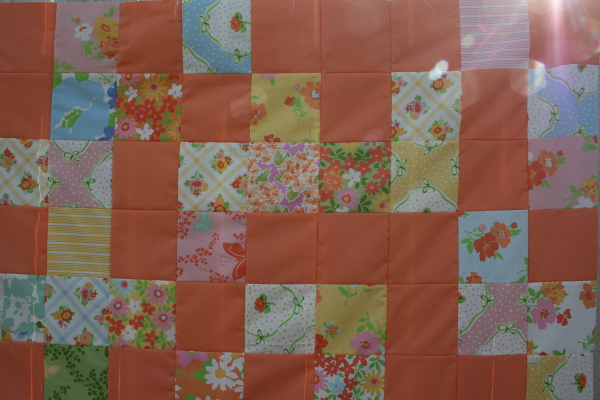
Meet my Dream Big quilt top! I finally found the courage to use those charm packs, and paired them with a Kona mango solid. This quilt is simply lots of 5 inch squares in a completely random design (inspired by this quilt). Mine measures approximately 76 by 90 inches, but in spite of it’s size it took only a few hours to complete.
I took a few photos for record keeping, because every basic patchwork quilt I make from here on will be sewn this way.
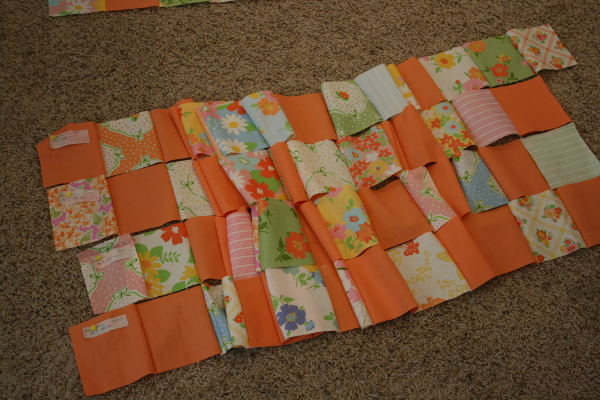
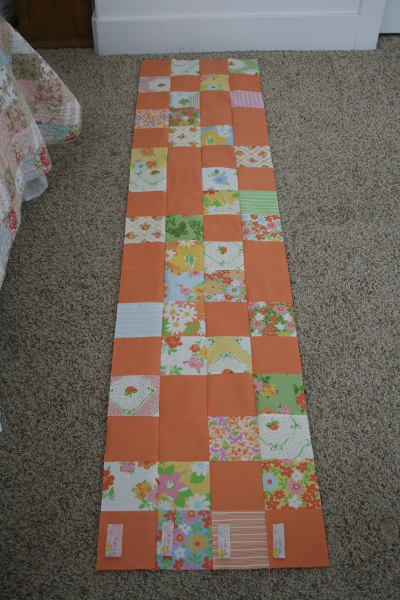
First, I laid out all my squares in a random fashion on the floor. I opted for 20 rows of 17 squares each (so a total of 340 squares) and stacked them up, labeling the far left square of each row with the row number.
The key to this project was the number 4. I pieced this quilt top in sets of 4 rows at a time, which was what made it so fast and simple. I chain pieced the rows, four at a time, until they looked like this:
Leaving my label pinned to each row, I carefully cut them apart and then ironed them. The first row was ironed with all seams pressed to the right, the second row to the left, third to the right again, and the fourth to the left once more. This prepared all seams to nest neatly together while I sewed the rows together, which I did, four at a time. I didn’t even bother pinning. I simply made sure each seam was properly nesting together as I fed them through.
I did this four more times, and suddenly the quilt top was in five large sections!
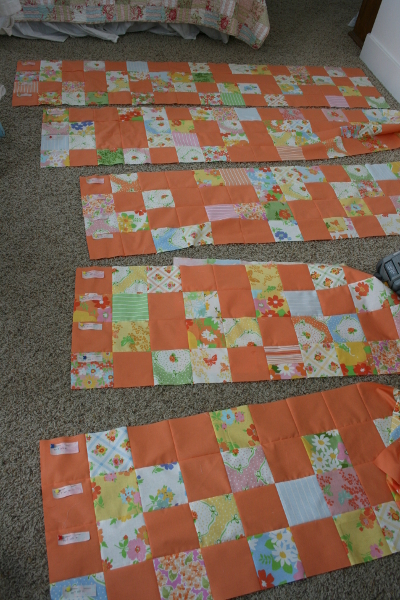
Four last seams remained to join them together, and because I’d sewn in sets of four rows and ironed them all the same way, the seams perfectly nested on these final seams as well. It made sewing so many squares together a relaxing and fun experience, one I could do in 20 minute chunks of time over a few days.
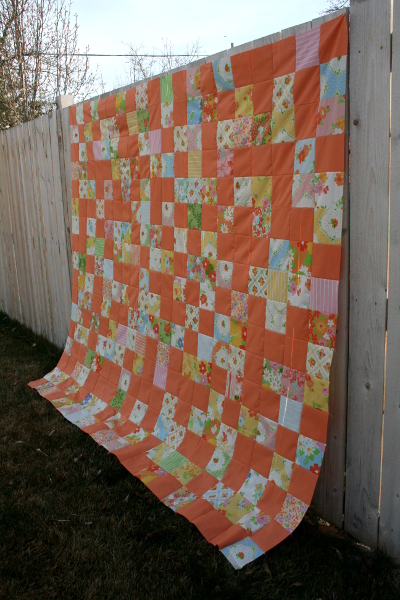
Life is fascinating – particularly the way things come together to teach and change us. Because I’d chosen the mango solid, this quilt became a subtle reminder of my friend Wes (who LOVED the color orange) and my trip to Gig Harbor. These thoughts merged with insights gleaned from books I’m currently reading, as well as the fabric collection’s name and vintage origin, to inspire me to ponder my dreams. So much is going on in my mind and heart these last few months!
I scored the perfect vintage sheet for the backing and am excited to quilt this one. It just feels good to sew. And ponder. Simple sewing is good for the mind and heart when there’s lots to process.
Jennifer
I love this. And I love you. It is so pretty.
Wow, I love it. Orange is my favourite colour too! 🙂
I love it! The mango was an excellent choice. I never bought any of this fabric either 🙁
question ~ how do you sew your rows? I generally (chain-piecing) sew sets of two, then join those sets, then join the 4-sets, etc til I have a completed row – but I have to label every other square, or sometimes I get them all switched around (You’d think it would be easy enough to note how they come out of the machine and arrange them accordingly…). I do hate the labeling part, so maybe you have some trick that would help….
I have been hoarding a couple charm packs myself of Dream on, my favorite!!! I never even thought of using that color of solid! looks perfect!!!!!!!!!!