Burlap Wreath DIY
My sister came to town unexpectedly last weekend, so I decided a quick craft project was in order.
After bumping into this post recently, I decided to try making my own burlap wreath.
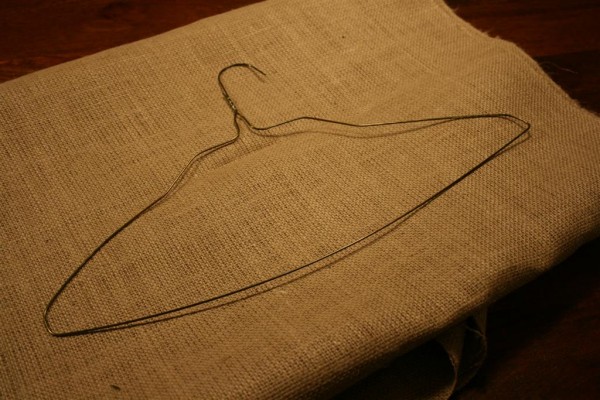
I bought a yard of burlap and found an old wire hanger, and we were set to go. (sorry about the lighting, we made these late at night.)
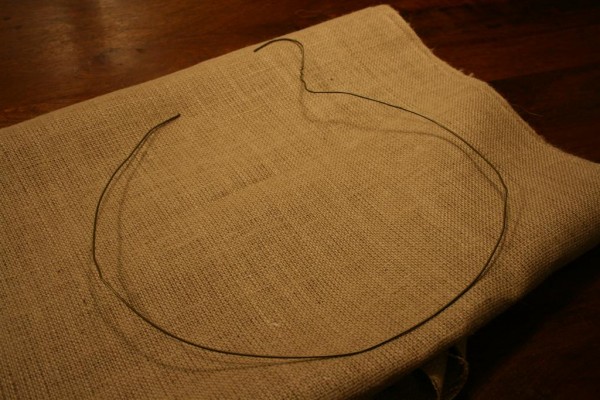
Open the hanger and shape it into a circle.
Next we cut the burlap into 4 inch strips.
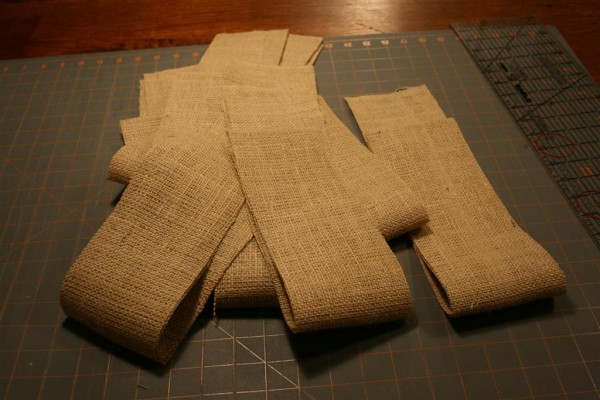
Then we just started folding the burlap back and forth….
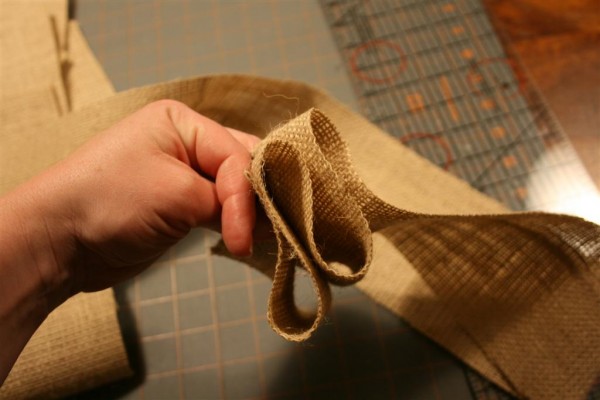
and poking one end of the hanger through the middle.
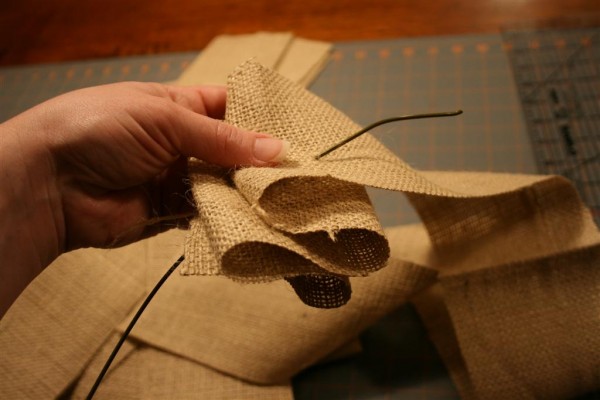
Continue doing this until you’ve used every strip of burlap.
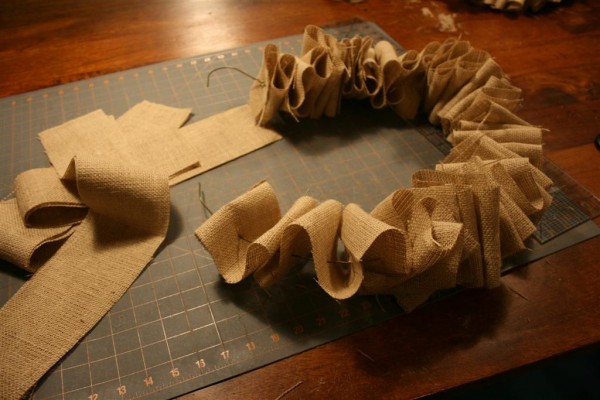
Your last step is to twist the ends of the hanger to close the wreath.
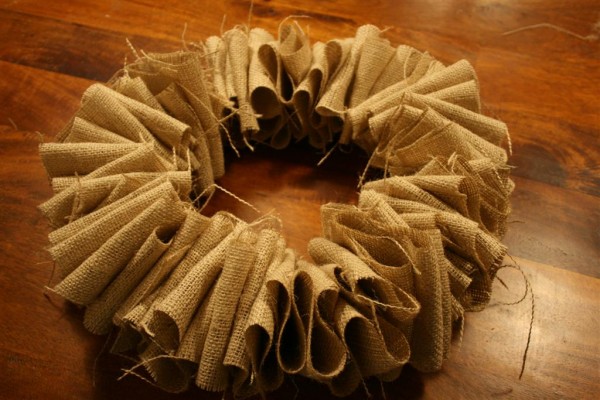
Lessons learned:
I probably should have made the wreath even smaller, because when I picked it up the burlap seemed to slide down and make the wreath seem bottom heavy. Either that, or more than 1 yard of burlap should have been used.
We got around this by simply taking small pieces of scotch tape and taping them around the hanger at intervals to prevent the burlap from sliding. This allowed the burlap to stay evenly spread around the entire wreath.
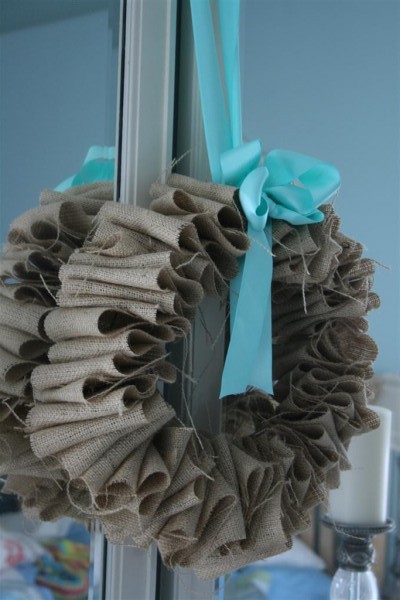
Finished product:

Total cost: $2.47 for one yard of burlap at Wal Mart. Total time: about 30 minutes.


awesome! I have a huge spool of burlap ‘ribbon’ with red in it that I have been meaning to do something with for ages. This is perfect! thanks!
emily
love it! you’re soo creative person!