Burlap Storage Bin DIY
I’ve been looking for a storage bin to fit a certain spot for a long time. Recently it occurred to me that I could just make one instead.
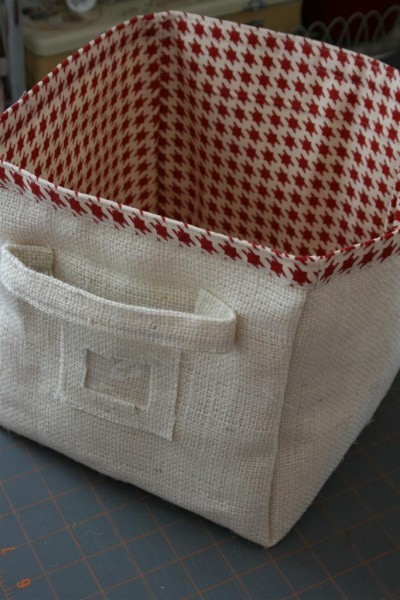
I used a bleached burlap for the outside and chose a coordinating hounds tooth pattern from my stash for the inner lining.
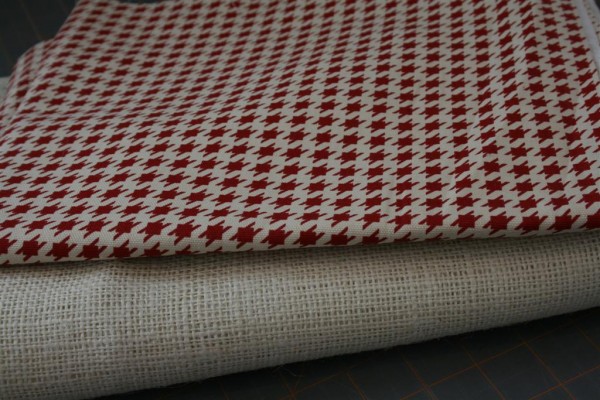
To determine the size of my fabric, I measured the space I wanted it to use on my shelf. This would be the base, and then I decided how high the sides were to be. Once you know those numbers, multiply the height of the sides times two, and add that to your dimensions for the base. For example, if you want the base to be 8 inches wide by 10 inches deep, and your sides to be 6 inches high, then you need to add 12 to the width and height of the base. This means you will cut your fabric to be 20 inches wide by 22 inches long.
Once you do this, you might want to reinforce the fabric by ironing some interfacing to the wrong side of the fabric.
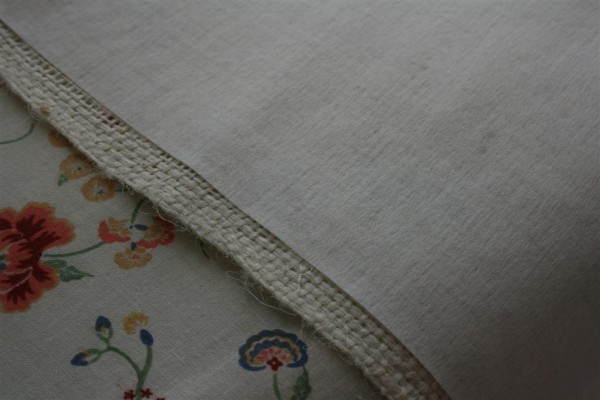
Now you need to lay the fabric flat and on each corner, cut out a square the size of the height of your bin. If we continue the measurements from the above example, you will cut a 6 inch by 6 inch square out of each corner. This will leave you with something of an “x” shaped fabric.
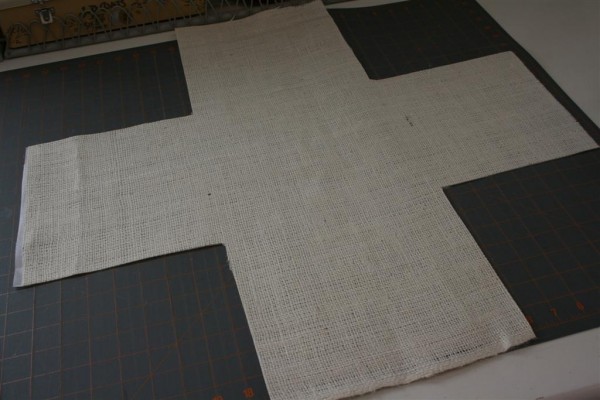
Repeat with the piece which will be your lining.
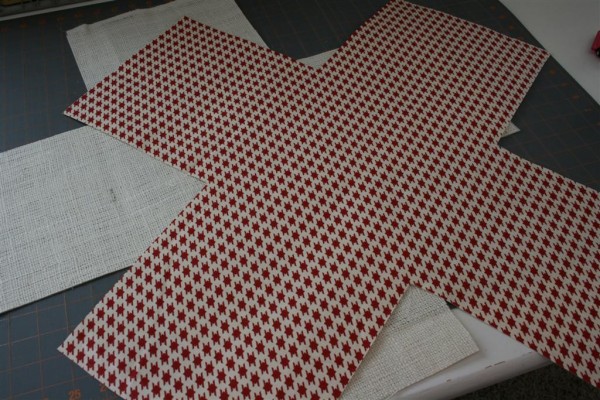
Fold each “x” in half on a diagonal line through the center square or rectangle. Carefully line up the sides of each piece, with right sides together (RST) and sew down that six inch line.
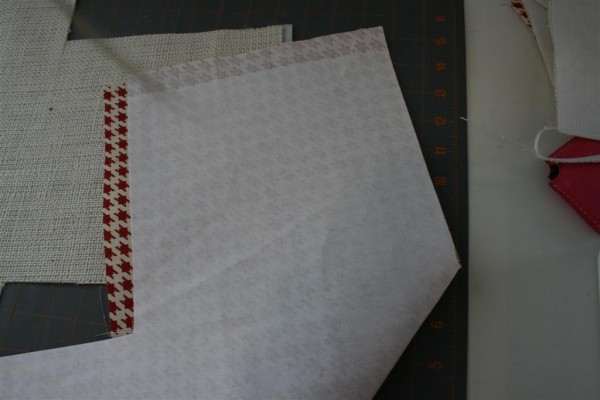
You will be able to see that you have just formed one corner of the bin.
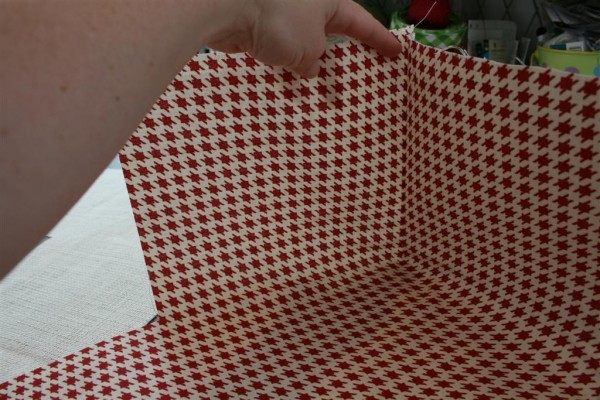
Repeat with the remaining three sides until you have made a little box.
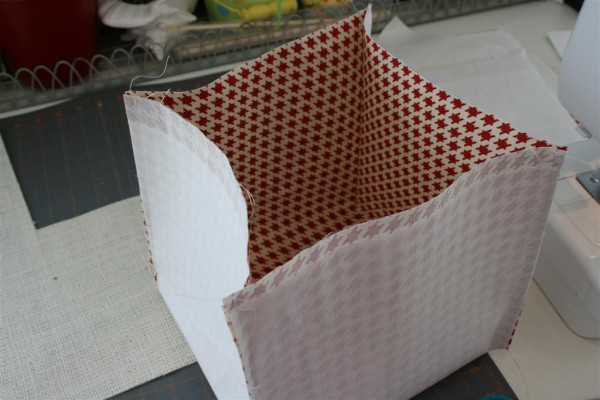
Repeat with the other piece of fabric to form a second bin. Turn the outer piece right side out.
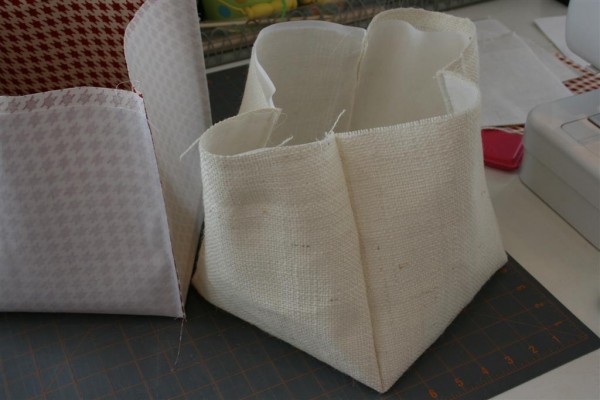
Now for the embellishments! I chose to make a handle and a little pocket for a label.
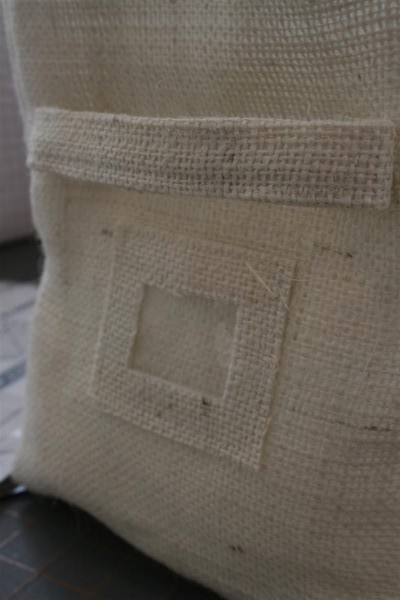
For the handle, decide how long you wish it to be, and cut your fabric that long, but twice as wide as you want it. With RST, sew the fabric into a strip lengthwise. Turn it right sides out, tuck the ends under, and attach it to the outer bin wherever you want it.
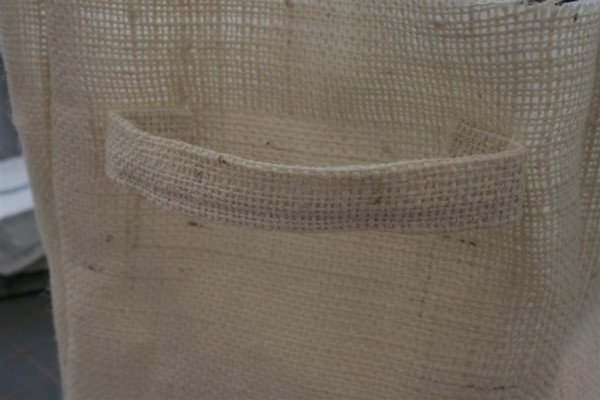
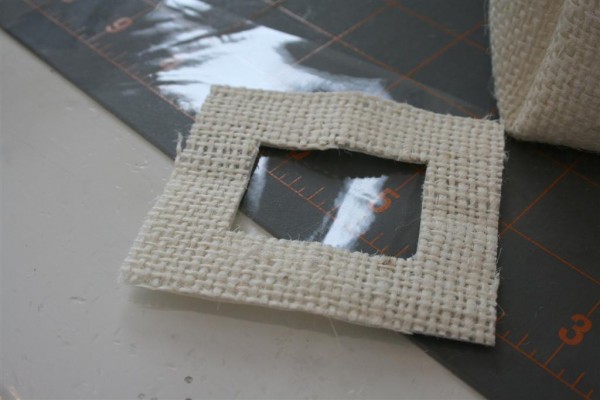
For the label holder, I cut a small rectangle, and then cut another, smaller rectangle out of the center. I placed a piece of clear vinyl behind it and sewed around the inner edge of the burlap rectangle. Then I sewed the rectangle to the bin on the sides and bottom only, leaving a pocket in the top.
Lastly, place the lining inside the outer shell. Fold the liner under, and then fold it over the top of the outer shell to form a contrasting strip around the top of the storage bin. Carefully sew into place.
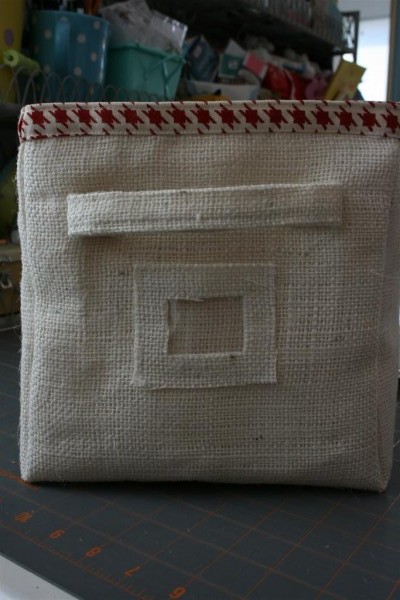
You’re done! Now go fill it with whatever you made it to hold.

I must say that the burlap was a bit of a hassle to deal with, especially in spots where I was sewing through several thicknesses of it. Still, I’m happy with the result, and it’s nice to have the size I needed without spending any money. I love it when I find useful ways to use my stash and it’s always fun to combine creativity with organization.
I hope you’ll try one and tell me what you think. It was a lot of fun!
Hopeful Homemaker

Love it! You amaze me. I just might have to try one for myself. I love bins and organization. This is perfect!
Wow! You did an amazing job! I love it! 🙂
absolutely delightful! I can’t wait to make these little pretties! I hopped over from Strut Your Stuff and am so happy that I did. Please accept my invitation to drop in at my place one day this week when you get a moment. I have become a follower and I hope you’ll do the same. until later…
great tutorial. I have been looking for baskets to put some stuff in and while it has occured to me to make my own, I just didn’t know where to begin. Love how your basket turned out.
I popped over from Kimba’s DIY day. So glad I did.
I love that. And the fabric you chose for the inside is so cute too! Great tutorial!
XOXO
Jen
Wow – this is great! I love how it turned out. Thanks for the tutorial – I am hoping to try it sometime soon!
Anyone know if using burlap as outdoor curtains is a good idea?
This is great! Thanks so much for the tutorial.
Thanks for sharing this great tut!
I love this! You are so creative. I’m curious…how much did it cost you to make one cube?
Well, I made this storage bin a couple of years ago so I’m not sure. The inner fabric came from my stash, and burlap is very cheap. I think I bought a yard of it. The vinyl I bought a tiny bit of so I’m sure the whole project cost me around $4.00 max. Probably less. Thanks for visiting, I’m glad you like it!
great tutorial! thanks for sharing! 🙂 lisa
Thanks! What I was looking for. 🙂
I am interested in doing a quite sturdy bin & have been looking at various options. From your experience sewing this, would it be a nightmare to sew if I put heavy weight interfacing on both fabrics? I could use something lighter in weight than burlap, because like you, I’ve found it a tad fussy to work with at times & I want something more colorful anyway – I want toy organizers – hence the durability part. I suspect toddler boys might set on them & do all sorts of things. 🙂
AND thank you for such a clear tutorial. It makes it so much easier to have a clear path in mind before starting a project when you have busy little ones that leave you with very little time (and money) to get extra projects done.
Loved the storage idea, will give this a go today.
Great tutorial…thanks. This is a project I will start very soon.
Hi, I really liked this method although there is a little more waste of fabric.by cutting out the corners than other methods, unless you use the cut out squares to make the handles…Also, wondering if you made the liner a little larger to allow for making the turned over hem around the top of the basket. Thanks!!
Great tutorial!
i almost bought the pre-made ones before i looked up this tutorial!! thanks for posting it! my craft room will be complete now!!!
Thank you so much for this. I have some old coffee sacks which will be perfect for this. I plan to make a big one to hold some of my yarn stash! Cheers, Elspeth.
les explications tutoriels , nepeuvent-elles pas être écrite en français ? je ne connaîs pas l’anglais, merci à vous , bonne soirée
Your blog is gorgeous! Thanks for showing us how you did this organizer. Inspired me to make one too. I’ll show it on the blog and mention your blog.
And your family is beautiful – and I found incredible your ability to take care of the family and still have time for crafts!
Hugs, Marion, from the blog Criações em família & cia.
Fab! Thanks for this. So simple when you show how!
I shall be making 6 this weekend!
Bellissimo!!!! Copierò sicuramente la tua idea. Anche a me piace costruire oggetti con il materiale che ho in casa risparmiando soldi e divertendomi!!!!!!
Grazie e buon lavoro ✂
Iris
Estupendo tutorial!!!!!! Lastima que las instrucciones no pudieran ser en español……….
Precioso
You did a lovely job.i am in thought of foing same for my new sewing room cabinet.my thought is to reinforce the bottom with cutting off the bottom of cat litter jugs (per height needed)and covering with my fabric pieces etc.or just buy the fold up ones for $1.00 at dollar tree and cover to suite.they also fold up.i used them in my Rv.very handy.just a thought.but thank you
Thanks for the step by step tutorial, nice!