A Crown and Scalloped Bunting
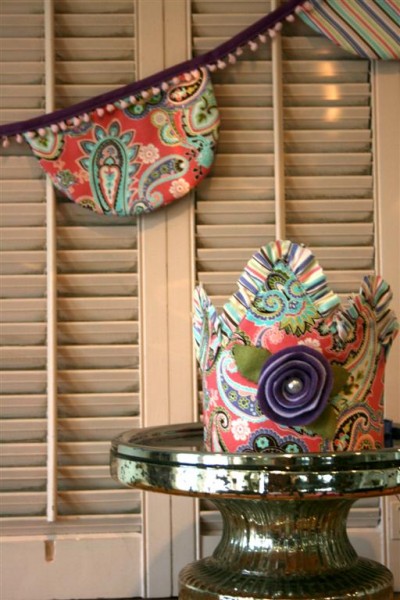
I believe I mentioned that my sister and I are taking an online sewing class to learn how to sew curves. Well, it’s underway and has been for two weeks. So far six projects have been taught and I’ve managed to find time for one of them (the fastest, easiest one). Yup, I’m running behind. Again.
Still, this first project was a lot of fun and really easy, and is something I’m sure I’ll make again. One thing I learned that I wouldn’t have thought of in advance is that using a pinking blade on my rotary cutter saves me the need to notch the curved seam before turning it. I like saving time, so I bought a pinking blade and I think I’ll be really glad I have it. Another interesting thing is learning to use my rotary cutter without a ruler. I’m getting the feel of cutting freehand with it.
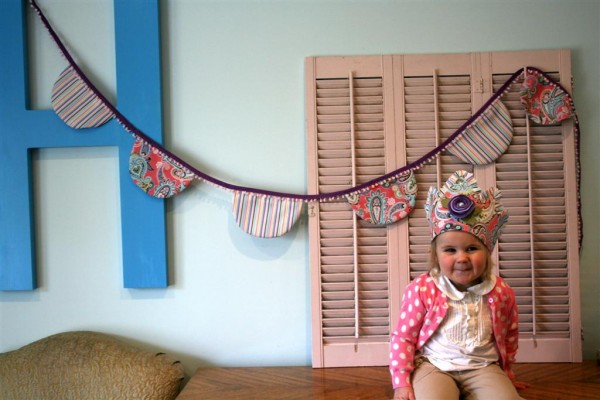
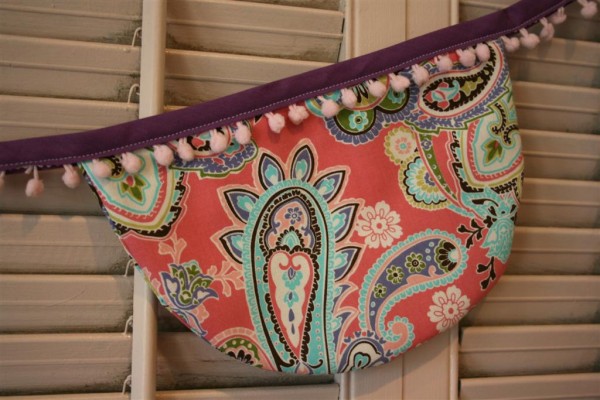
I used a couple of coordinating fabrics from my stash for these two projects and think they make a cheery bunting. I also added some little pink pom pom trim when I finished it. It adds a touch of whimsy and texture to the bunting.
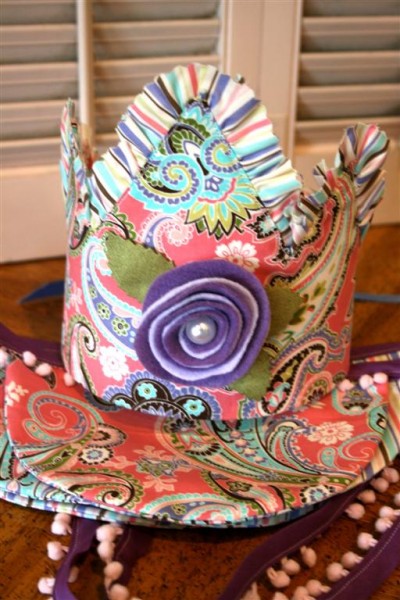
The second project I made is a fabric crown. I’ve had this pattern sitting on my table for a few months but have been intimidated by it. It just looked tedious, I guess, but while I had these two prints out I decided to make a birthday crown for my niece. (Incidentally, if you’re interested in the pattern, there are a few of them in stock here at a discounted price.)
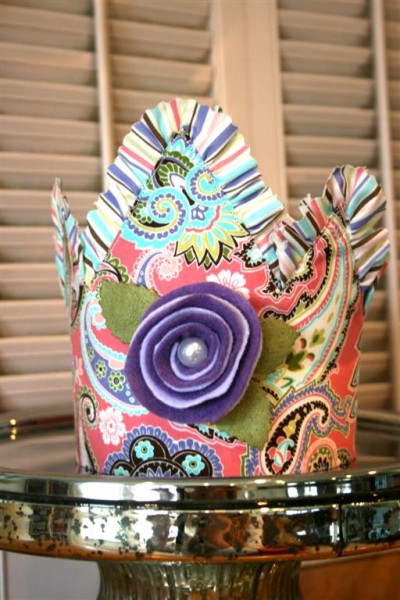
Honestly, it was simpler than I anticipated and didn’t take me as long as I worried it might. I think it turned out great, especially for my first try! My girls were certainly excited about it. I didn’t have much time for embellishments, so I opted for a simple felt flower. Next time I’ll try something different. There are several options in the pattern and instructions for making them.
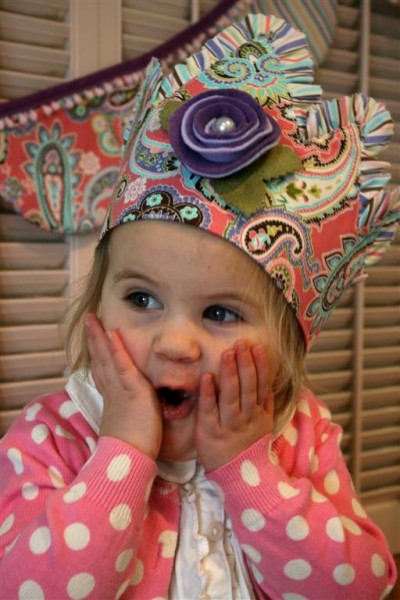
Honestly, the crown is bigger than I pictured. Next time I make it I might adjust the size a little. The pattern says it will fit anyone because you use ribbons to adjust the size, but at it’s smallest it was still a bit big on my girls, who are the ones who want crowns anyway. Here is what the crown looks like from the back:
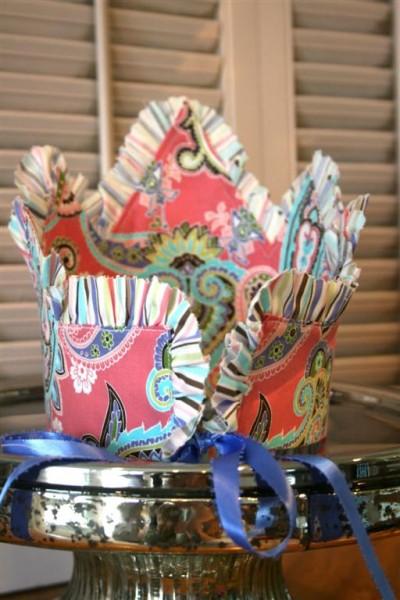
The pattern tells you to sew the ruffle to the front, then later fold the back up over the ruffle, iron the heat’n’bond in place, and use glue to secure any spots that need it. Instead of using glue I opted to carefully go back over my stitch line from the ruffle and sew the back to the front. I like that the whole thing is sewn together, and I think my seam looks fine because I was very careful with it.
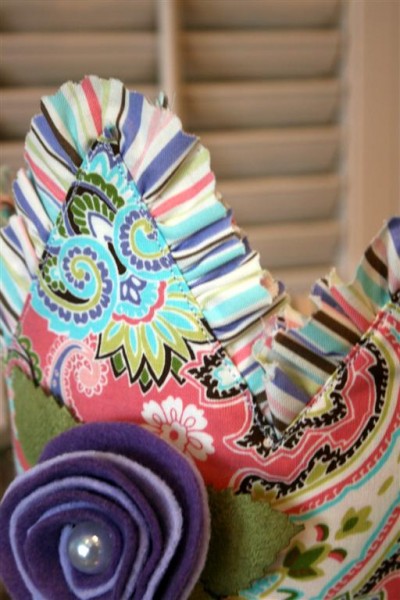
The crown was a step out of my comfort zone and I’m so happy to discover that I can do it. I plan to make several of these throughout the year for little girls I know.
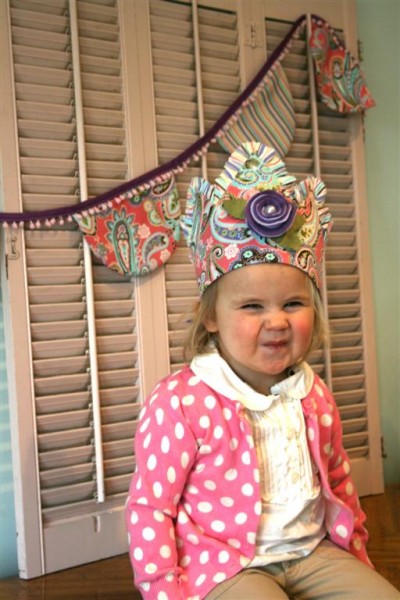
Although my silly little model would have liked to keep it, we sent the crown and bunting to Denver for my niece. I hope that she enjoys playing with them. I enjoyed sewing them for her.
My list of sewing goals for 2012 includes sewing smaller items other than quilts. I hope to complete one small project each month. I didn’t get that done in January, but these two projects satisfy February’s goal. Now let’s see if I can find time for some quilting!
Jennifer

Emma LOVES LOVES this and has been wearing it all around the house night and day. Her sisters are very jealous. You amaze me. THank yoU!