
Scrappy Swoon-along: Sections 1 & 2
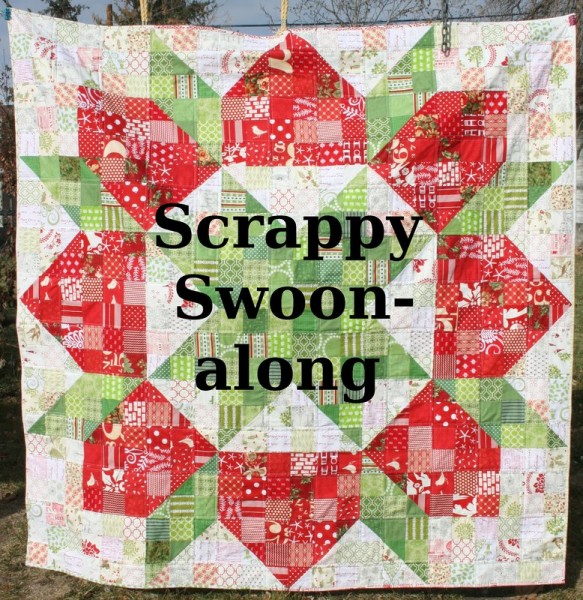
This quilt is made in ten different sections. We’ll cover two sections each week for five weeks, and then you’ll be piecing them all together.
*Important note: When I published the fabric/cutting post last week, there was an error in the number of 3 7/8 inch background squares you’ll need. It was corrected within a few hours, but if you didn’t see that correction (the right number is 42, not 30) then please go back and re-read the cutting requirements for your background fabric.
Let’s get started!
Section 1 For the first section you’ll need 36 – 3.5 inch square blocks in your primary color (the color of the center star, which is green in the quilt pictured above)  Lay your squares out in a grid that is six rows of six squares each, like below:
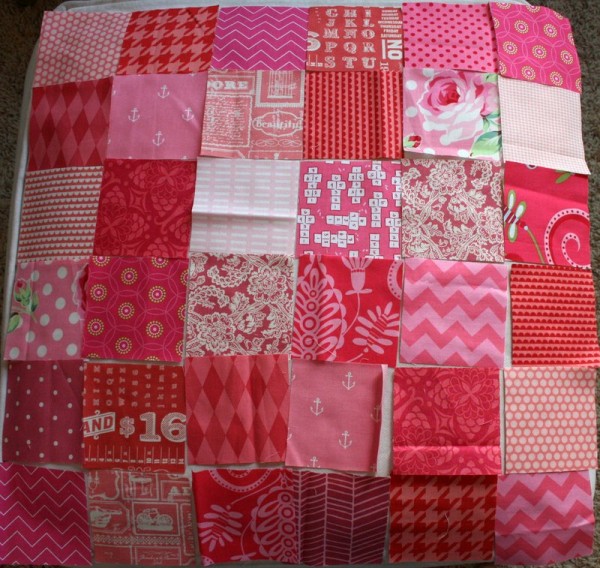
Now sew your squares into six rows of six squares.
I recommend pressing all seams open in this quilt to make the later joining of each section to the others easy, and to reduce bulk.
Note: all seam allowances in this quilt are 1/4 inch.

Press each row and sew together to form a square.

Iron, and stand back to admire your center square! This piece should measure 18 1/2 inches square.
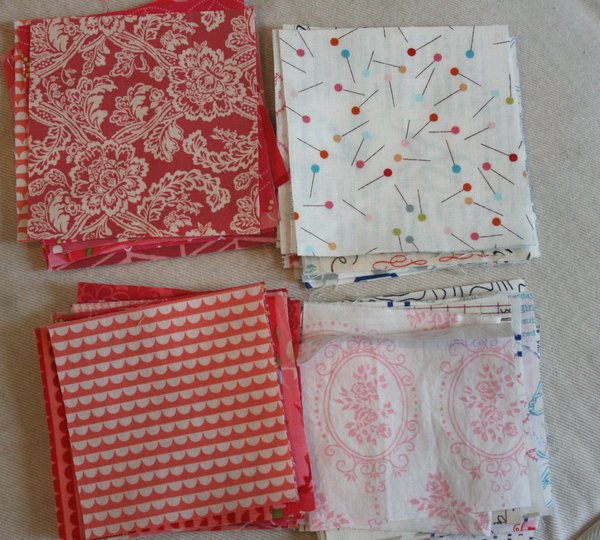
Section 2 For section two you’ll need 12 – 3 7/8 inch squares of background fabric AND 12 – 3 7/8 inch squares of your primary color (the same color used in section 1). You will also need 24 – 3.5 inch squares of background fabric and 24 – 3.5 inch squares of primary color fabric.
With the 3 7/8 inch squares, pair each background square with a primary colored square to make half square triangles. If you are unfamiliar with making a half square triangle, you can find an excellent tutorial here.
You will end up with 24 half square triangles.
For this piece, you will need six background and six primary colored 3.5 inch squares as well as six of your half square triangles. Lay out three rows of six squares as you see below, with the background squares forming the center of a large patchwork flying geese block and the primary colors forming points for your center star.
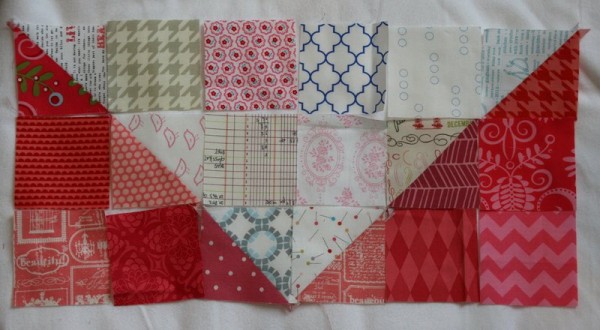
Sew together into three rows of six squares:
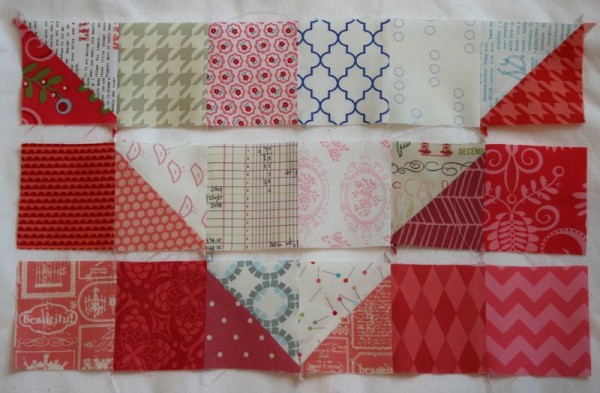
Then sew the three rows together to make a rectangle that measures 18 1/2 inches long by 9 1/2 inches tall.

Make four of these blocks.
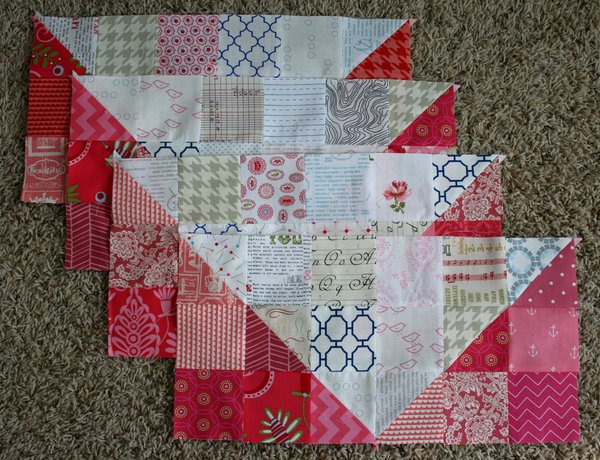
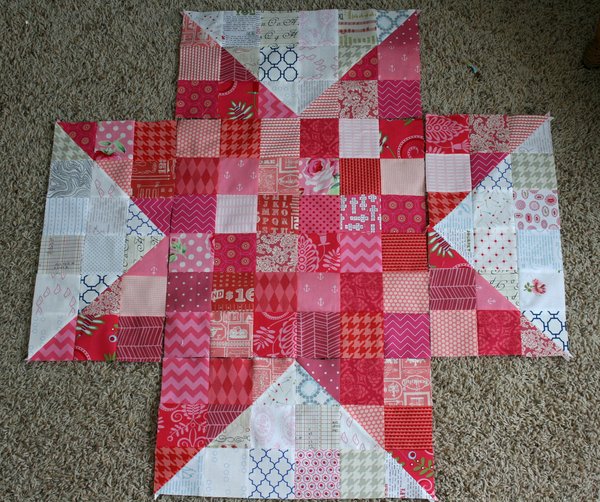
That’s it! The first two sections are complete. Now lay them all out together and admire the center star for your quilt, then snap a picture and share it in the flikr group.
Come back next Monday, January 21st, for sections three and four.
Happy sewing, Jennifer For the next post in this quilt along, click here.
It’s looking fantastic!
That is going to be gorgeous! I’d love to make one – maybe next month – thanks for the great instructions!
I just found your blog tonight and WOW! I love your giant Swoon quilt and have already pulled fabrics ready to cut them out tomorrow. I’m doing cream/blue backgrounds with chocolate browns and blues for the other two colours. Oh yeah!
So, the half square triangle pieces are supposed to measure 3.5″ square when trimmed and pressed? Mine are coming out just a tad smaller.
Laurel,
Can you adjust your seam allowance a bit on the half square triangle blocks? A scant 1/4 seam allowance should work. I find that if I’m sewing that way, they usually turn out perfect.