
Quilted Book Cover + Tutorial – A HOME for all your creative ideas!
I’m enjoying the HOME needle book that I made with one of my moody little HOME blocks so much that I decided to make a coordinating project with the remaining block. As it turns out, this color scheme really interests me right now. When I design any of my quilts, or just have ideas to play with, I always sketch them out in a graph paper composition book. So of course I grabbed mine to brainstorm and it hit me: make a quilted book cover!
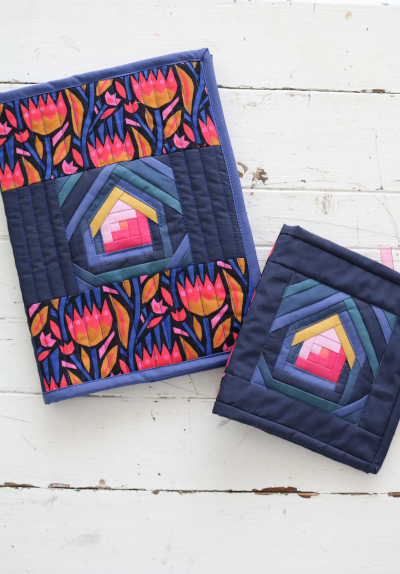
Mine is simple and no-fuss. Just like the needle book, I wanted a quick, functional project and NO trips to a store. If I were to make more, it would be fun to add a small pocket for a pen or pencil, and possibly an elastic band to keep it secure.
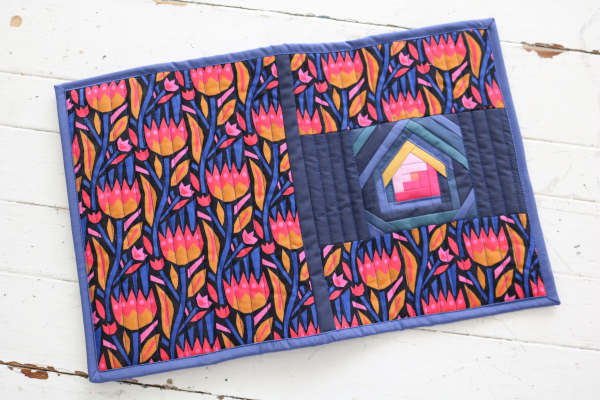
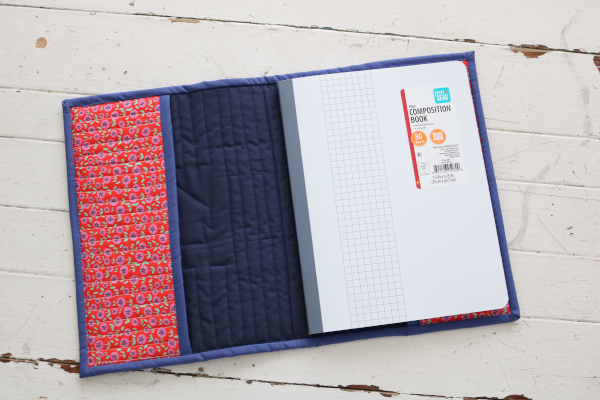
I’ve posted more than once now about this fabric. It’s from Fabled Land by Pip & Lo for Cloud 9. I want to make everything with it, but I’ll stop gushing now. For the inside flaps I used a darling little floral that coordinates well from the Chicken Littles collection by Windham. The print is flower field in tomato. And, of course I’ve added the Art Gallery Pure Solids in Nocturnal, a perennial favorite, it seems.
I was working on this fun quilted book cover at night with terrible lighting, but decided to snap a few photos along the way. So for what it’s worth, here’s a little tutorial for you.
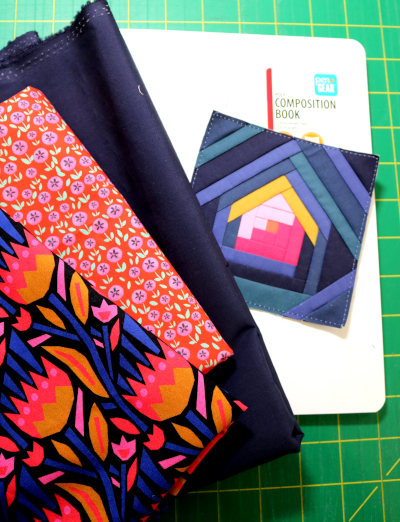
What will you need? A composition book, a cute little 4″ HOME quilt block (or some other fun block or fabric to showcase), plus a focal fabric for the outside cover, a lining fabric, another fabric for the inside flaps, 5″ x width of fabric for binding, leftover batting, and coordinating thread.
First up, measure the size of your composition book. My composition book measured 9.75 inches tall by 7.5 inches wide. I added 3/4 inch to both measurements to account for quilting and seam allowances. This means that my front and back “covers” measured 10.5″ high by 8.25″ wide. Adjust these measurements based on the size of your book.
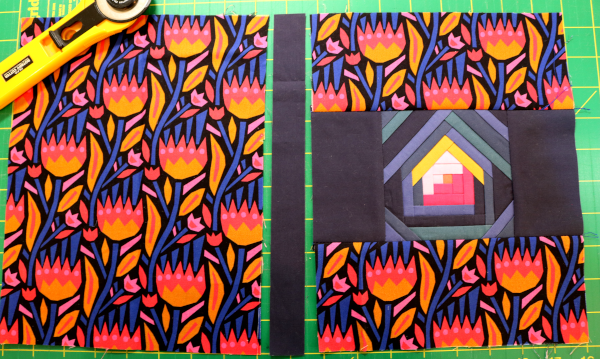
For the front cover, I placed my 4″ HOME block in the center, with two 4.5 x 2 3/8″ blue strips to sew to the left and right sides. I then cut a piece of my floral fabric that was 8.25 x 7″, and cut that into two strips 8.25″ x 3.5″. Next, I sewed them to the top and bottom. Now my covers were ready. I also cut a strip of navy blue that was 10.5″ x 7/8 inches for a “spine”.
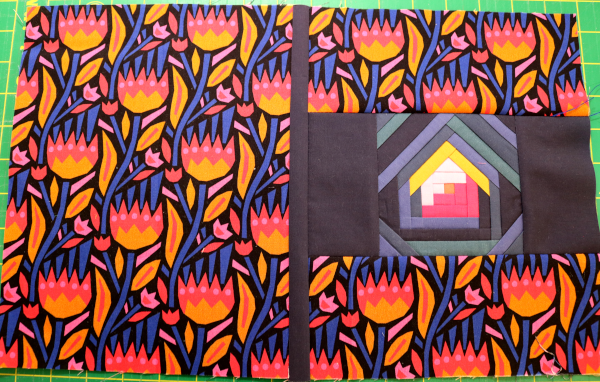
Sew all three pieces together to make the outside of your book cover. Measure the height and width of this piece.
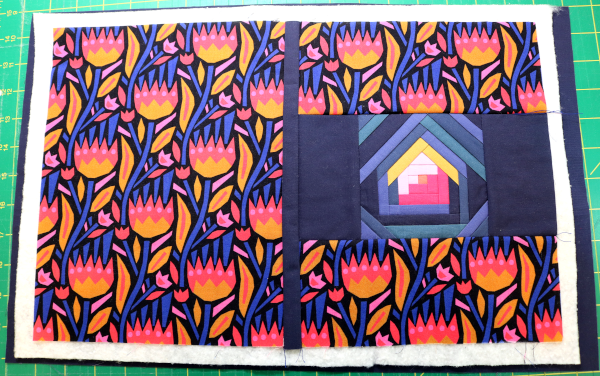
Once you’ve made the outside cover, cut your lining, adding 1.5″ around all 4 sides. This means adding 3 inches to both the height and width of your front cover. Cut a piece of batting that is a little smaller than your lining. Baste these layers together, either with pins or an adhesive spray. I chose a spray so I wouldn’t have to deal with any pins.

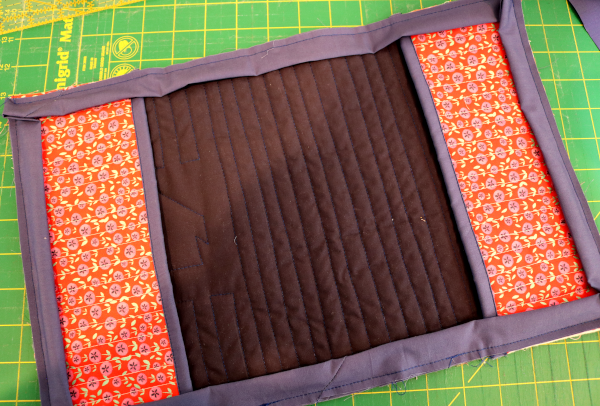
Next, quilt your book cover! You can do this in any way you prefer. I love straight lines, especially on small projects such as this. Have you ever heard of a Hera marker? It’s one of the greatest little quilting tools I own, and I HIGHLY recommend them. When run along the edge of a ruler, the sharp side of the marker creases your fabric and makes quilting lines that are easy to follow. Straight lines, no lasting marks. I’m a fan.
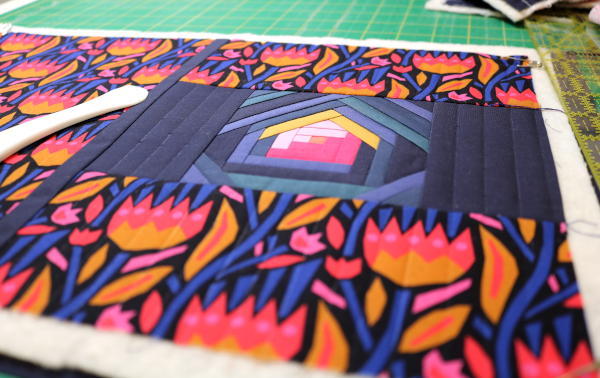
If you look closely, you can see my crease lines on both sides of the house.
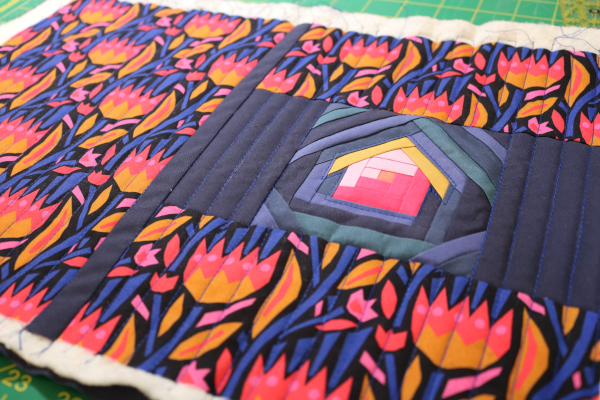
I’ve quilted my book cover and am ready for the next step, which is to make the inside flaps.
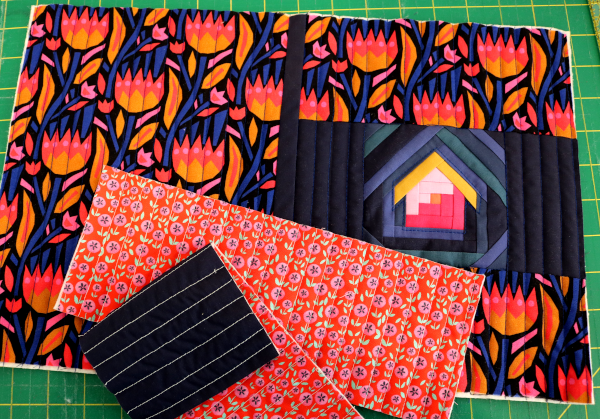
Measure the height and width you need for inside flaps. I cut my flaps at 4″ wide by 11″ tall. To do this, cut 2 each of the lining fabrics and of the flap fabrics. Cut two pieces of batting as well. Baste as before, and quilt. I continued my straight line quilting, but in the opposite direction. After quilting, trim these pieces to the same height as your book cover. Mine are 10.5 x 3.5″.
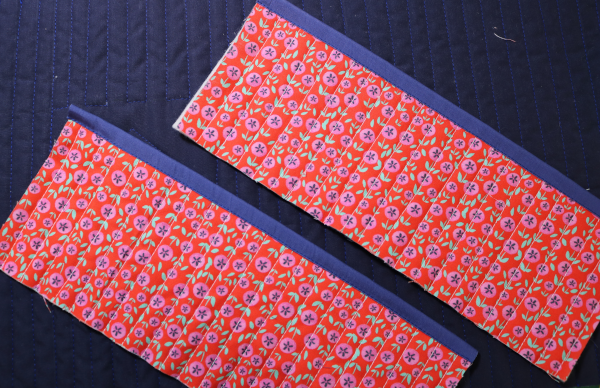
From your binding fabric, sew binding strips down one long side of each inside flap.
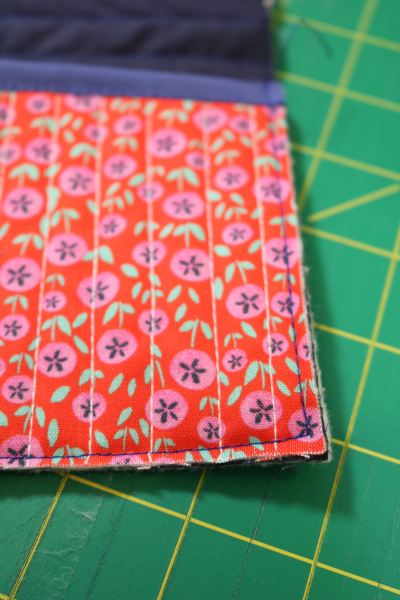
Place your flaps on the inside of your book cover, with the binding facing the center and the raw edges aligned with the two sides of the cover. Pin in place. I chose to sew mine in place, but with a 1/8″ seam allowance so it would hold my flaps where I want them while adding the binding, but stay unseen after finished.
Attach binding to all 4 sides of the book cover. I sewed mine to the inside of the quilted book cover so I could finish it easily by machine. Once your binding is fully attached, your quilted book cover is finished! My moment of truth came when I slipped it onto a composition book. Viola! A perfect fit – snug but not too tight.
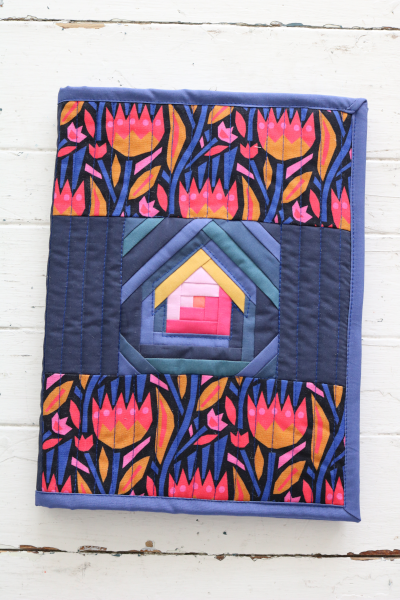
A home for all my ideas, showcasing a favorite quilt block and gorgeous fabric. I can’t wait to use it!