Field Study Experiment
My sister and I split a fat quarter bundle of Anna Maria Horner’s Field Study fabric. I really like the fabric, but it is a step outside my comfort zone. Most of the prints individually I think are pretty, some much more than others, but usually collections like this are just too busy for me. Still, I want to stretch so we got some.
The goal was to use it right away, while it’s new and exciting, instead of letting it sit because the fabric seems so perfect that you don’t dare cut into it. (This happens to me more often than I care to admit.) We gave ourselves a deadline of Sunday evening and it’s been there, at the back of my mind, nagging me all week. Sometimes our Saturday games start later and on those mornings I love to get up really early and sew while my family sleeps. I got lucky this week and had an early morning at my sewing machine.
This is what I did:
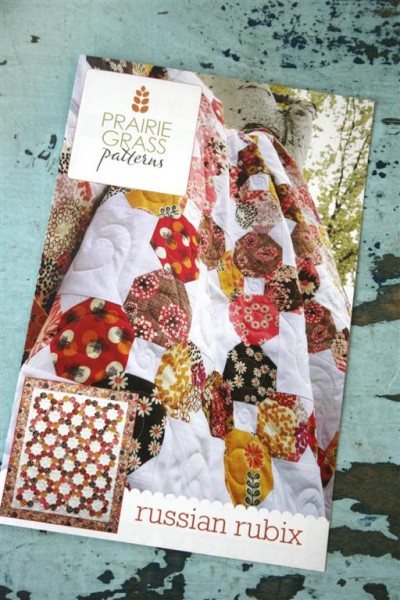
I bought the pattern, Russian Rubix by Prairie Grass patterns, at a local quilt shop a couple of months ago. They had made a quilt with it and I loved it, so I grabbed the pattern. At the time I was thinking I might use Flea Market Fancy for it, but I decided to try it with Field Study instead. Of course, no shops were open to look for solid fabric, so I used the Kona bone I have on hand.
Here’s what I learned. If I’m going to make this quilt I want a real template I can rotary cut with. I was so careful with this one, even tracing it on graph paper to be certain it was correct. I measured everything, pinned everything, did everything so carefully, and yet I still felt like I couldn’t quite get things to line up the way I liked.
Here are the first two blocks. (Grrr! those seams don’t line up!)
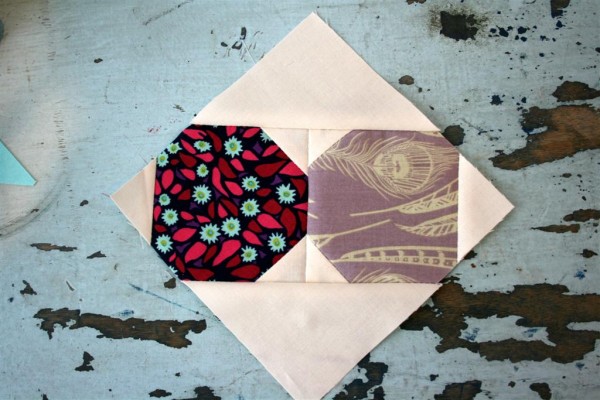
Second try, a little better. This time I was pressing all seams open, something I usually avoid at all costs:
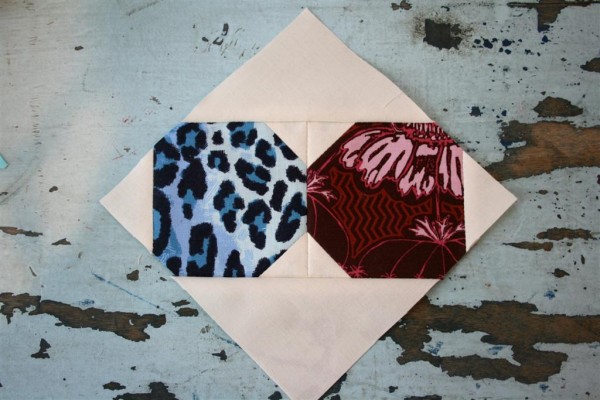
Third try, even better as far as that inner seam lining up, but I’m wondering if the green print is going to make me crazy like that:
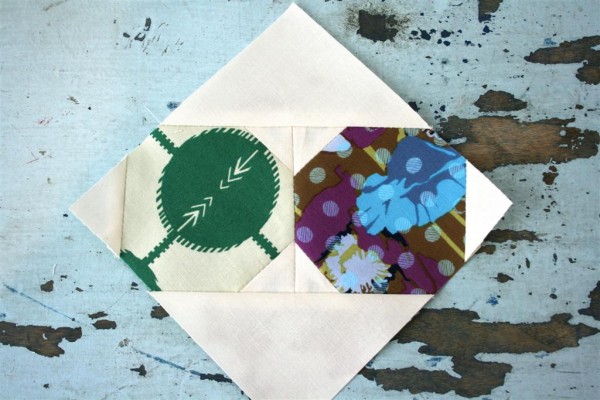
Finally, on the last piece of the first block, I got them perfectly aligned!
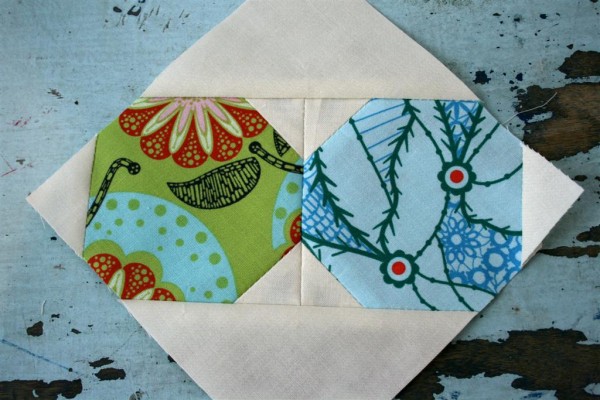
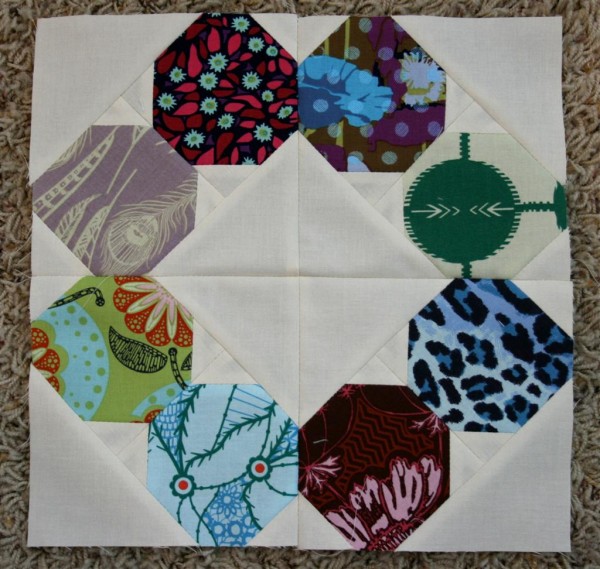
And then I put them all together to make the first block, and was disappointed all over again. In spite of triple checking the template each time I cut, the sizes of those octagonal edges weren’t all the same no matter how carefully I trimmed, and so more seams are off when I join them together.

I’ve been stressed ever since. I honestly don’t know if I like this block, although I did LOVE the quilt I saw. Here are my doubts:
1. I don’t have time to be this careful and still have things be wonky. If I can’t find someone to make me a template (I’ve already emailed someone) then I don’t see how I can finish the quilt. I know that I know how to line up seams, etc, but I had very little luck with this block. The block also took a very long time to put together, and I mostly felt frustrated. I do know that I’m not going to waste my creative time being frustrated, so if I can’t find a way to make it enjoyable I shouldn’t do it.
2. Would I like it better with a darker background fabric? I used the lighter color because I didn’t want the whole quilt to be super dark. Should I have used white for some contrast?
3. Would I like it better without the green and cream print in it? That octagon gets lost in the circle. Is that what’s bothering me?
4. So I’ve already cut into the fabric. What was supposed to be an accomplishment (jumping in) is now a stress. What should I do instead? Now that I’ve cut into it, I need to do something with it or it will just sit and stare at me as a reminder that I quit. And while we’re at it, this is just fabric!
Why on earth am I stressed? This is all just for fun!
So I’m asking for some help. What would you do? Does the block look better than I think it does? Should I change the background fabric? Press on? Quit? Any ideas? One thing is certain, I’m shelving this for now, at least until I have an answer on the template question. At least I kept my promise and cut into it on time!

I feel your pain over the Russian Rubix… I did get your comment on my blog and will get some pictures done up of what and how I made mine. Basicly I used paper piecing to get the octogon and small triangles stitched which was a big help in getting the accuracy you need for this. I’m very happy with how mine came out – so the extra effort was worth it.
Well I guess this comment reveals a lot about me, but I think it looks pretty cool. I would keep it as is and press forward. The seams not being perfect doesn’t bother me a bit. That just makes it feel more hand made and loved. That’s just me! 🙂
xo
E