A few of you asked which history book I was reading when I posted about the power of history recently. Having completed the book, I wanted to share it with you and share my thoughts about it.
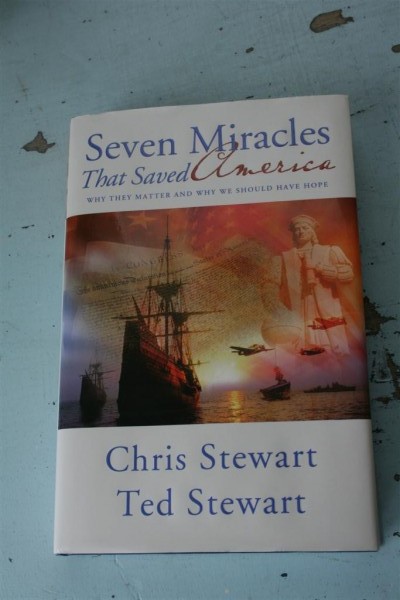
The book is Seven Miracles that Saved America, Why they matter and why we should have hope by Chris and Ted Stewart.
I loved it. It was a great “jump back into reading history” book for me. The book goes through seven different events in U.S. history illustrating small things that did or didn’t happen and how the course of history would have been altered if they had happened differently. The seven examples cited are:
Columbus’ discovery of America and why it was unlikely Jamestown, VA and the survival of the colony in spite of the “starving time” The Battle of New York during the Revolutionary War and the miracle of fog to cover the retreat Creation of the US Constitution Lincoln’s experience with prayer during the Battle of Gettysburg The Battle of Midway in WWII Ronald Reagan’s unique talents and influence in ending the Cold War Of these seven events, I can say that I was already very familiar with five of them. Even so, among those five the book contained research that either I wasn’t familiar with or hadn’t considered from that perspective before. So although much of the book was review for me, I felt that I gleaned new thoughts and insights. For instance, I had never studied Chinese history during the century leading up to Columbus with the question in mind, “Why didn’t the Chinese discover the New World?” Learning about the decline of Chinese culture at that time was fascinating to me, not because I’d never heard it before, but because I hadn’t connected it with what was happening in Europe at the same time and the consequences it all had on the Americas. I guess you could say that this book connected some dots in my mind, an illuminating experience!
This book is written from a Christian viewpoint, something which I am not the least bit bothered by. My personal belief is like Benjamin Franklin’s, that God governs in the affairs of both men and nations. I was also happy to find in the bibliography several books which I intend to read. Experience has taught me that reading the bibliographies in historical books often shows me new paths to follow in learning. It’s like a treasure hunt, and I love it.
Finally, the premise of the book was what inspired me to purchase it in the first place. Most historians have a purpose in writing, something they’re hoping to prove, and they use historical facts to do it. Often those facts can tell more than one story depending upon the perspective of the storyteller. In today’s world there are few who use historical facts to support the idea that the United States of America has a purpose to fulfill in the world, that it has tremendous potential, and that believing in that potential and mission is worthwhile. I found it refreshing to read.
In addition to this, it is interesting to consider how history might have played out if different things happened, or if certain things didn’t happen. Obviously we will never know, but this book reminded me that sometimes there is significance in considering the other alternatives. I realized that I have more to learn from both history and my personal life by asking that question. Sometimes the hand of God is revealed in what didn’t happen, not only in what did.
While this book was not the best written history I’ve ever encountered, I found certain parts of it to be compelling. If history is an intimidating subject for you, it is likely that you would find in this book a story that would pique your interest and make you hungry for more. It is also an easily digested book because it provides only general overviews of historical events and isn’t a thick book focused on one single event.
In sum, I learned and am a better person for reading this book. I recommend it. If you’re interested, you can purchase it here .
Jennifer
