Grow Quilt Top
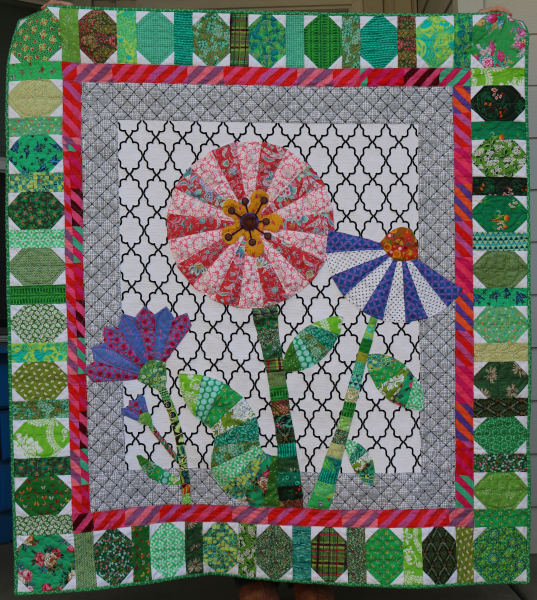
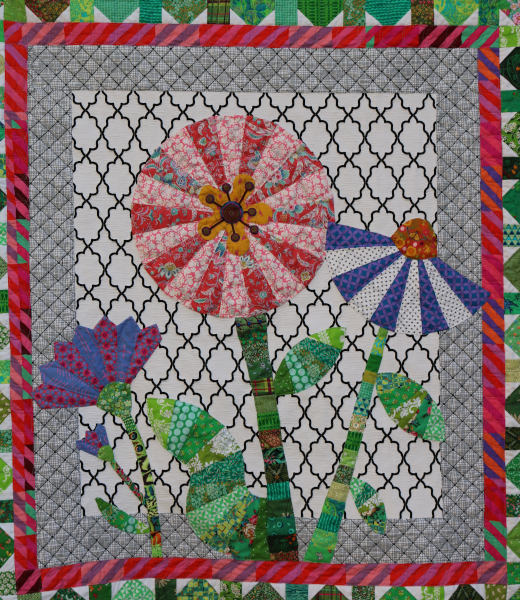
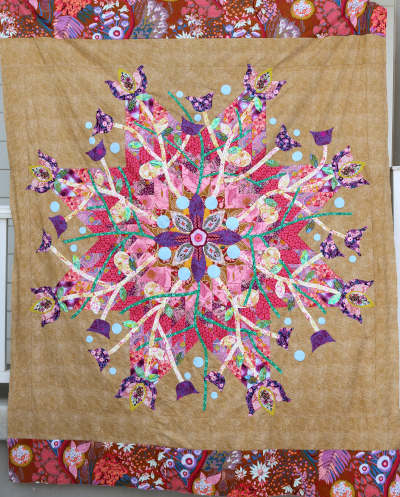
Suddenly, everything is blooming. Which makes today the perfect day to share an old quilt top, dormant for years, which is now new and finished. A new layer of life atop the first round of piecing. Here is she is, my Grow quilt top.
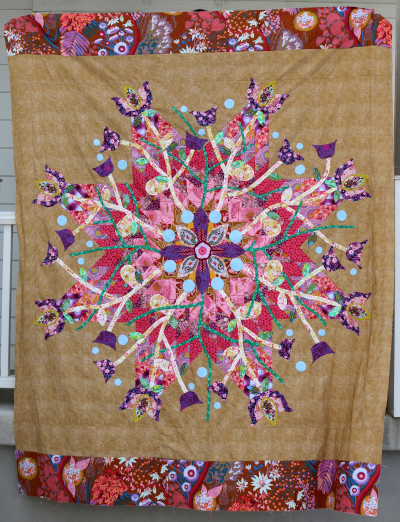
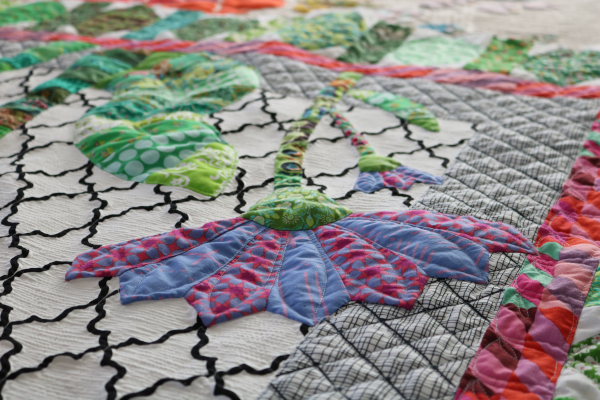
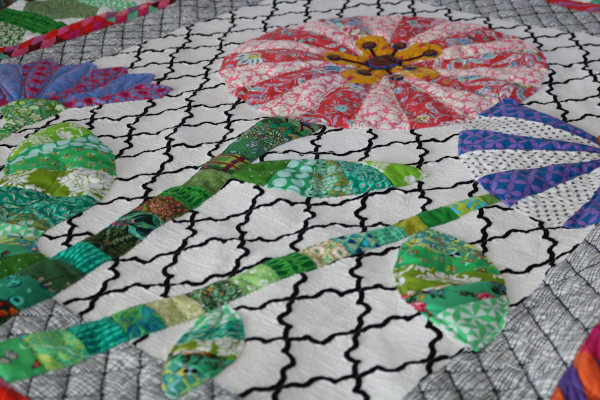
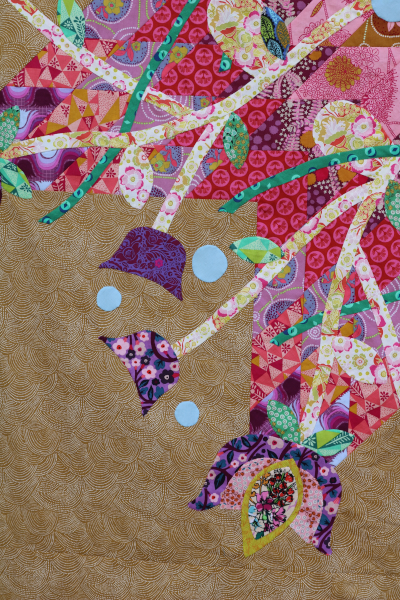
This quilt top is actually a lone star quilt featuring my Mod Lone Star pattern, with a second layer of applique on top of it. I made the star in 2019 and then decided to add applique (see the start here)
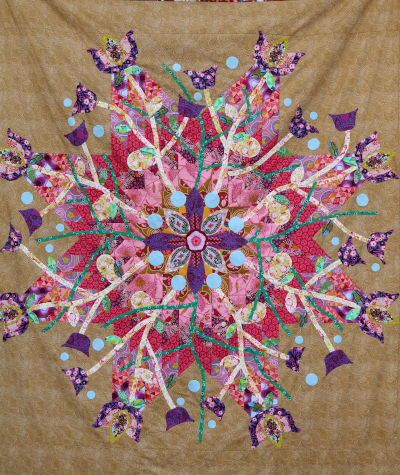
I hung it in a window to ponder the finishing touches, and thought how lovely quilt tops are as curtains. They look like stained glass. I like seeing the lone star diamonds more clearly this way.
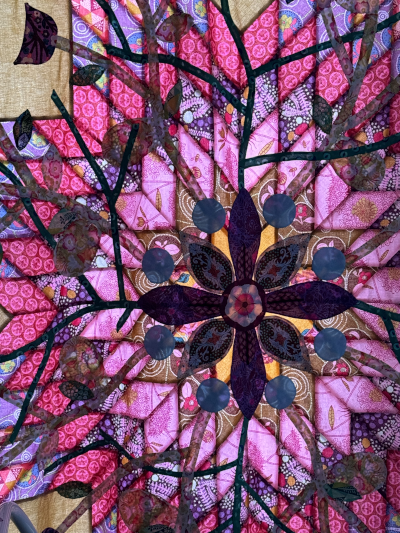
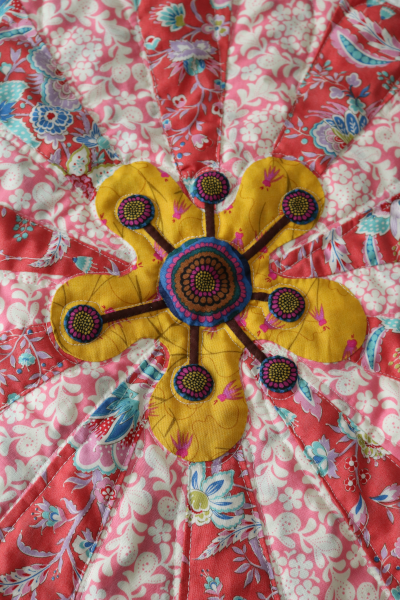
My original plan called for yellow circles around the center, to re-introduce the yellow center that is mostly covered with purple applique. But it had very little impact or contrast, and mostly blended in. So after looking at it for a while, I settled on the icy cool blue. It was the perfect unexpected thing to finish it off.
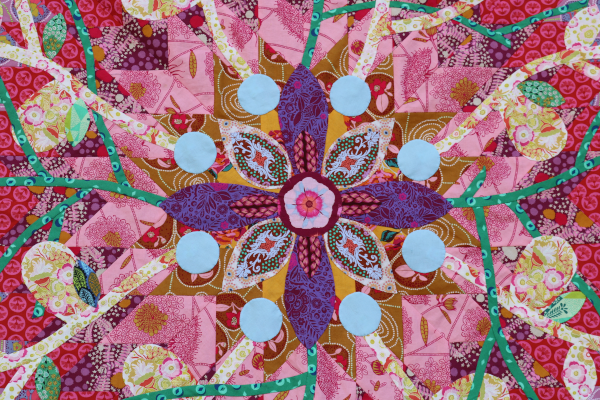
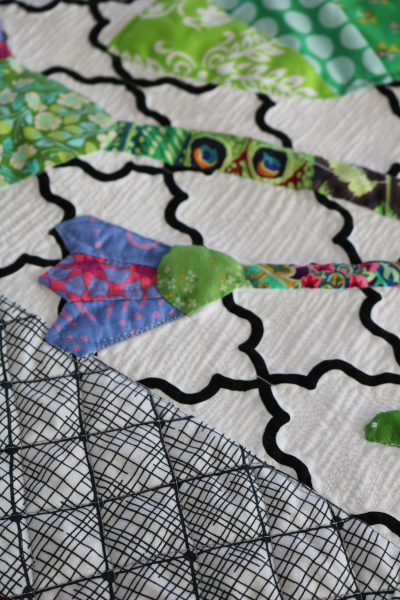
I added more blue circles around the outside of the star in the same blue. It pulls everything together.
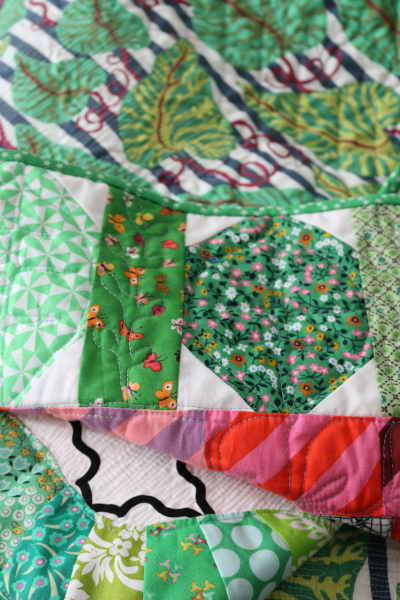
I worked on this project, off and on, over 5 years. Crazy, I know. Part of the slow pace was the sheer size of it. I could only do it on my kitchen table, because I had vines overlapping and multiple needles and thread colors going. It needed lots of hours on the table, which is difficult with a large busy family. I have new large scale applique projects I want to start, so I gave this one a big investment to complete it. Wow, am I glad I did!
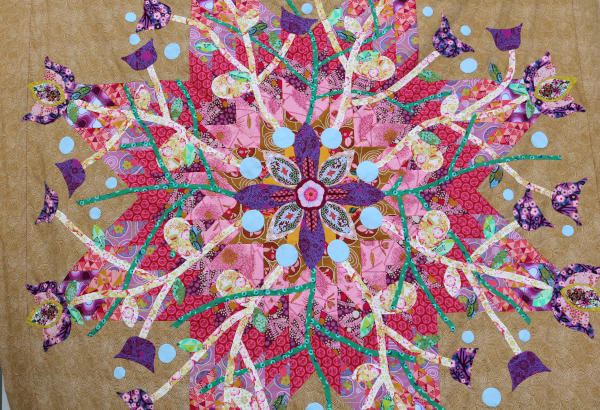
I named this quilt sweet dreams at first, after the Anna Maria Horner fabric collection I used. As I stitched, I started calling it Grow in my head. I like the way the organic “growth” meanders over the very structured lone star. I’ll share more thoughts about this after I quilt it. So, Grow it is. And I couldn’t be happier with my Grow quilt top.
I’m on a roll with quilting lately, so I plan to finish this one quickly. I have a fun little stack to share. Finishing this will feel so good.