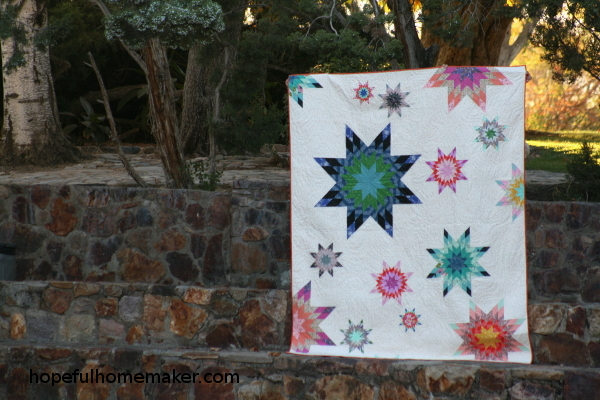
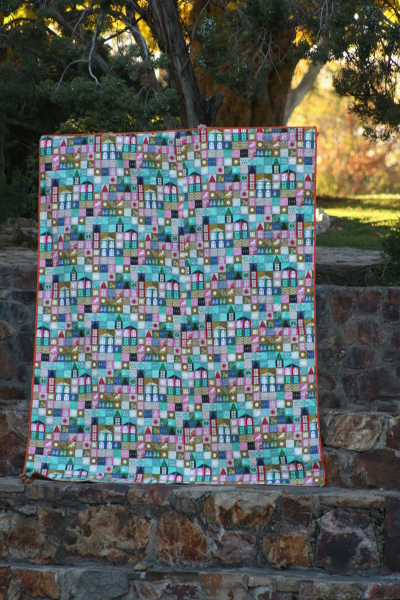
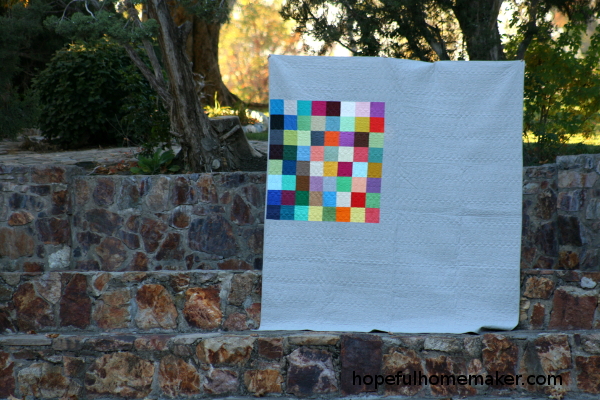
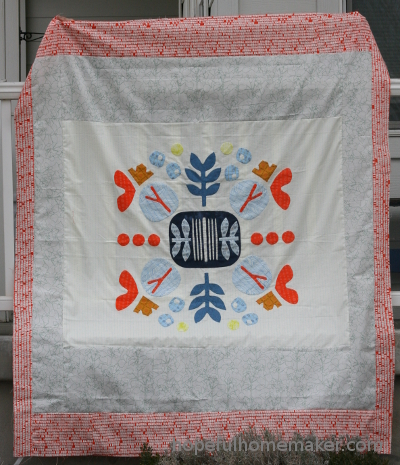
Bontanics Quilt Top
Surprise, surprise! I’ve completed a quilt top with another Carolyn Friedlander pattern.
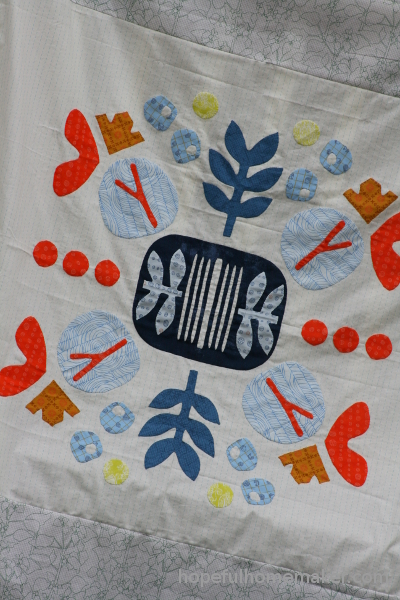
This is her Botanics pattern, and it was the first pattern of hers that I saw. I loved it and ordered it and opened it…. and was totally intimidated by it. I’d never tried needle turn applique before and all the pinning and basting seemed like so much time and work… so I never started.
As I was reviewing 2016 and setting goals for 2017, I came across this quote by Walt Disney:
“The way to get started is to quit talking and begin doing.”
I realized that there are a number of areas in my life that I’d like to change, and I was talking about doing it but hadn’t actually started. As I considered my creative goals, I also realized that there are some patterns I’ve talked about making for a while.
So I’m trying to quit talking and begin doing.
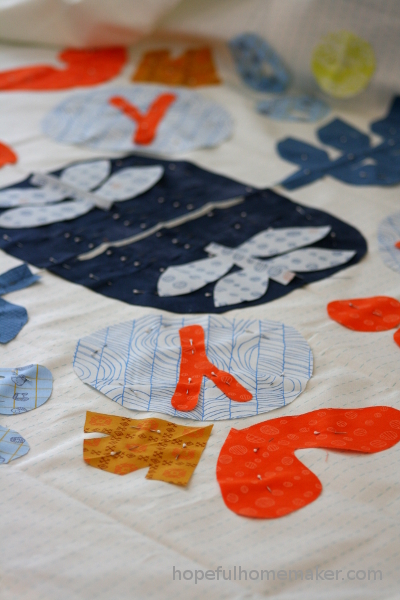
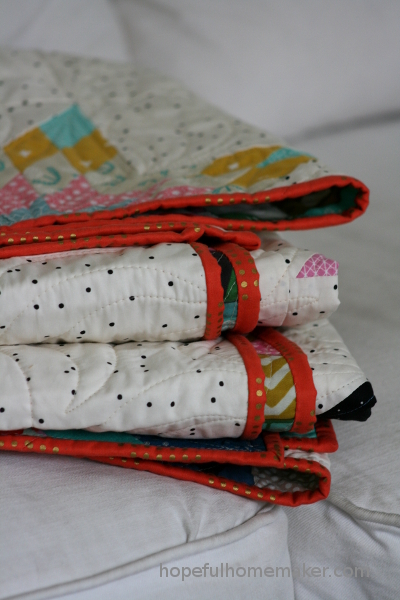
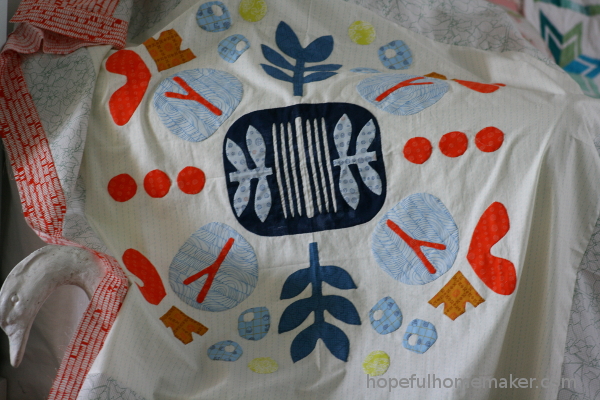
I got the pattern out, started cutting, ironing, pinning and basting. And finally, stitching. The pinning and basting weren’t quick, but they did get done. The stitching wasn’t quick either, but lots of time in January reading books aloud as a family made it easy to stitch for a few minutes every night.
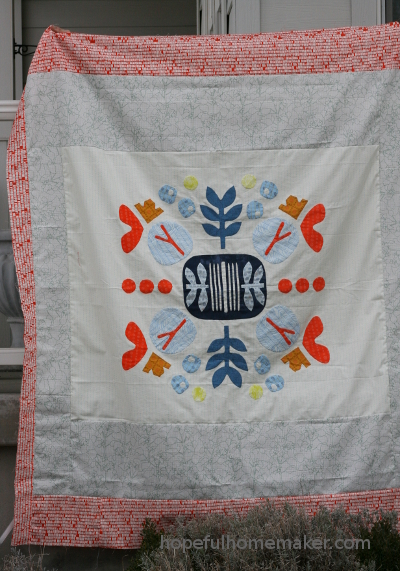
When the basting stitches are all pulled out it’s really fun to stand back and smile. Adding the borders was a quick and rewarding last step. Now it’s a finished quilt top!
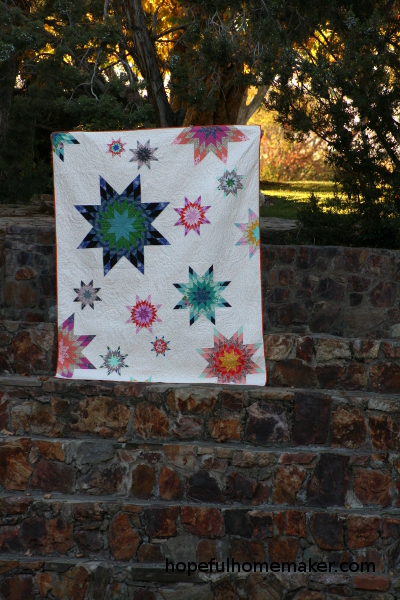
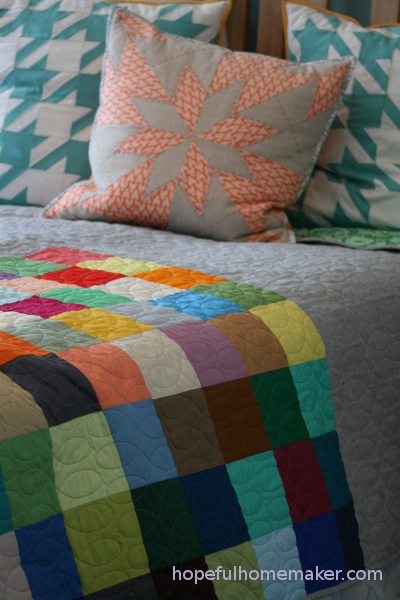
This is the fourth Carolyn Friedlander pattern I’ve worked with this year. I finished the Aerial Grove quilt top, used her Facing East pattern to start a traveling quilt , and am currently working on the Catenary pattern . I have a few more CF patterns I really want to make. Carolyn’s style is so unique and I enjoy learning from her as I make these quilts.
“The way to get started is to quit talking and begin doing.” -Walt Disney What will you do today? Let’s go make something awesome happen!
Jennifer