Graduation Party Decor Idea
Last week my amazing brother and his fabulous wife graduated from BYU. We had a little graduation party to celebrate their accomplishments along with my brother’s birthday. I wanted to do something fun to decorate for the party without spending a lot of money.
Here is what I came up with.
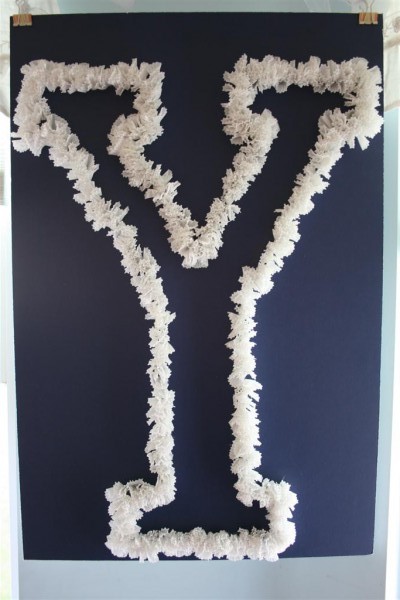
I found a piece of foam core board at WalMart in one of the school’s colors (dark blue).
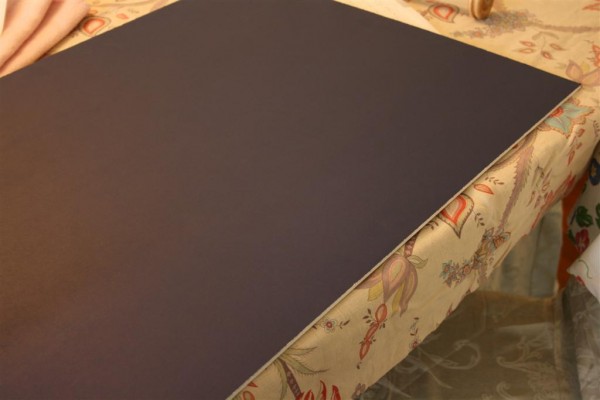
Using a dark colored marker and a small ruler, I drew a Y on the board. I was able to see the lines well enough to complete the project, but they don’t stand out.
Next I took white (another school color) miniature muffin cups and crumpled the bottoms, pinching them into a point.
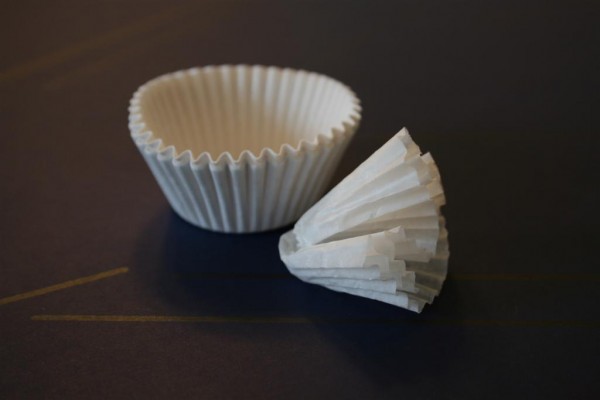
Using my hot glue gun, I dabbed a bit of glue onto the point of the muffin liner and glued it to the outline of my Y.
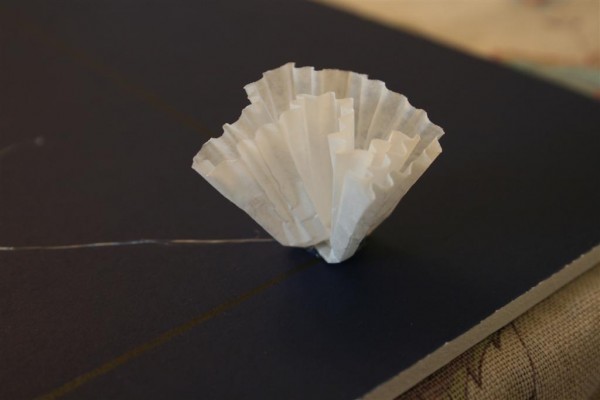
Repeat with more muffin cups, gluing them along the edges of the letter.
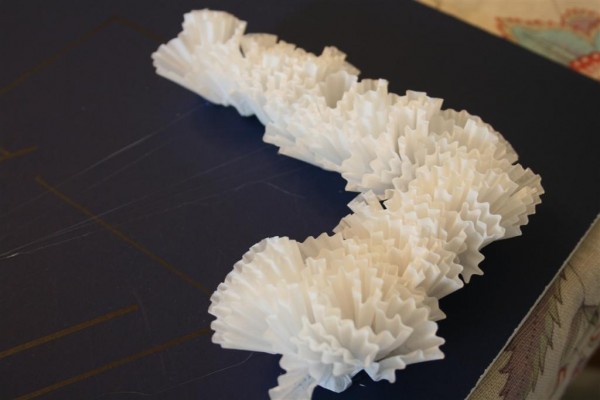
When I dreamed up this idea, I pictured the letter completely filled in. When it took 200 cupcake liners to do the outline, I decided to stop there. Two hundred liners may sound like a lot, but it was actually a calming experience for me to perform a simple, repetitive task while my mind was still spinning after this unexpected dash to the doctor’s office. In all I think the project took less than an hour.

Because I purchased miniature cupcake liners in bulk last year, the only cost was the $3 foam board. Everything else I had on hand. As I was working on it, I was thinking how fun it would be to make one of these with a number on it to celebrate a birthday party. You could also do a monogram. I really liked using the school’s letter in this instance. The muffin liners added much more dimension and interest than simply drawing would have done.
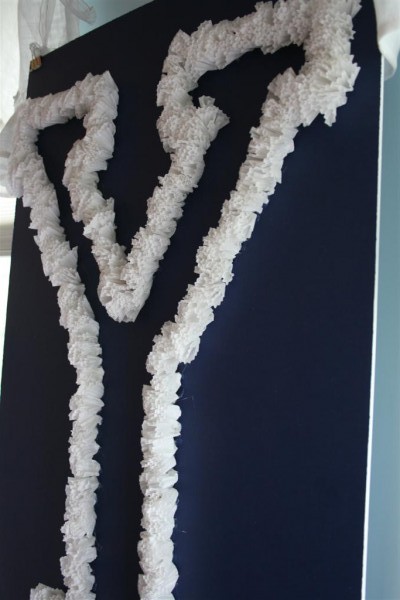
This was a fun way to make a big statement for our party. It added festivity to our gathering without too much effort or cost. I’ll be using this idea again! What do you think?
Note: to see how we incorporated the school letter idea into our dessert, check out this post .
Hopeful Homemaker shared at DIY Day and Girl Creative
