Felt Rosette Tutorial
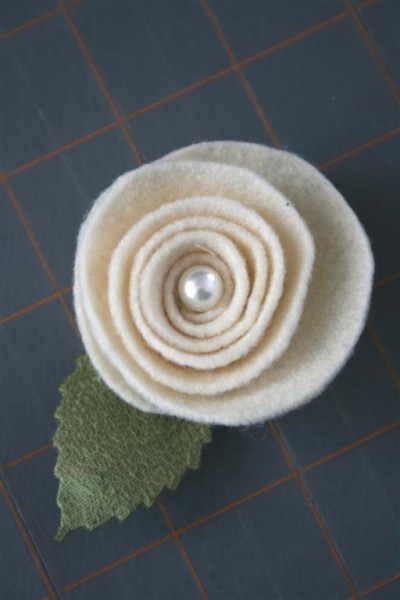
I have my sister to thank for getting my mental gears turning regarding felt and flowers. She posted pictures of this project and for some reason I couldn’t get it out of my head. I’ve now created two holiday items using such flowers and before I share them with you I thought I’d do a quick tutorial that can be an easy reference. Basically it’s the same as the book page rosettes I used to make this wreath and pomander I made last year, only made with felt. Since the felt is thicker, this version is much faster.
So far the flowers I’m making have been relatively small, so I’ve started by cutting felt circles which are about 3 inches across.
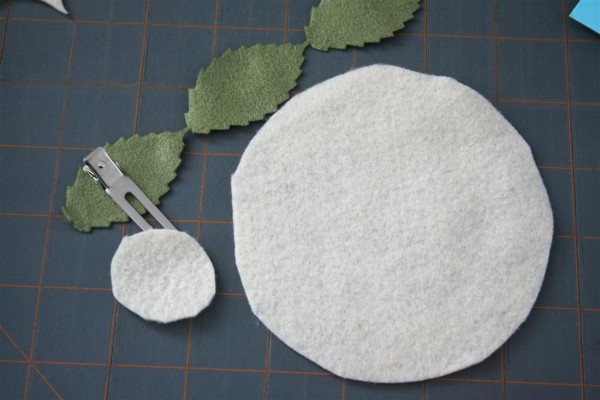
Here is a possible source for your felt, a mossy green and antique white (Click the images to look at them)…


I’m going to add a clip to mine, so I also need a small felt circle cut. In the larger circle, cut a spiral from the outer edge to the center of the circle.
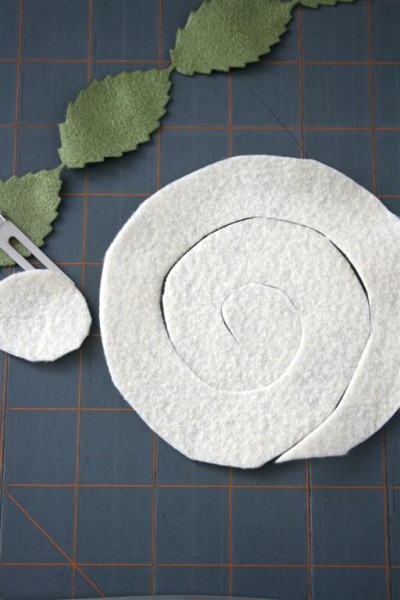
Beginning with the outside end, carefully roll felt.
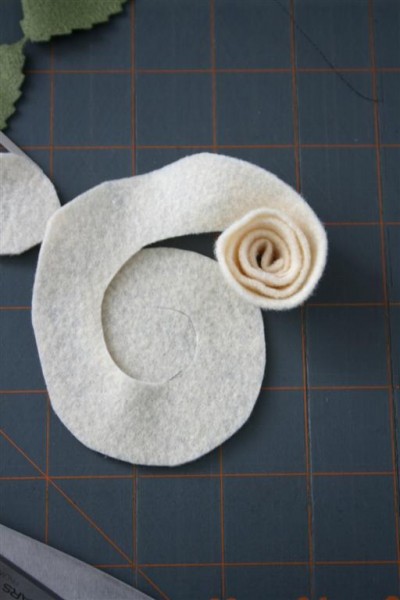
Continue rolling until you’re at the end of the felt.
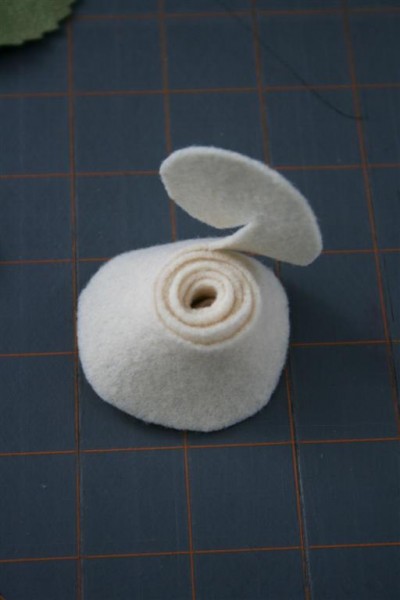
Add some hot glue to the flower and fold the last bit of felt over the glue. (This is the back of the flower we’re looking at; the front is face down on my mat.)
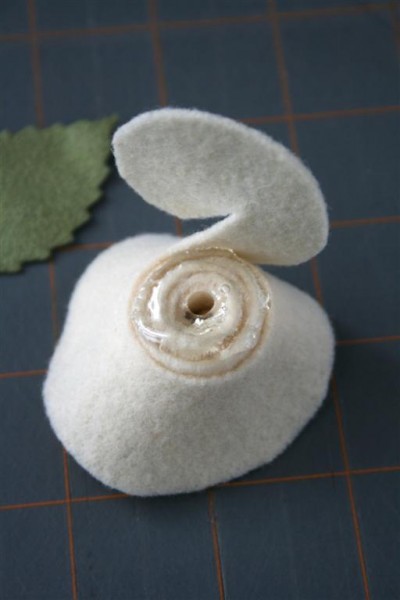
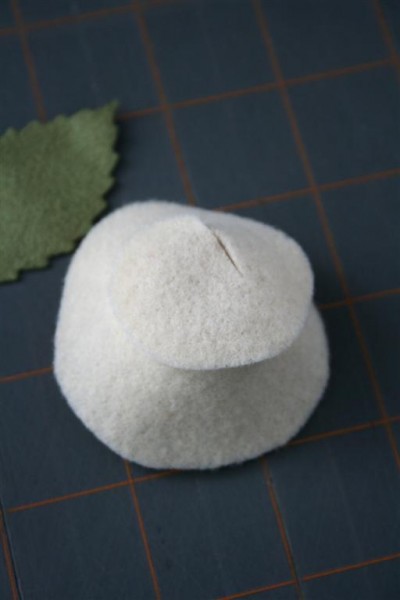
If you want to add a leaf, dab more hot glue on one corner of the flower and attach it. This is some faux suede May Arts leaf ribbon that I’m using (which I love). You can order some here , make your own with felt, or do whatever you wish.
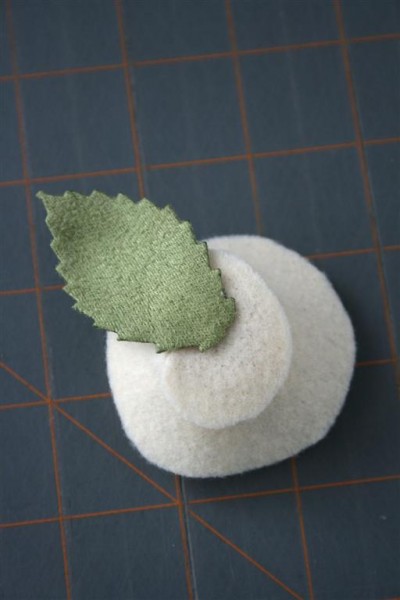
If you’re not using a clip with the flower, at this point you can glue it to whatever project you’re working on.
To add a clip to this rosette, take the second smaller felt circle and clip it inside the hair clip. This will prevent the hot glue from making the clip stick together and become useless. Add more hot glue to the bottom of the rosette and simply press it onto the hot glue.
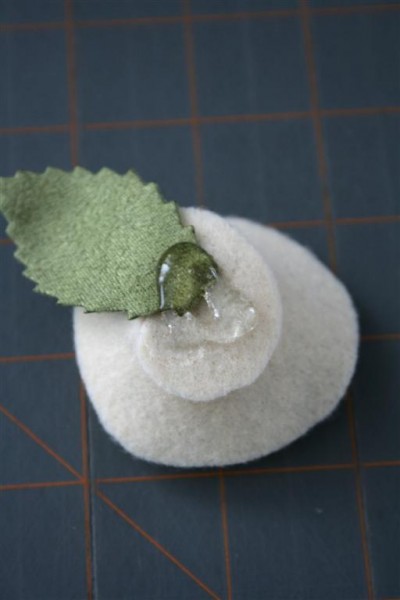
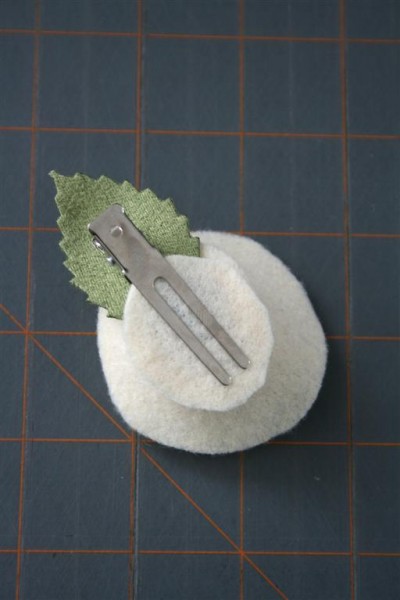
Turn the flower right side up and add whatever detail you may wish to the center of the flower.

You’re done! Up next: see how I used these clips to make unique napkin rings for Thanksgiving dinner !
Hopeful Homemaker

These are adorable! I’ve been looking for something for my class to do and this is perfect!!!
I love this design. I belong to a garden club and we have name tags for everyone. We are so big . The members do not know others in club. The old name tags are just plastic with a pin on back and you slide someone’s name in them , not very pretty. So will try to make 50 of theses up to hand out and put them on a small piece of felt size of four inches by three inches. With a pin on back. With there first names . Maybe they would wear them more. Sandi