
Scrappy Swoon Quilt Along: Quilt top assembly and backing
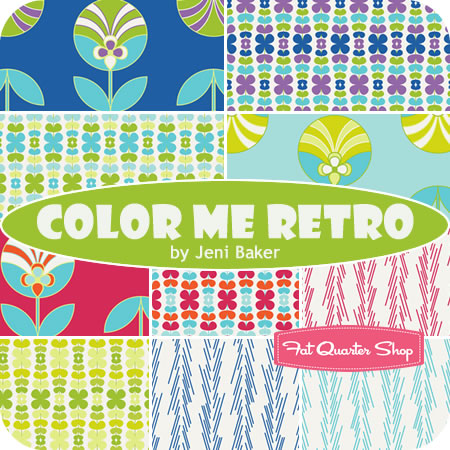
Welcome back to the Scrappy Swoon Quilt Along! I’m so excited to finish up the quilt top. Today we’ll discuss piecing the top and backing with the goal of sharing our finished quilts on March 11th. Those who link up with a completed Scrappy Swoon quilt will be entered to win a fat quarter bundle of Color Me Retro from the Fat Quarter Shop !
Now, let’s get sewing! We’re going to put together the quilt top by first piecing our sections into two basic blocks.
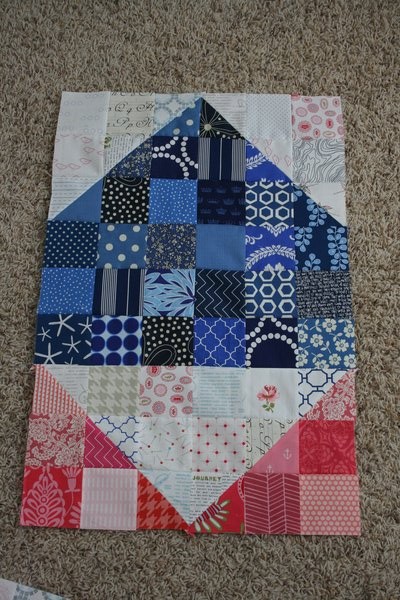
First up, the corner block. For this block you will need: 1 – section 3 block, 2 – section section 4 blocks, 1 – section 7 block, 2 – section 8 blocks, 1 – section 9 block and 1 – section 10 block.
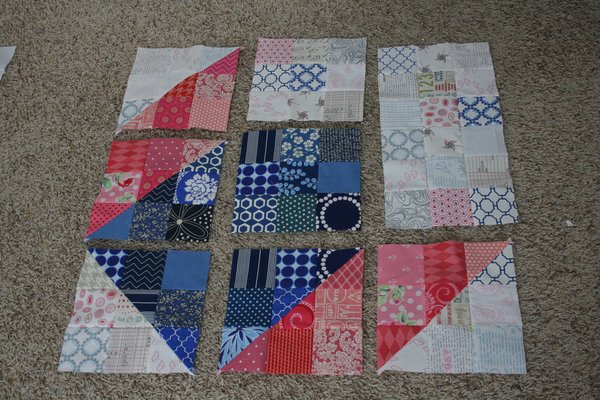
Referring to the picture above, lay the 8 pieces out as follows:
Column 1 (top to bottom): section 8 block, section 4 block, section 3 block Column 2 (top to bottom): section 9 block, section 7 block, section 8 block Column 3 (top to bottom): section 10 block, section 8 block Take care to arrange your section 8 and section 4 blocks with angles pointing the proper direction!
Sew the blocks into three columns:

Sew the three columns together to make a large square corner block.
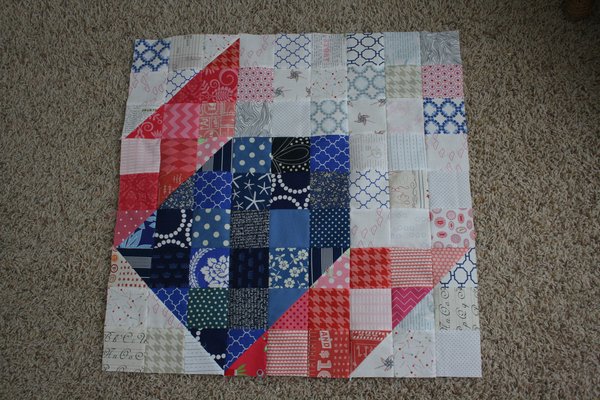
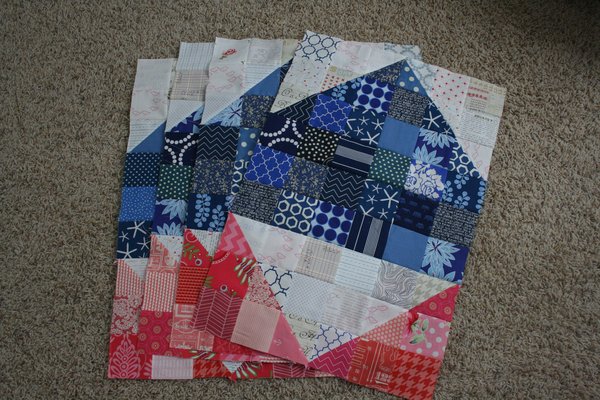
Make 4 of these.

Great! The most complicated part is done. Now let’s make the blocks that will be in the center of each side of the quilt.
To make the center side block you will need: 1 – section 2 block, 1 – section 5 block, 1 – section 6 block.

Sew the three blocks together, again making sure that your section 2 and section 6 pieces are pointing the right direction.
Make 4 of these blocks.
Now we have 9 blocks remaining; 4 corner blocks, 4 side center blocks, and your section 1 block which is the center block for the quilt.
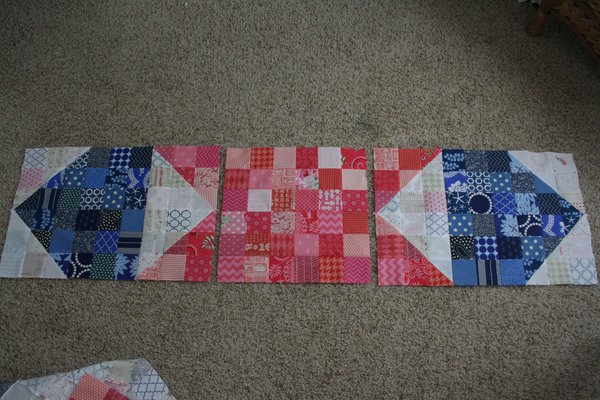
To piece them together, take two corner blocks and one side center block. Lay them out as shown below.
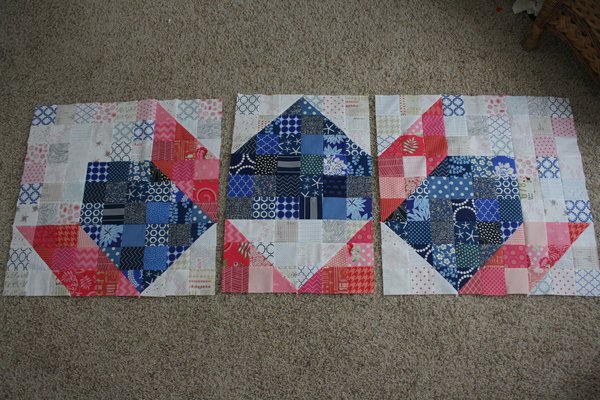
Sew the three blocks together to make a 72 inch long strip.
Make 2 of these (sorry! forgot to take a picture).
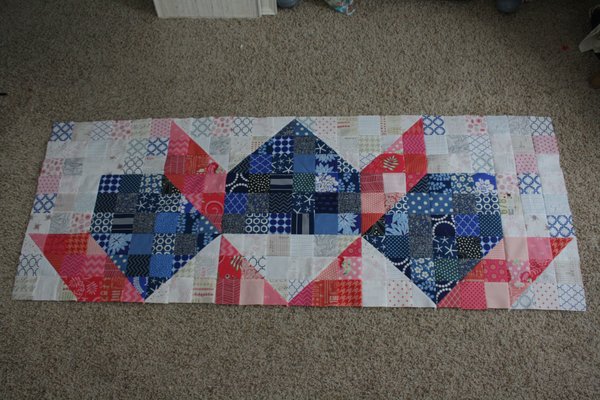
You will have three blocks left over; your section 1 block and two of the side center blocks. Lay them out as you see below and sew together.
Now take the three strips and lay them out to finish the quilt top. Sew the three pieces together.

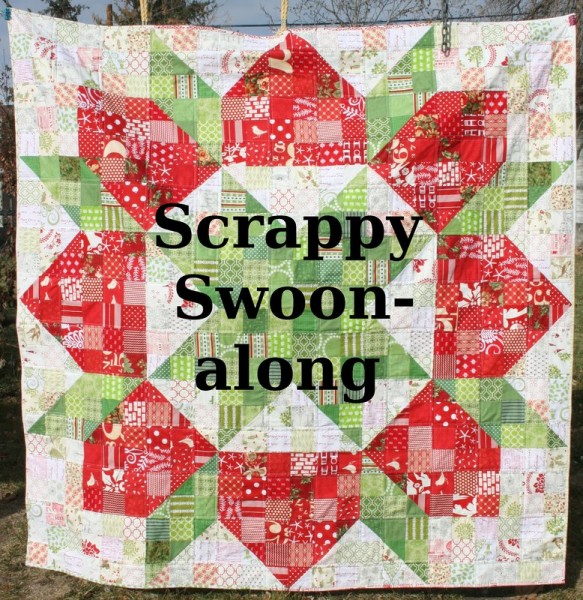
Ta-Da! You have a finished quilt top! 600 squares of fabric all sewn together to make a yummy, scrappy quilt!
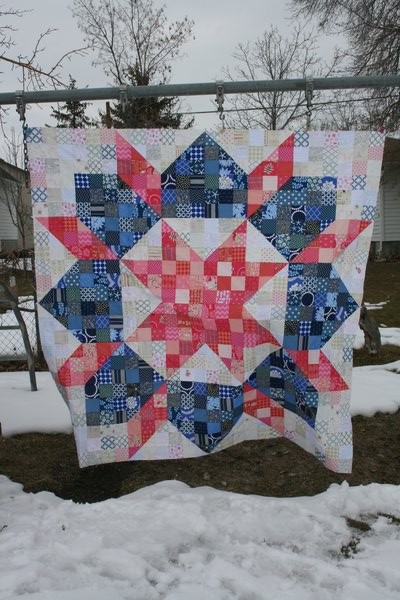
I was so relieved when I finished my quilt top! As the weeks have gone by I started to wonder if I liked my color combination but when I hung it up and stepped back to snap a photo, I loved it again. A very pleasant discovery to make.
Item two for today’s post is to work on the backing for your quilt. The quilt top should measure 72 inches square, so your backing will need to be around 80 inches square.
The easiest way to do this is to purchase a full or queen sized flat sheet and use it as your backing. If you’re looking at a full size sheet, check the dimensions to confirm that it’s wide enough. If you’re using regular 44″ quilting fabric, you will need 4 1/2 yards of fabric. If you use 4 1/2 yards of the same fabric, simply cut it into two lengths that are 2 1/4 yards long and sew the pieces together along the selvage edges.
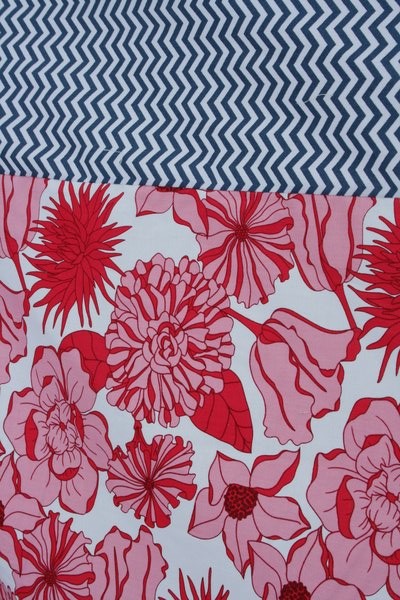
For my backing, I used 2 1/4 yards of a pink print and 2 1/4 yards of a blue print. I cut the navy piece in half along the fold, then sewed each navy piece to the pink print along the selvage edges. I like having both of my colors on the back of the quilt. This was quick and easy and provides a bit of interest.
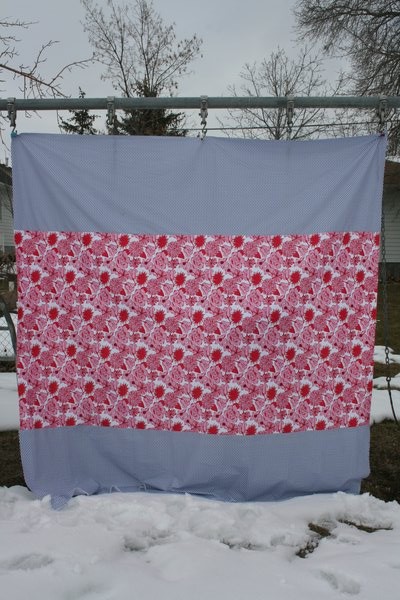
I don’t know that either of these fabrics would have been my first choice, but this year is a “use what I have instead of buying what I want” year for me. The pink floral print is from Riley Blake.
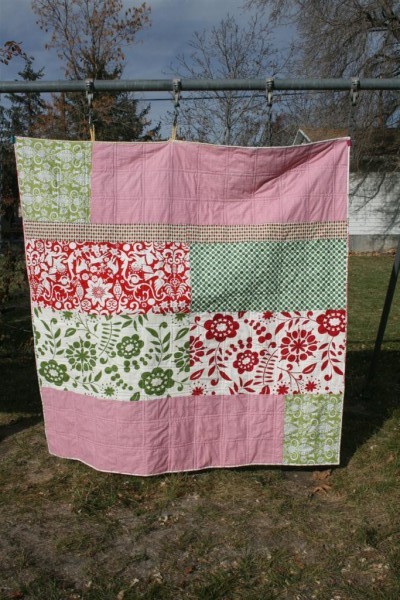
When I made my original Scrappy Swoon quilt, I didn’t have a lot of yardage of any one print, but did have a number of Christmas colored pieces on hand. I pieced them together, using four half yard cuts in the center, a long strip of one print, and a red and white houndstooth print (cut along the fold again) which I bought as a remnant. The houndstooth wasn’t long enough so I added some green tonal Whimsy to the end of it, and simply arranged all the pieces so that the colors balanced themselves out across the backing. This back is much more scrappy and I really like it.
You can use smaller pieces to make your backing as scrappy as you’d like. If you have Camille’s original Swoon pattern , you could make a regular Swoon block to use somewhere on the back as well. I think that would look really pretty. Raid your stash. Do what you want. Have fun!
Once you have your backing made, start basting and quilting. I hope you’ll work at whatever pace will allow you to finish up your quilt in the next three weeks. If you’re taking it to a longarm quilter you will probably need to do that right away so you have time to bind the quilt and link up with us on the 11th of March. We’ll be pretty casual for the next two weeks, but I will be posting next week to show you how I’m quilting mine, and the following week will be about binding.
Thank you so much for participating in this quilt along! I have enjoyed seeing your quilts more than I anticipated. It has been such a pleasure to check the Flikr group, and also to find my way to your blogs, where I’ve been able to see your talent and productivity. I am grateful for this online quilting community that is so encouraging and creative. Many of you have left kind and encouraging comments here, and I thank you for inspiring me!
Now, let’s finish these quilts!
Happy Sewing, Jennifer
Oh it looks terrific!
I can’t believe how many scraps this QA busted! I decided to go for it and cut all of my pieces starting TODAY. I’m kinda a late bloomer. But I’m so excited how many scrappy pieces I was able to cut. Whee! Can’t wait to get sewing on it this week. I LOVE how you have broken down this pattern. You make it look so easy and doable. Thanks!
Thank you for hosting. I am a little behind, but loving making this quilt. And like you, I’m now questioning the colours, but I know once it’s all together, I will be so so happy again 🙂
E xx