Wildabon Progress Report

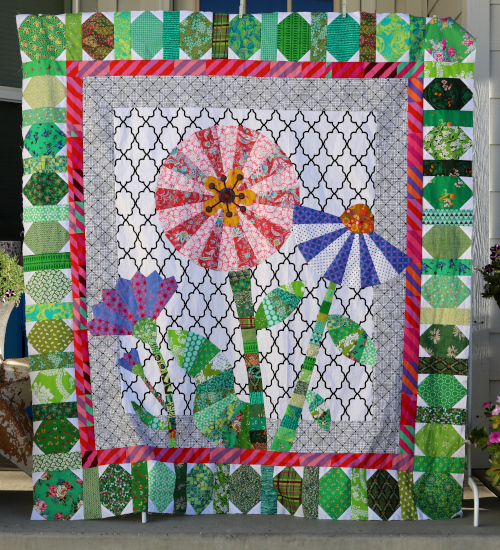
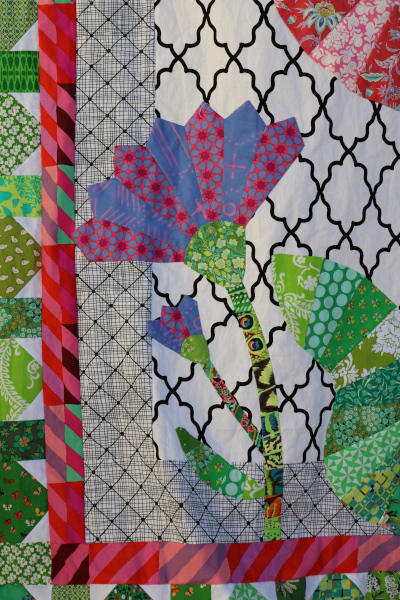
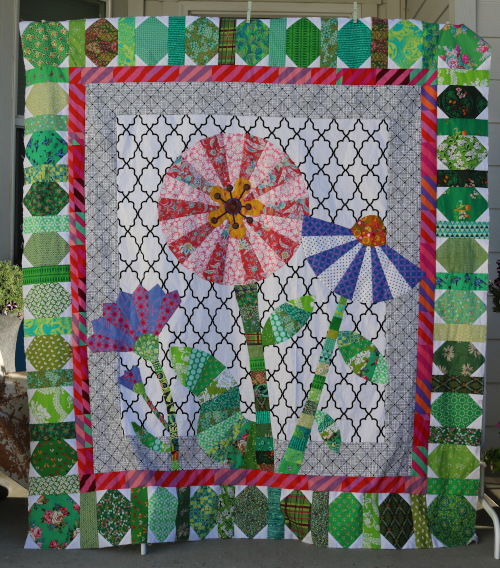
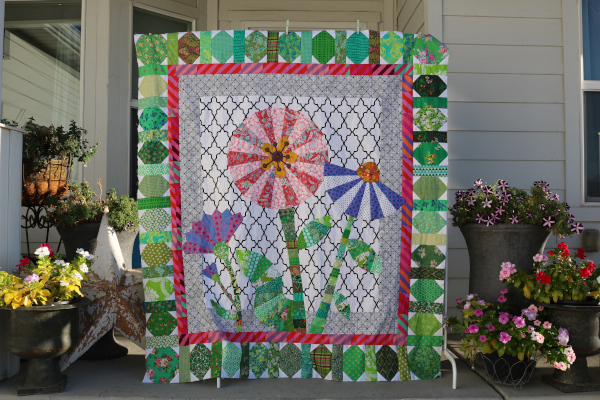
We’re almost at that point in late summer when the evenings feel cool and refreshing.  A couple of mornings have felt slightly crisp when I leave on my walk, but that burns off quickly as the sun casts its light across the valley.  I confess I’m looking forward to fall, though it is so short.  I’m ready to live with all the windows wide open again.  While summer’s heat didn’t invite me to stitch often, I have managed a few evenings of applique.  And so, here is my Wildabon progress report.

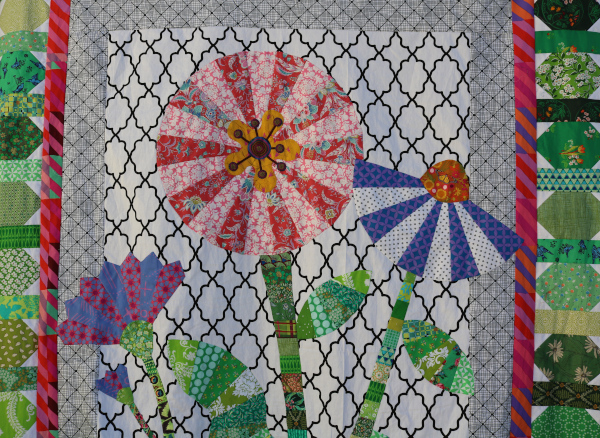
You may remember the beginning, where I started on the small blue flowers at the top.  I have stitched my way through all the blues, something I did to avoid switching thread colors often.

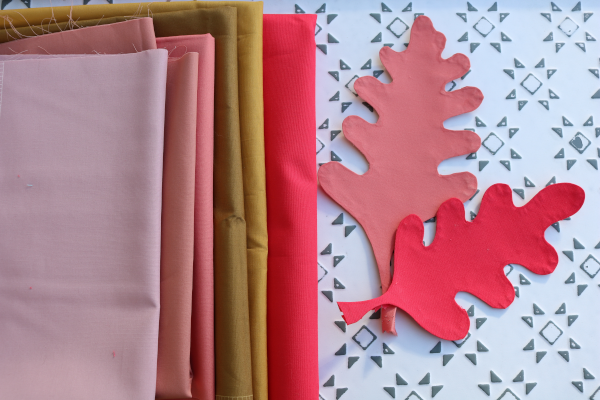
I was about to dive into the large peach and orange flowers but stopped myself.  It would be terrible to get those done and be thrilled with them, but dread all the little buds around the edges of this quilt.  I tackled those little flowers instead.  I had more than one moment of questioning why I added extra buds to this quilt (answer: to use more Liberty lawn fabrics).  Finished, I’m once again glad I included them.  They are cute.

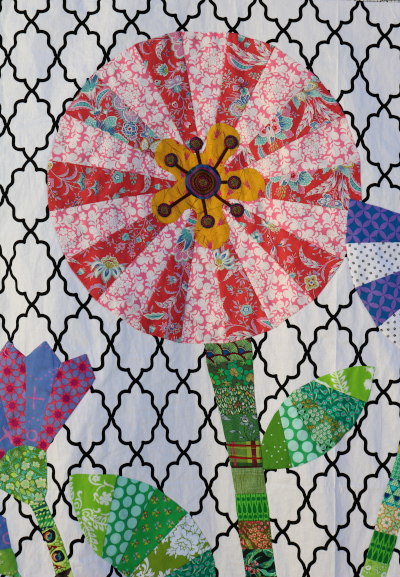
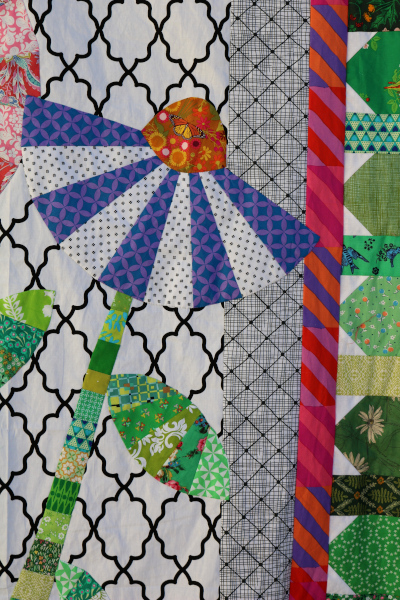
Now I’m at the point where I have a few sets of leaves still to stitch.  They will go quickly, as their shapes are simple.  Once they’re done I’ll begin the large flowers.  I hope to finish this in the next few weeks.  Hopefully my next Wildabon progress report will be a finished quilt top!


Today I’m wondering how to quilt it.  Originally I considered hand quilting, but I have TWO hand quilting projects that are literally taking me forever to finish, so this one needs machine stitching.  Hmmm.  If you’re unfamiliar with the Wildabon pattern, it’s an applique pattern by Carolyn Friedlander, one of my favorite designers.  I particularly love that this was a collaboration between Carolyn and Leah Duncan, who is another favorite artist.  Creatiivity abounds!  There’s room for so much of it, from all of us.  I love that!

I hope you’re enjoying the beginning of September.  I’m off to stitch a bit.

Starlight Lily Scrappy Quilt

Once upon a time I made the Starlight Lily quilt as a pattern tester.  I also made a scrappy version with low volume fabrics, just to see how it looked.  All this while later, I have finally finished binding my Starlight Lily Scrappy quilt.

When I added borders, I broke them up into pieces so I could continue using my low volume fabrics, and because it seemed like a lot of negative space.  Honestly, I’m not sure it was the best decision for this quilt.  A green border would probably have been better.  But that’s part of the journey – trying things to learn from them.  More practice.  We get better.

I do like that scrappy center!  When I quilted this, I had it on my longarm machine and was very much a beginner.  It’s a series of experiments and different stitches.  Some of them too long, some of them with tension issues.  I didn’t even know I was messing up in places.  So it’s quilted, but NOT well.  And yet it’s functional, although I don’t know how much washing the quilting would stand up to over time.  So what do you do with a mostly functional quilt, whose workmanship you’re not proud of, and that you don’t really love?

I don’t know.  And that’s probably why it sat for so long, binding attached but no stitching.  This summer, because I’m tired of the piles that come with unfinished projects, I stitched it down.  Binding finished! I keep a roll of binding scraps to use for scrappy bindings.  This one was fun, and the right binding for the quilt.


Yet the question remains:  what to do with the starlight lily scrappy quilt?  I’d like to donate it to someone, but I also want to give good gifts.  I don’t like gifting something that isn’t my best work.  But I also know that it’s not likely to see use at my house; we have so many favorites already in rotation.  Any suggestions for me?  What would you do with it?

1.5 Inch Gleaned – a beginning

I’ve made a beginning on my 1.5 inch Gleaned quilt, and liked it so much that I sewed my blocks together to see how they look.  And….I love them!  (Don’t tell my original 2.5″ Gleaned Quilt, but this version might be my favorite.)  I have sixteen blocks made and sewn together.

All these little scraps summon memories of other projects.  Its delightful to be using even the small pieces to make something new.  Once again I’m using the Art Gallery Pure Solids in linen and slate for those adorable black and white corners.  I love the way those tiny bits of solids pull everything together.

This section measures 24″ square.  My goal is to make a 60″ x 72″ quilt with these 1.5 inch Gleaned blocks. I need 104 more!  I’m sure it will take time, but seeing this little section motivates me to do it.  I find it’s the sorting and cutting of scraps that takes longest; once I get sewing the blocks come easily.

If you’re tempted to make one, please join me!  The pattern is available free to all newsletter subscribers.  Register here to download the pattern.  My Gleaned quilts are turning out to be a deep dive into my scrap bins.  In fact, I’m starting to wonder if I should implement some sort of scrap organization system to save time in the future.  Right now they’re all just tossed together.  How do you organize your scraps?  I don’t feel like I have room for new containers, so I’m going to have to get creative.  Please share your tips!

And now I’m going to sort through another pile of scraps in search of the perfect pieces for my next round of blocks.

Yep, this 1.5″ Gleaned quilt block project has got me hooked!


1 8 9 10 11 12 522