Kathy Doughty’s Modern Patchwork Class, part I
Last week I attended a two day quilting workshop taught by the incomparable Kathy Doughty, owner of Material Obsession, author of several books, and one of the best teachers of her craft that I’ve encountered so far.
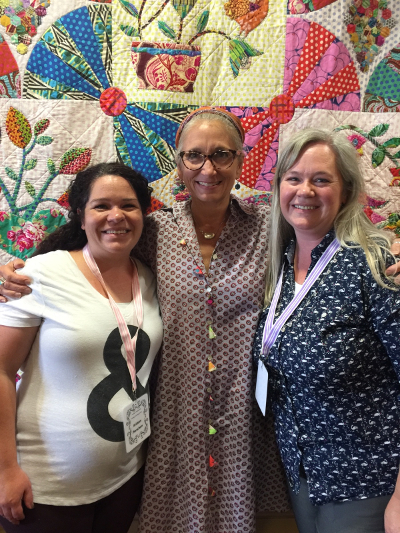
The workshop was sponsored by Utah County Modern Quilt Group, Broadbent’s Quilt Shop, and Quilt Bliss. Everyone who planned and prepared for the event did an outstanding job. I loved every minute of being there, spending time with friends, time with my sister, and the opportunity to learn from Kathy (without having to take an international trip) was worth every penny.
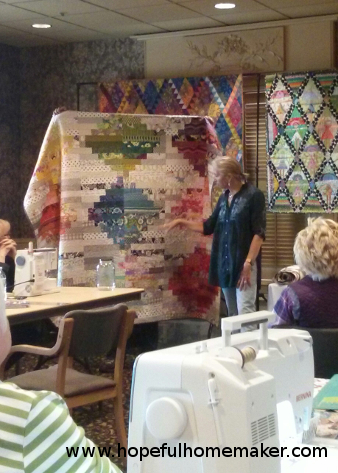
Kathy generously shared her story, particularly her quilting journey, and there was so much to glean from all that she said. Little things like “work within your stash” and “find what makes the fabric you love a hero” and “stay in the quilt, don’t finish in a rush”. She described working within colors as “stepping in and out of your colors” and spoke about how the starting point in a quilt can be just about anything: a color, a fabric, a design, or something else, but often she ends up in a different place than she thought she would. She started with the quilt above, aptly titled “soul searching.” What a great starting point. I have definitely come to associate quilting with soul searching, and I learned to do more of that searching thanks to Kathy’s lectures and teaching.
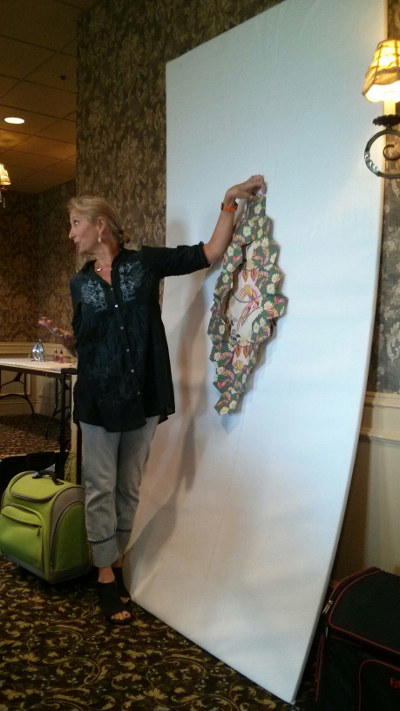
In my own quilting journey, I feel like I’m approaching a crossroads of sorts. The paths blend a little at present, but I see a new direction up ahead. I have spent years learning from patterns, from fabric, from all sorts of people as I’ve sewn quilts from patterns I purchased with fabric I chose. There are still a number of these quilts in my future. I want to finish what I’ve started, use more of my stash, and learn a little more from all these designers. But what I really want, what is up ahead, is a more consistent, committed effort to find my own voice and discover how to make with what is inside of me.
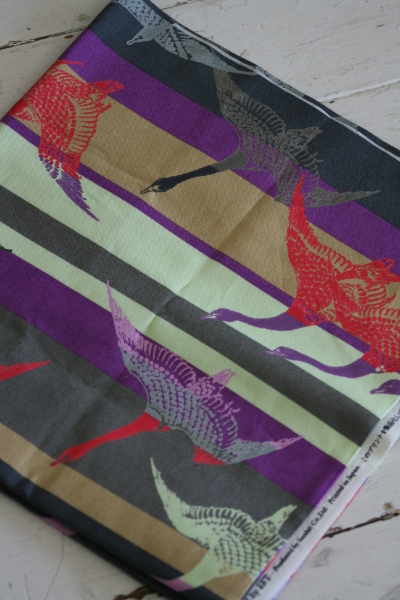
Kathy helped me see how I can begin (or, perhaps, continue) that journey. I decided to embrace the opportunity, and on the first day I opted not to choose from the patterns in her books, but to just dive in with no particular design in mind. My starting point ended up being this awesome Japanese crane fabric and a jewel shape, using Anna Maria Horner’s Fibs and Fables collection to build on that.
At the end of the day, my progress looked like this:
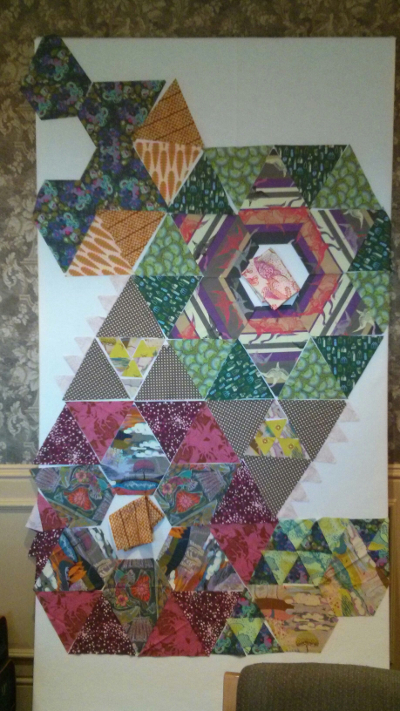
I found that I didn’t move as fast as usual because I was standing back, thinking, looking, auditioning fabrics and ideas. Kathy generously paused several times to ask me questions, let me ask her questions about what I was doing, and help me see my fabric through her eyes. By dinnertime I had a headache and felt more exhausted than usual, but when I climbed into bed that night hoping to sleep, I couldn’t. I ended up thinking about my project all night long!
I was amazed by how many quilts Kathy and her husband, John, brought with them from Australia. Standing in person before quilts I’ve long admired in her books was such a treat! A few favorites from the first day:
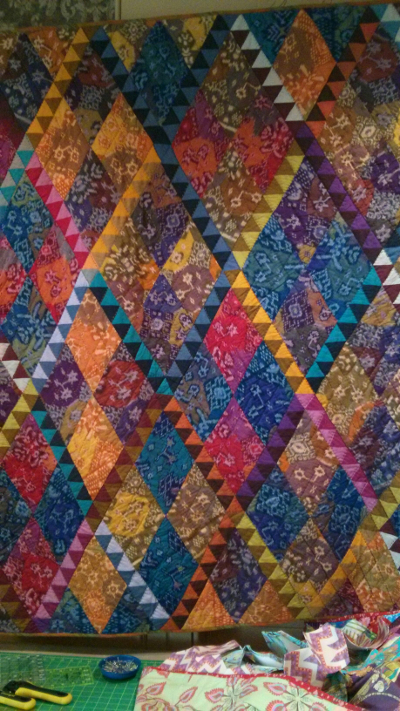
I have loved this Ikat Diamond pattern since I first saw photos of it. Such a gorgeous quilt, with the shot cottons, rare fabrics, beautiful contrast, and Kathy’s lovely hand quilting. I kept staring at it throughout the day. It really inspires me.
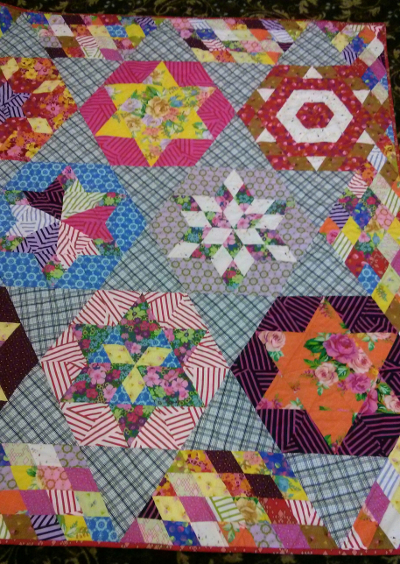
This quilt using Victoria Findlay Wolfe’s first collection, Mostly Manor, caught my eye for a couple of reasons. I have a bit of this fabric and am excited to sew with it, and I love the combinations within the blocks, combined with the scrappy diamond border. I thought that her addition of a calmer, more monochromatic plaid as a background was really interesting and definitely not something I would have thought of. It’s also not a blue I would have picked to compliment all the brights in this range, but it totally works and I find that really interesting. Super fun!
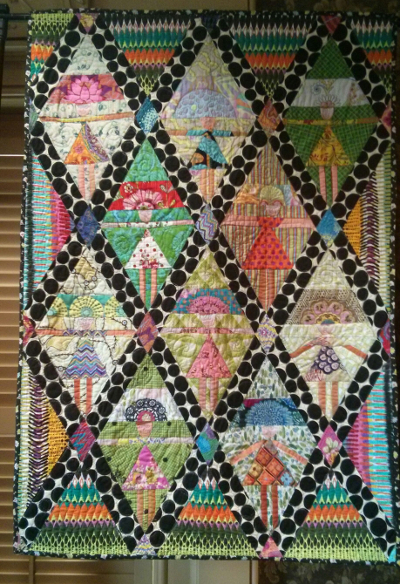
This Diamond Dollies quilt really captured my imagination. It’s so cleverly made, and the little girls on it are darling. I love this use of color and large scale prints in the setting triangles and sashing. I don’t know that I would have had the courage to use those black dots as sashing, but now I want to be brave and try something this bold.
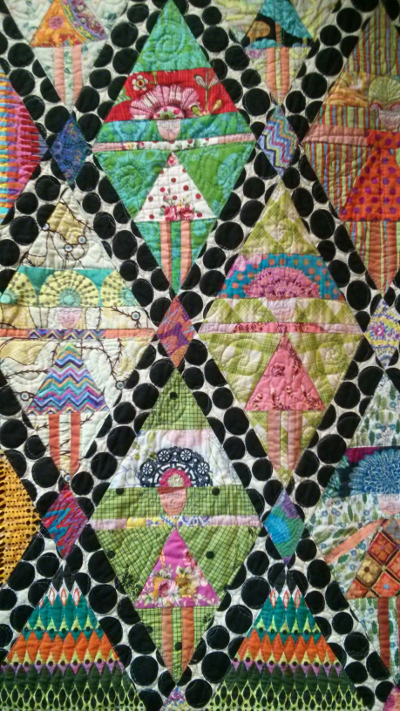
Seriously, so cute! I’ve got to make one of these quilts!
There’s my quick review of the first day of instruction. Ironically, I didn’t even turn on my sewing machine! The interesting thing is, I’m still thinking about all of it. My project is up on a design wall at home and I pause daily to look at it and explore options. I think I know what I’ll do next, but I’ve had to detour back to other projects with deadlines and we have to push through the last week of school before I can really let myself explore. I did start a couple of other projects during the second day of instruction, and I’m excited to share more soon!
Jennifer

