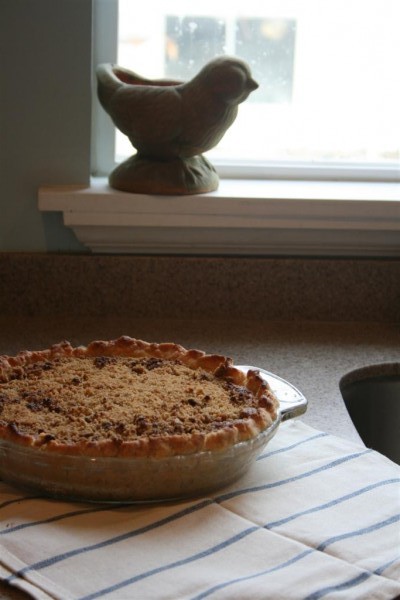
Something about a homemade pie cooling on my kitchen counter made me feel better about life today.
Perhaps it’s just that the counter was clean. Perhaps it was because I’ve always wanted to make a pie on National Pie Day, just for fun, but it always comes and goes and I just don’t get to it. I got to it this year, and for some strange reason it made me feel really good. Perhaps, and I think this is most of it, the simple act of making a pie on an unhurried afternoon somehow linked me to generations of women who have gone before, making pies in times that were as uncertain for them as my times feel for me. Still, they found things to celebrate. So can we.
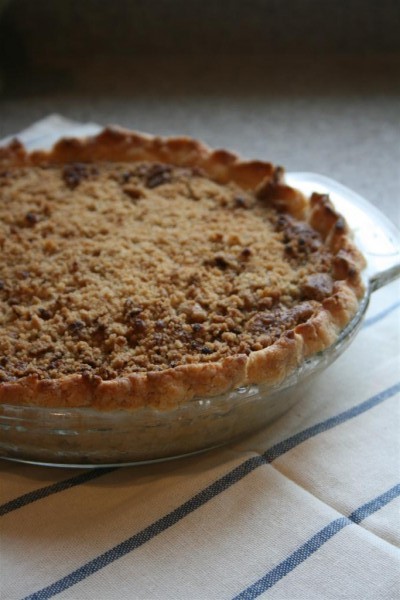
If I pulled off a random goal to make a pie, one I’ve never tried before, for National Pie Day, that’s about the only thing that went the way I planned this week.
You know that feeling that comes early in January when the holidays are behind you and life sort of gets back to normal? We’re still waiting for that feeling to hit this year. We really haven’t had a single normal day. My baby has slept well only three nights in the past month. Someone has felt sick every day since Christmas Eve. This week just kept us on our roll, that’s all.
Monday the children were home from school due to the holiday. With three of the eight sick, the day was spent simply dealing with all it brought. Tuesday morning brought an appointment that threw the schedule off, and Tuesday night I impulsively jumped in the car with two of my brothers to head to Idaho.
My aunt, whose husband passed away unexpectedly in September, passed away last Friday. Her funeral was Wednesday.


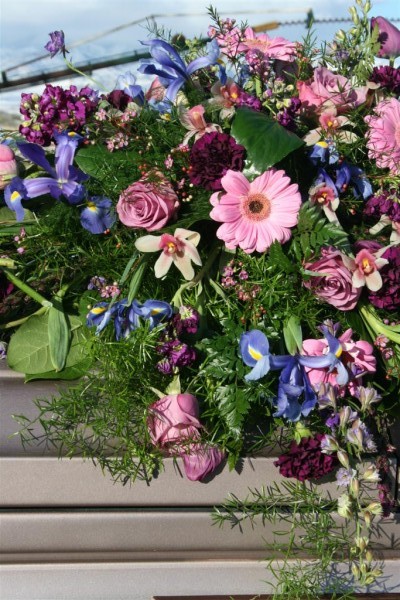
If I hadn’t gone Tuesday, my husband and I would have driven up early Wednesday with our family. I’m so grateful to have been there. It was the right thing to do, and going early with my brothers provided an unusual opportunity my brothers and sisters and I. Seven of the eight of us gathered, with my parents, and without our spouses or children, and had a few hours to talk in a hotel room. It was so unusual, and great to have the time together. (We really missed you, Brent!)
In all, the trip was only about 24 hours. Not long to be gone, but plenty long to completely lose the general “I’m making progress on the house” feeling. Long enough for the dishes to pile up, for dirty laundry to appear on every bedroom floor and homework to be forgotten. We still haven’t recovered.
My little one is still sick. She spent Thursday and Friday nights up almost constantly. I’m back in the newborn stage where sleep is concerned, and while it’s ok, it doesn’t lend itself to incredible productivity during the day (especially when the baby cries all day, too).
So between a mini-trip, sickness, and general exhaustion, not much was done. All I can say is this:
1. I finished something… pictures coming soon.
2. I’m reading Team of Rivals in honor of Lincoln’s upcoming birthday. Loving it.
3. Tonight we put in place something I’ve been planning for a few weeks. I hope we can get it off the ground in our home.
4. I took care of some specific things for various children.
5. In several situations I focused on listening better, and was successful. I learned a lot this week about myself and about others.
Really, what I did this week was spend a lot of time with people in unplanned settings. I spent time with my parents and siblings. I spent time with Aunts, Uncles and cousins at the funeral. I spent time with my baby, lots of it, in the middle of the night on the couch with her crawling all over me while the rest of the family slept. We spent time with some friends on Friday night. And I spent 6 hours Saturday helping my daughter and her friend collect data for their Science project. Tonight I’m reminding myself that I’m seeking the habits so I’ll have more time for people. This week I needed to spend time with people and it’s ok because people are what life is all about.
Jennifer
