The Power of History
All my life I have loved history. It was my major in college. I learned a lot there, not just about history but also about historians. I learned about historians who wrote about things they loved, things they respected and things they hated. I learned about the power history has on people, and how that power can be shifted in different directions simply by changing the story a bit, or leaving parts out, or focusing on one aspect. I learned that sometimes, even when a large failure seemed to be the end of the story, there is a tiny thread that continues on, grows and gives birth to greatness down the road. I gained a great respect for primary sources and learned to carefully assess secondary ones. For instance, I’d rather read the Federalist Papers than read a book about the Federalist Papers.
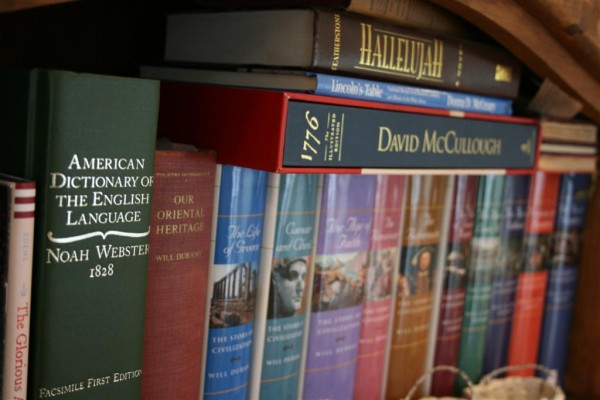
I have a handful of historians whose work I love. To me, history reads like fiction but it’s even better because it’s real. Nine out of ten times I’d rather read a biography than a novel. I have tried to read a lot of history during my career as a mother. I would say I’ve been moderately successful in this area, but in the past year I pretty much quit reading. Life has been so busy, and there is so much more work to do than I can accomplish in a day.
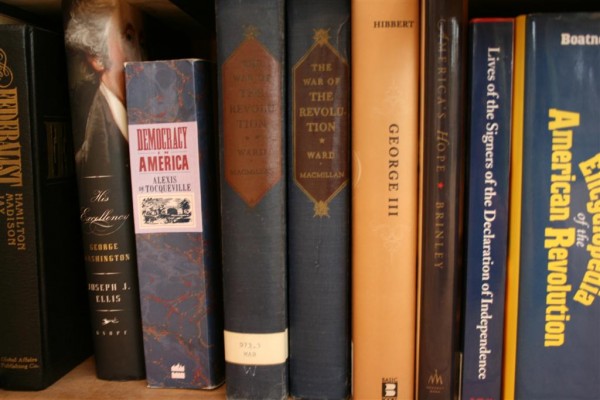
Last week I started a new book. A history book. I can hardly put it down. I love what I’m reading, what I’m learning. I love the connections I’m making that I hadn’t thought of before. Last night I said to my husband, “I have to read history. I’ve just got to do it.” It grounds me.
Here is my conclusion. I AM A BETTER MOTHER WHEN I AM READING HISTORY. My capacity to put things into perspective is increased. My patience is greater. History reminds me that great things are accomplished only after great sacrifice, great disappointment, great effort. The world around me screams that I should be able to see results NOW, that it should be easy, that I should have whatever I want. These messages are false, for historically those premises are incorrect. Results come with time, patience and dedication. Great things are never easy. Often the things we do without, or the unwanted things we deal with, end up being the key ingredient in who we become. History reveals the truth of these principles to me. And I cannot describe how inspired I am by it.
What do you remember about Christopher Columbus? Do you remember that he KNEW he was born to sail across the ocean? Do you remember that this conviction had to survive poverty, scorn, derision? Do you remember that it took him 8 YEARS to convince someone to take a risk and back his voyage? Do you remember how much he traveled from court to court in search of that someone? And then, when his crew had been at sea for longer than any men had been known to sail, when they had little food and water left, when they were ready to mutiny, when Columbus had agreed that if land was not sighted in the next 2 or 3 days he would turn back, THEN, at the very last, they sighted land. His convictions, his dreams, the drive he had within him had to be stronger than the waiting, the scorn, the hatred of his crew.
Did you remember those things? I did, for the most part. But have you ever really thought about what it means? About what it can mean in your life, your day? Reminders such as this give me power. They help me to feel undaunted by the stress of the day. My sights are lifted and I can see through today’s obstacles because I am focused on the ultimate goal I’m working toward. Does it matter now that it took so many years for Columbus to win support for his plan? No. What matters is that he had the strength and confidence to persevere, and that he continued to learn while he waited. With this thought in mind, I look at my own life and think, “so what if I’m in my own version of an 8 year waiting period?” All that matters is continued effort.
When history is fresh in my mind, I respond to my children on a higher level. I can help them find inspiration from the examples of men and women who have gone before. We can see consequences of decisions and actions play out in entire nations. In short, I feel like everything that I do is enhanced by the power of history. Have you ever let the lessons of history do that for you? If not, I hope you will. It is an awesome feeling.
So, as far as history goes, I’m back! I feel happier, lighter, more hopeful. I’m putting together my reading list for the summer, and it’s going to be GREAT!
Hopeful Homemaker

