My Heart, Today: practicing mindfulness in my quilting
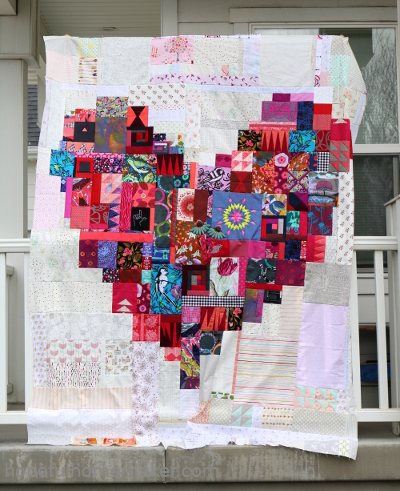
This quilt top took longer to finish than I anticipated. I think it was supposed to be that way. I’m calling it “My Heart, Today” as I was practicing mindfulness in my quilting as I made it. The whole world has plunged into an experience we won’t soon forget. I’ve learned in my personal life that there can be a lot to process during and after these transforming experiences.
As I mentioned recently , me and my family lived a life-changing year in 2019. And it’s funny, because I prayed that 2020 could be a year of recovery for us. We were battle weary and exhausted, and yet here we are, along with you, in another life-changing experience. I’m not complaining, because I learned last year that if we let them, times like these can develop a laser-like focus on what matters, and we grow at faster rates. I expect that is what will happen to all of us in 2020, if we embrace it. But along that path of growth, there is still the weariness of living in crisis/survival mode for extended lengths of time.
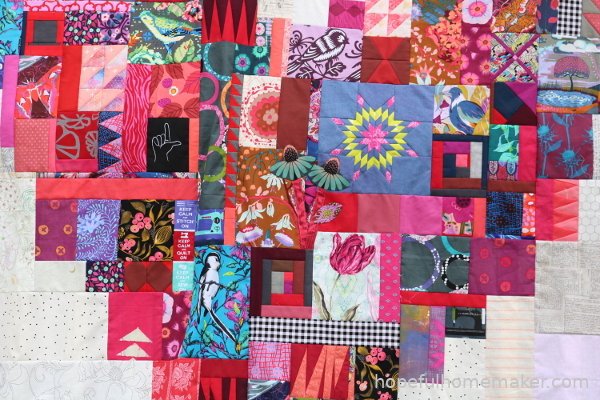
After the holidays I found I had a lot of conflicting feelings that I needed to work through. I felt anxious, edgy, frustrated, emotional, but also motivated and hopeful. On a very hard day, I decided to find a way to “sew my way through it.” I found a few fabrics that represented how I felt. I pieced a small block, then fussy cut another print. Slowly I added bits and pieces to the growing blob.
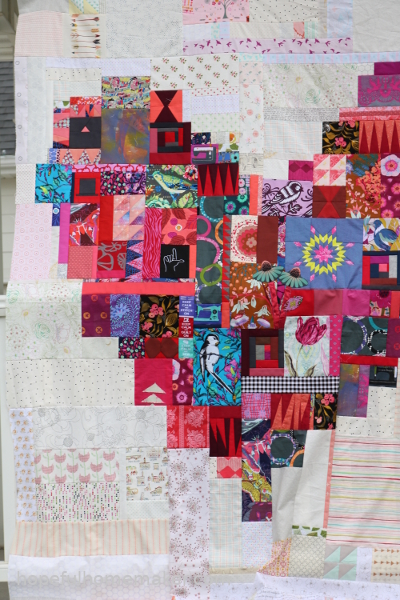
On anxious days I added sharp, pointy blocks and dark fabrics. I thought about what I could and couldn’t change about those days. I noticed that once the fabric was on the design wall, feelings recorded, I felt better. On good days I added florals and birds to represent the hope that stayed perched inside me. Many days I added something to represent the high and the low of that day. I used improv piecing, foundation paper piecing, a bit of applique. There are bits of prints I was sewing with on other projects during that time, and pieces of fabrics to represent people I met and places I went. Some fabrics and blocks represent different children I was worried about. Some pieces represent answers to prayer.
As I practiced mindfulness in my quilting, my state of mind improved and I felt peace about the ups and the downs.
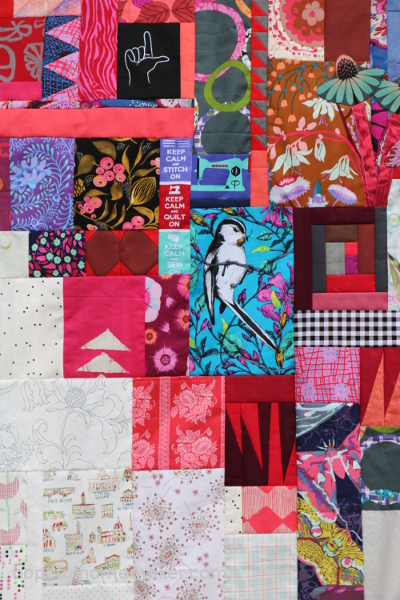
Eventually I decided to make a heart out of all these pieces of my heart. Piecing it together was more tedious than I anticipated. There are A LOT of partial seams in this quilt top!
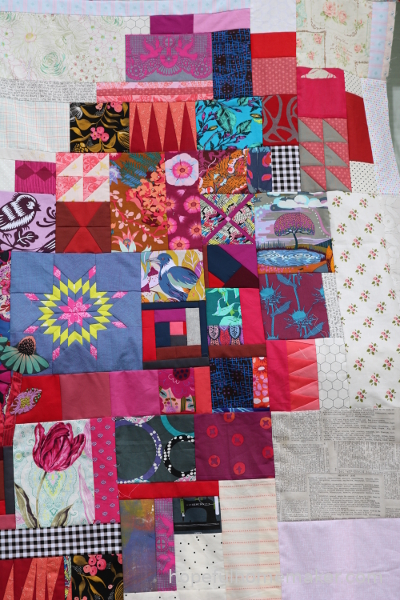
I hadn’t yet finished the background when the pandemic began changing my life. I added a square to represent Italy, because my heart aches for all the suffering around the world, along with some teardrops, and a tree because spring is coming and we have to hope for renewal after all of this. We have to.
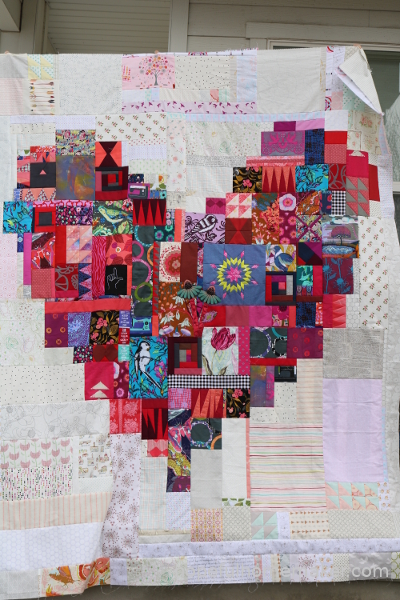
I love this quilt top. It’s a journal in textiles, a record of the good, bad, hard, and happy in my life during the winter of 2019-20. It really does represent “my heart, today.” Having all these pieces together in something beautiful reminds me that I am all of it: my heartaches and fears and hopes and accomplishments. All of it matters. It matters that I feel sad, that I feel hopeful. It makes me who I am, primes me for growth, and spurs me toward the future. This has been one of the most therapeutic, healing, and calming sewing experiences I’ve ever had.
How’s your heart, today? Maybe you should find some bits of fabric to capture it….

