Category: Holidays
Handmade Easter Basket DIY
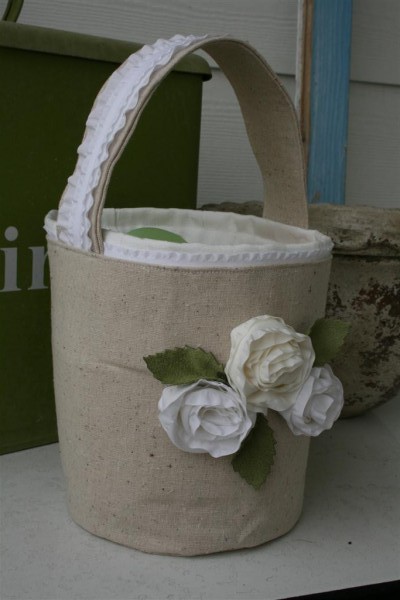
Easter is a holiday that means more to me with every passing year but I don’t enjoy the thought of spending a lot of money on the commercialized aspects of the holiday. I see the cute Easter baskets for sale in the stores and think that I could just make my own, but I never have… until today.
Instead of the traditional brightly colored baskets, I decided to make one in a more subdued color scheme. I used an unbleached cotton for the outside, white on white damask for the lining, and white and cream ribbons from May Arts to decorate it.
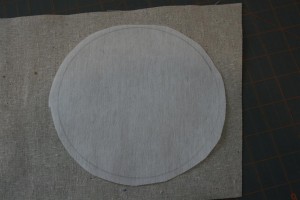
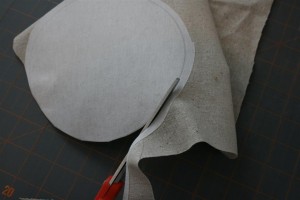
I started by tracing a circle onto a piece of interfacing to give the basket stability. I then ironed it onto the back of my fabric and cut the circle out.
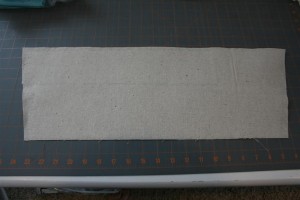
To determine the circumference of the circle, multiple the diameter by pi. I then added 1/4 inch for a seam allowance, and cut the piece for the side of my basket. I ironed some interfacing onto the wrong side of this piece as well. Folding it in half (right sides together or RST) I stitched it into a circle.
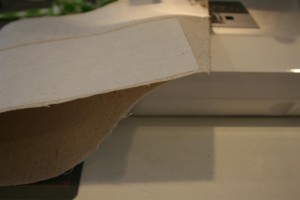
Next I carefully pinned the sides and base together, again with RST.
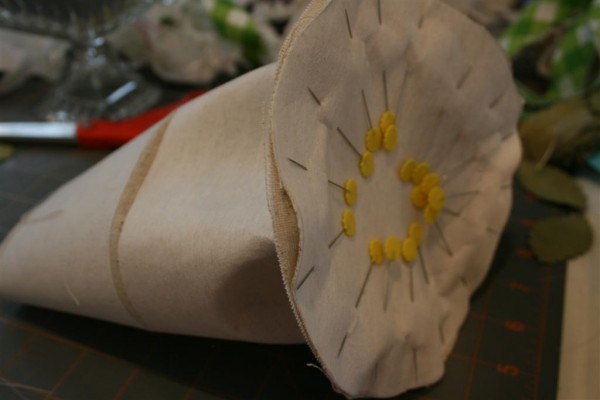
Carefully stitch around the edge of the circle. I used a 1/4 inch seam allowance and went slowly so I would maintain a good curve and be sure not to have any holes. Remove the pins and turn right side out.
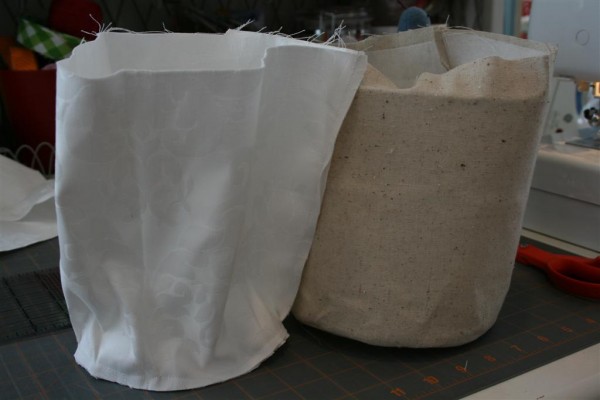
Now repeat the above steps with your coordinating fabric to make the lining. On this step, I skipped the interfacing because I felt the basket would be sturdy enough without it. After sewing the base and side together, leave the lining inside out. You should now have two fabric buckets that look like this:
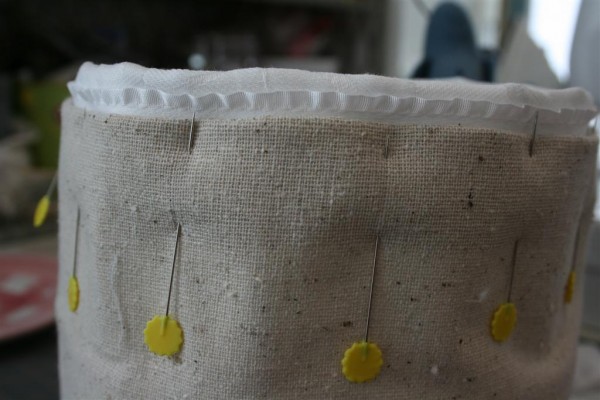
Lining up the seams, carefully place the lining inside the basket and gently smooth it into place. I decided that I wanted a bit of the white to show around the edges, so I folded the brown fabric down deeper than I did the white. I also used a piece of 5/8 inch ruffled white ribbon in this seam so that there would be a touch of ruffle peeking out.
Pin in place.
Now for the handle. Cut a piece of fabric that is as long as you want but twice as wide as you want, plus 1/2 inch. For example, I wanted my handle to be two inches wide, so I cut my fabric 10 inches long by 4 1/2 inches wide. I then cut a piece of interfacing that was 10 inches long and only 4 inches wide.
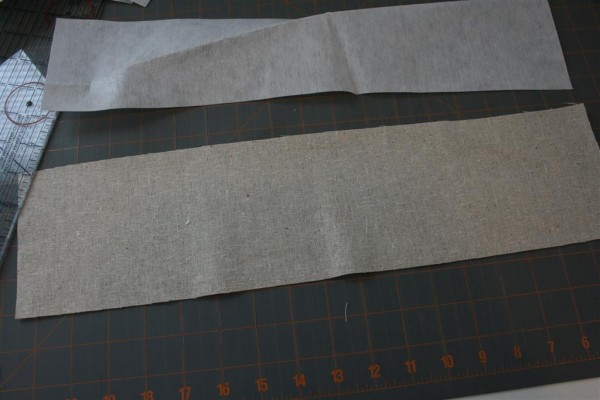
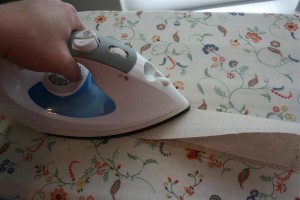
Iron the interfacing onto the wrong side of the handle fabric. Now fold in half lengthwise and iron, then turn the raw edges under 1/4 inch and iron.
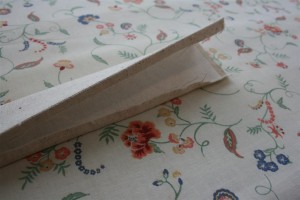
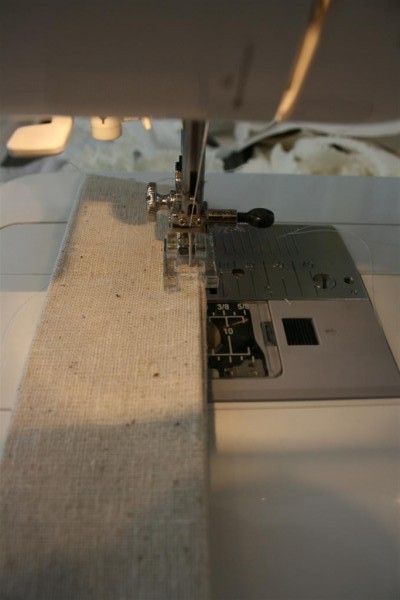
Stitch down the edge of the handle to close it. I usually stitch down both sides so the appearance is uniform.
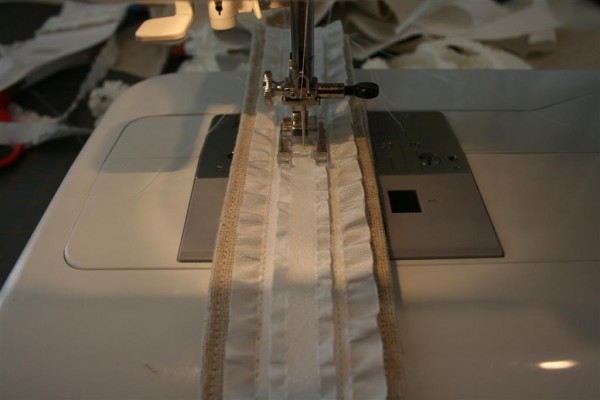
Next I used more ribbon to embellish the handle. First I sewed a strip of the May Arts suede/ruffle white ribbon that is 1.5 inches wide, and then I added a strip of the same ribbon but in a 5/8 inch width on top. These ribbons look so pretty layered on top of one another. It reminded me of a tuxedo shirt.
Once the handle is finished, pin it into opposite sides of the basket.
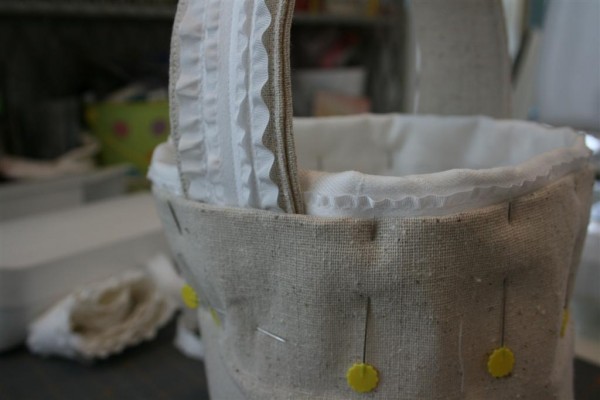
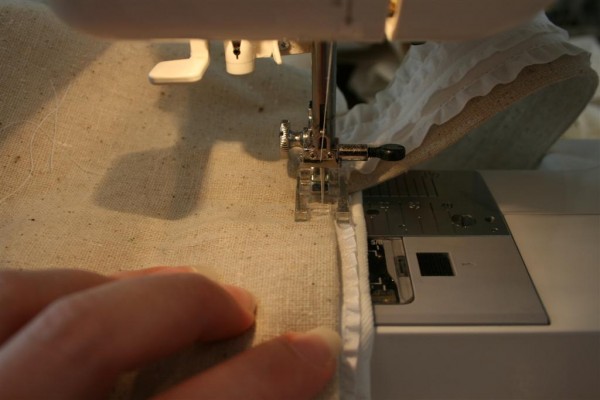
Now CAREFULLY stitch around the top rim of the basket. This seam will hold the handles in and also secure the lining. I set my machine on its slowest setting and went slowly, remembering that when I stitched through the handle my needle was going through 8 thicknesses of fabric, four layers of interfacing, and three layers of ribbon! Gratefully, my machine did well and we had no broken needles!
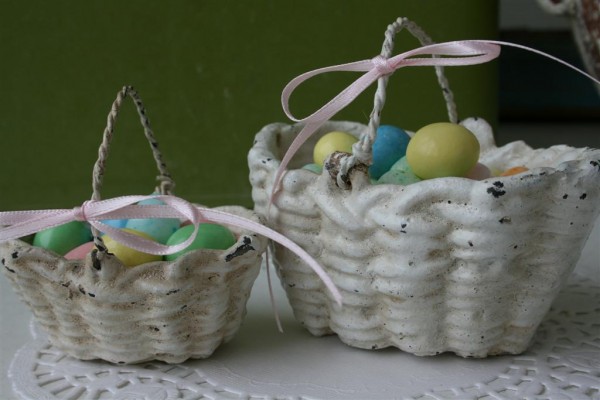
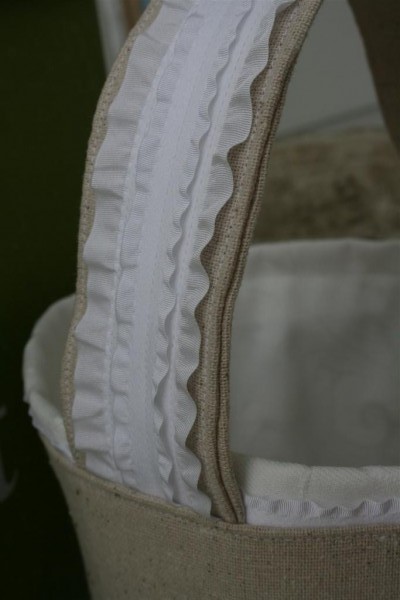
Look how pretty the handle looks once it’s all sewn together!
Inspired by my Ranunculus from weeks ago, I wanted to create some white flowers on the basket.
I used more of the suede/ruffle ribbon in both white and cream. With a needle and thread, I started rolling the ribbon, tucking and winding as I went with a stitch here and there to hold it in place.
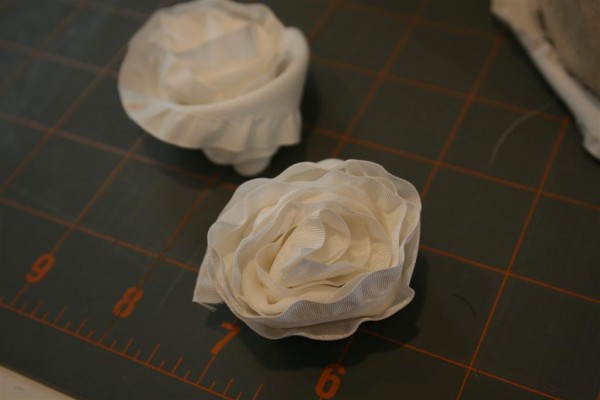
To secure them to the basket, I simply used my hot glue gun. After the rosettes were in place, I cut three suede leaves (again from May Arts), pinched one end, and glued them in as well.
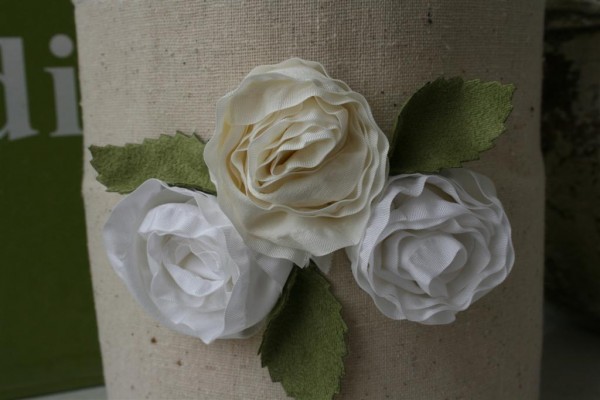
The verdict? I love it!
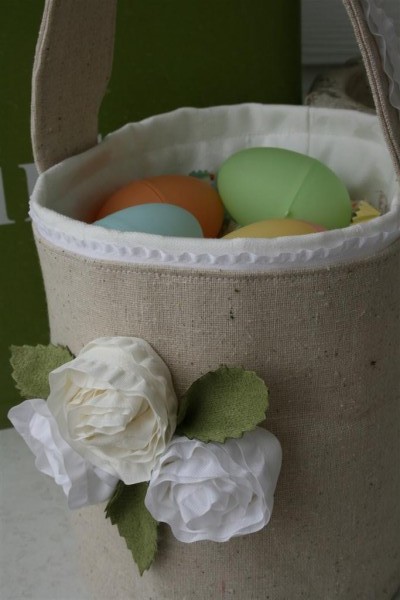
The project wasn’t difficult or time consuming. Without a doubt, I’ll be making my own Easter baskets from now on. I’m very pleased with the understated elegance of it.
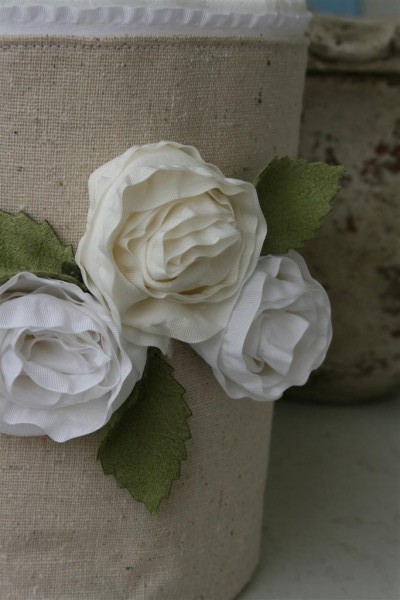
The simplicity of the color scheme and the simple flowers somehow speak “Easter” to my heart better than any Easter basket I’ve seen. I’m excited to use it!
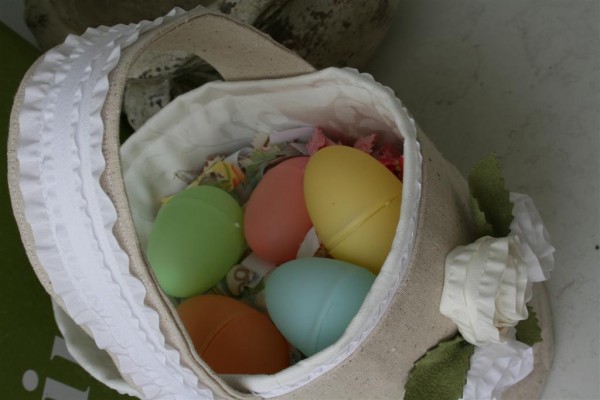
I hope you like it, and I hope you’ll try one of your own!
Hopeful Homemaker This project was created as a submission to the May Arts Spring Challenge . Thanks May Arts!
March 4th
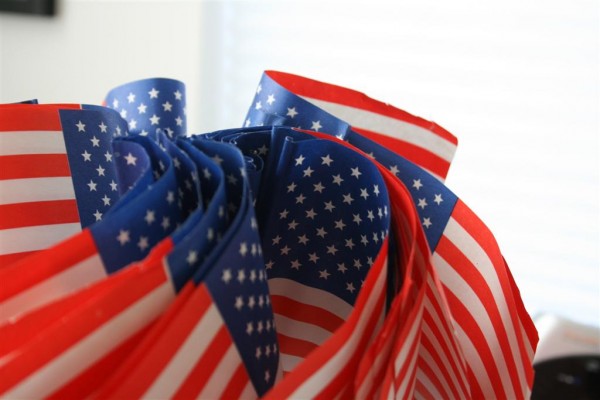
For me, March 4th is a mini-holiday of sorts. It is, after all, mandate. Have you ever thought about it? Today is the day that the calendar says to us all: March Forth!
And isn’t that what you feel like doing now that February is over and simply turning the calendar is proof that spring is on the way? There is so much I want to do as the weather warms up!
I try to talk to my children on March 4th about the concept of marching forth in life to accomplish what we should be doing. Sometimes it’s fun to turn on some marching music and let the little ones parade around the house waving flags. Some years we’ve all set or re-dedicated ourselves to our goals. Some years I’ve traced my children’s feet as a reminder that we need to be moving in positive directions.
For me personally it’s a wonderful day to pause and review what’s really important to me. I always find myself doing this at the turn of a new year, at the beginning of summer vacation, and when school starts again in the fall. Adding March 4th to the list of times when I re-focus my mind and heart has been beneficial.
So, even while the snow falls outside my windows this afternoon, I am pondering spring. I am pondering how I need to adjust my days to set me on a straighter course to the life I really want.
In our modern world, the idea of marching is tied closely to parades and celebrations. But historically, marching has meant armies moving great distances over rough terrain. It has meant migration for different groups of people, and often migration not of their choosing. While I’ve never been on such a march, I imagine that it gets really hard, especially in the middle.
Life is a march over long distances, through lots of mud and rain and sun and drought. It is also a march that involves brilliant moments of illumination, breathtaking views, refreshing water and cool breezes. It is up to me to seek the beauty, up to me to stay on course, up to me to just KEEP GOING.
One of my all-time greatest heroes, Gordon B. Hinckley, was asked once how he managed to get so much done, to preside over an international church with millions of members while in his 90’s. His response was that every night when he went to bed, he made sure he got up the next morning.
Sometimes marching involves cresting a hill and marveling at the view below. Other times it simply means that we endure, that we get out of bed again and do our very best, even when our best seems like nothing.
So today I say…
Keep Going Look Up Endure Press Forward Search Diligently MARCH FORTH!
If you need some inspiration, do a little research on Henry Knox and how he moved some 80 cannon through terrible circumstances to Boston at the beginning of the American Revolutionary War.
His assessment: “Perseverance accomplished what at first seemed impossible.”
I call that a quote worth memorizing.
What will you march forth to do?
Jennifer

