Summer Weave quilt


summerweavequilt

A couple of months ago, while searching for a particular fabric print online, I stumbled upon images of a collection called Lilified by Kanvas Studios for Benartex.  I’d never seen it before but liked the crisp colors.  It was so summery and I was tempted by several prints but didn’t purchase any at the time.  About a week later I went to a sample sale where I stumbled upon samples of every print in the collection which I quickly purchased for just a few dollars.

The collection comes in two colorways, a green/blue combination:

lilifiedblue

and a pink/orange colorway:

lilifiedpink

The line includes a few patterns that I think are great stash prints.  The first are these awesome lattice-type prints which I particularly like in orange, pink and green/white:

lilifiedfavs

These two were also favorites.  The prints on the right would make awesome quilt backs, and the prints on the left belong in a low-volume quilt:

lilifiedfavs2

The samples came in all different sizes, the smallest being 8.5 x 5 inches.  My favorite print came in this small size and I forgot to take a picture of it before I began cutting and sewing.  It’s a little baptist fan type design in pink/white and blue/white.

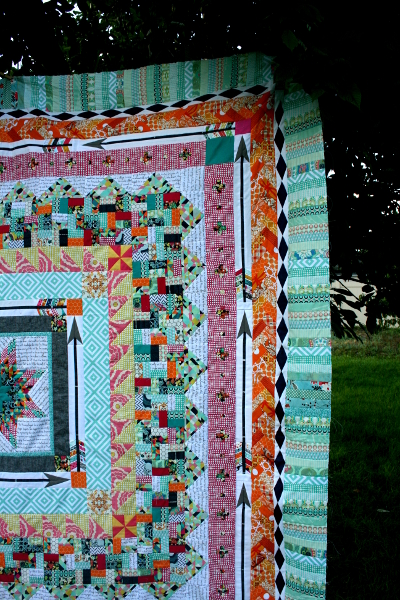
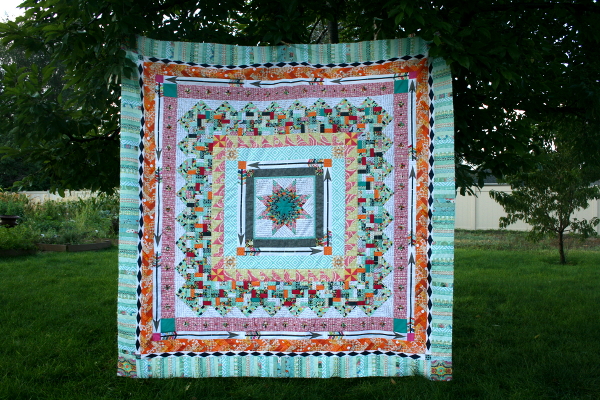
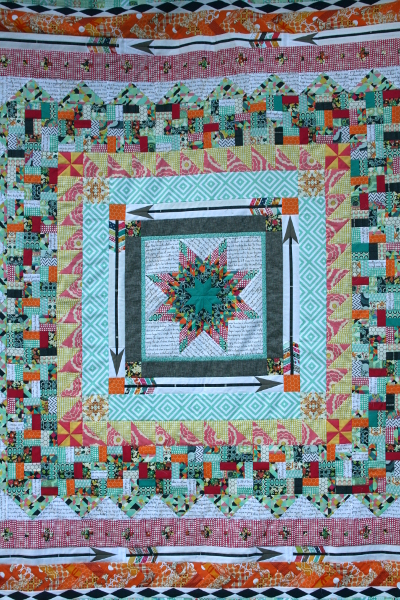
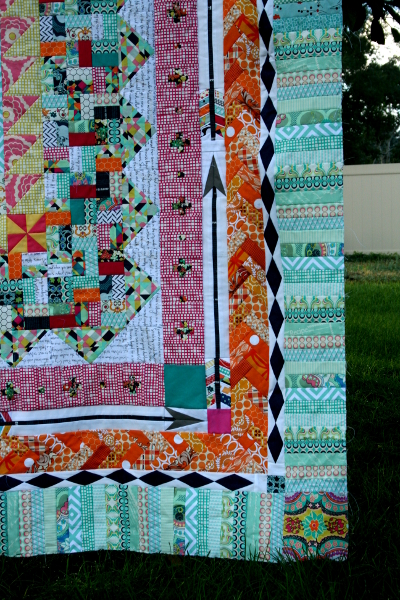
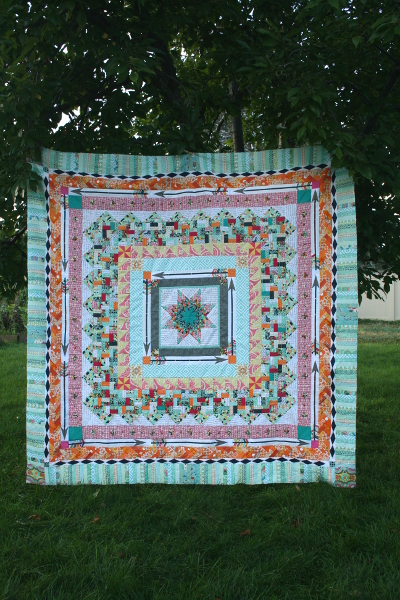
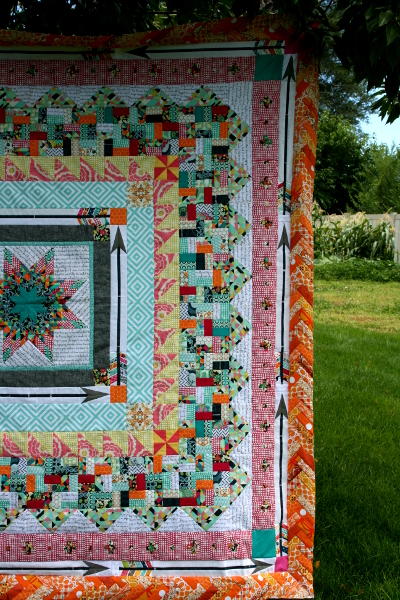
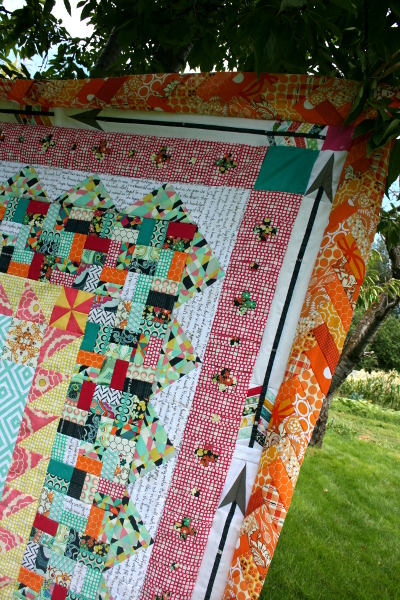
I’m so pleased with myself for making something right away with these fabrics instead of letting them wait in line behind other projects.  It’s fun to get something new and start sewing with it immediately!  I knew I wanted to spotlight the larger scale fabrics, especially those with the medallions, but had mostly small pieces to work with.  There was not enough fabric for fussy-cutting to center the patterns but I’m happy with how it turned out.  I wanted something light, bright and summery for my little girls to play on in the yard this summer.

summerweave2


summerweaveback

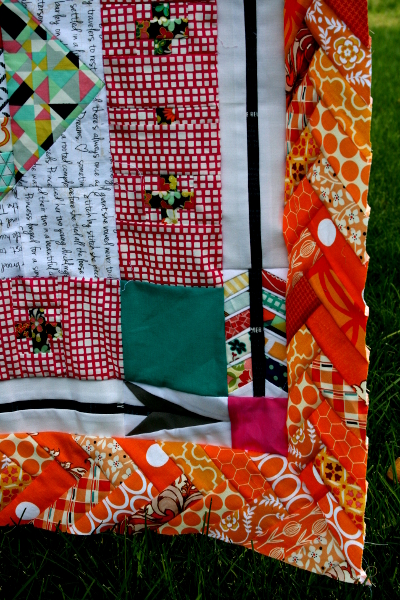
There was enough fabric left to piece some strips for the back. I paired it with some Joel Dewberry yardage I had on hand.  I’m really working on making do with what I have and it feels good to use something up!  I kept the quilting simple, using straight lines that echo the design of the quilt.

summerweavebinding

The Michael Miller clown stripe in black was the perfect binding for this quilt.  It makes me smile.  This is the second quilt I’ve bound in a black and white print this year and I’m fast becoming a fan.  Once again, a machine stitched binding.

summerweave

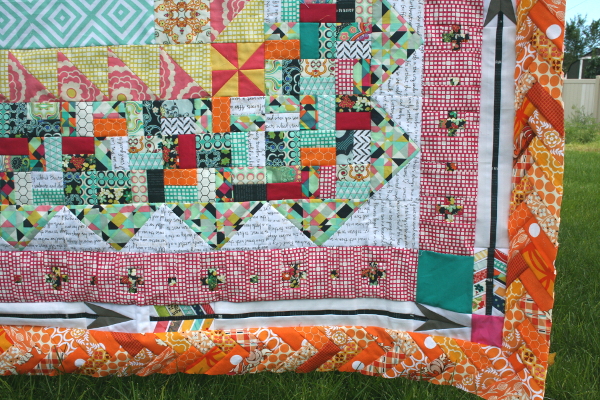
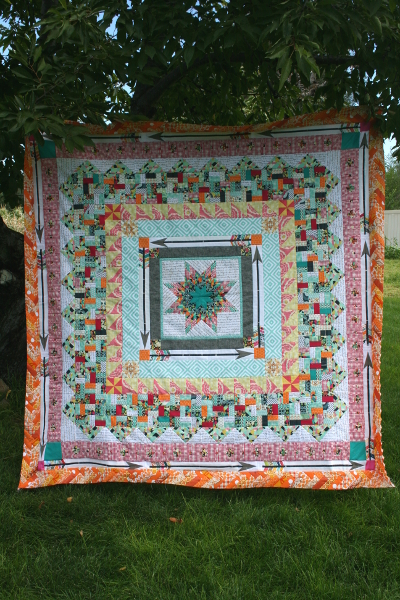
The “Summer Weave” quilt measures approximately 64 inches square.  The design was my own making and I’m sure I’ll use it again, as it would be easy to adjust the size of the quilt by adding strips to the “weave.”   I had some extra help in the form of young children when I was basting, and there are some spots that didn’t get pulled as tightly as I would like.  I’m not worried about it, though, because it will just crinkle up when I wash it and we’ll love it even more.

summerweavequilt

Have a great day!
Jennifer

Marcelle Medallion progress


Mmedallionprogress

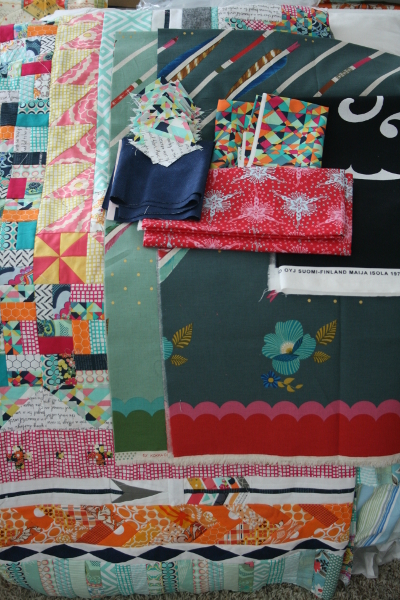
I finally got my Liberty Love book back out and got working on my Marcelle Medallion quilt top.  It hung for too long without me touching it, and I’m so happy to be working on it again!

marcelleborders4to6

Borders 4-6 are now finished, and as I suspected, none of them took long to complete.  Isn’t it funny how many things we don’t start because in our heads it will take too long?

marcellecorner

I like the Field Study poppies print for border number 6, and the citron as corner posts makes me smile.  Actually, the whole thing is making me smile.  Lots of color, and it sure feels good to be working on it again.

marcellemedallionprogress2

Only two more borders to go!

Jennifer Linking to Freshly Pieced

Modern Medallion Border 5


3border5

The Utah County Modern Quilt Group met last Saturday morning, and I stayed up ridiculously late Friday night, determined to finish another border in time to share it at the meeting.

2border5

In these photos the quilt top is hanging over a window, so the back lighting shows all the seams and makes the colors look more saturated than they otherwise would, but I think it looks kind of cool.

One of the leaders of the group did this border on her quilt and I really liked the mosaic feel it had.  My measurements are different than hers, but construction was the same.  To make mine, I needed 28 – 6.5 inch squares.  Each square is made up of a nine patch block, and the “squares” in each block are two rectangles.

4border5

To make my border, I cut 30 – 1.5 inch wide strips of fabric (averaging about 41 inches long).  I paired the strips, starched them carefully so they wouldn’t begin to curve, and sewed them together.  This gave me 15 strips of fabric that was now 2.5 inches wide.

I then cut each strip into 2.5 inch widths.  I then started laying the squares out in three strips of three blocks, with the blocks alternating in a horizontal and vertical orientation.  I pieced these together until I made 28 of them, then made two rows of 6 and two rows of 8 blocks.  They were then sewn to the quilt and it now measures 48.5 inches square.

5border5

Now I have decisions to make.  I want to keep adding borders to this quilt, but I also need to start deciding how large I’m going to let it be.  One thing is certain:  I am loving this project!

Jennifer

1 105 106 107 108 109 158