Parfait Pincushions

This quick and easy project was fun to make with my mom, sister and sister-in-law a few weeks ago.  We sat at one table and stitched while the guys sat at my dining room table and played a game.

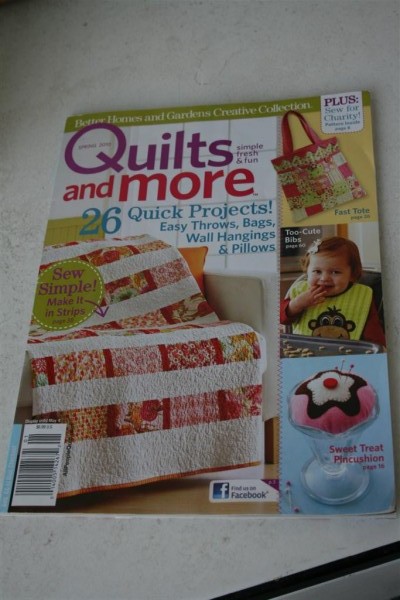
The pattern comes from this issue of Quilts and More.  I purchased it at my local grocery store because it is full of projects I want to make.  I’m guessing you might still be able to find one at a Barnes & Noble.  If not, it would be easy to draw your own pattern.

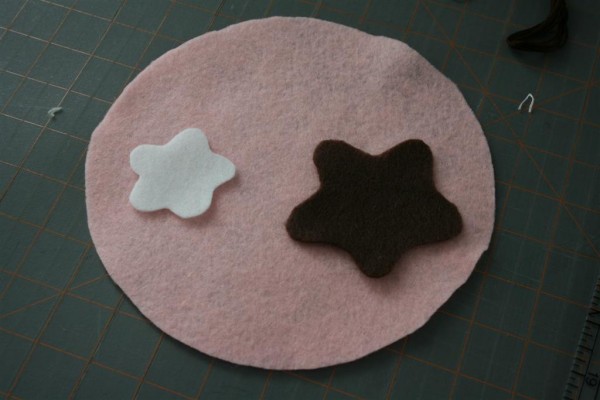
You need a large circle of felt, about 8 inches in diameter, and two pieces for the “toppings.”

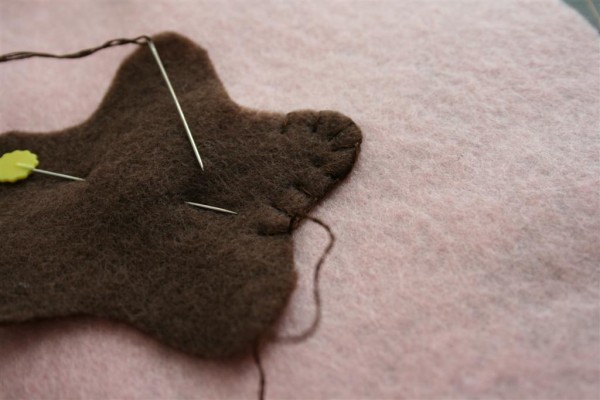
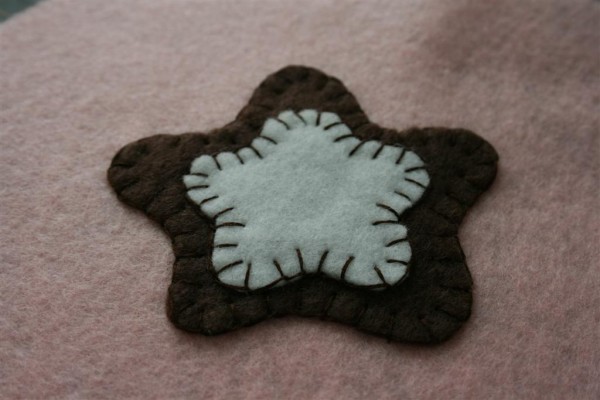
With two strands of embroidery floss, blanket stitch the first, larger topping to the center of your circle.

Repeat with the second, smaller topping.

Add a red or pink button for your cherry on top.
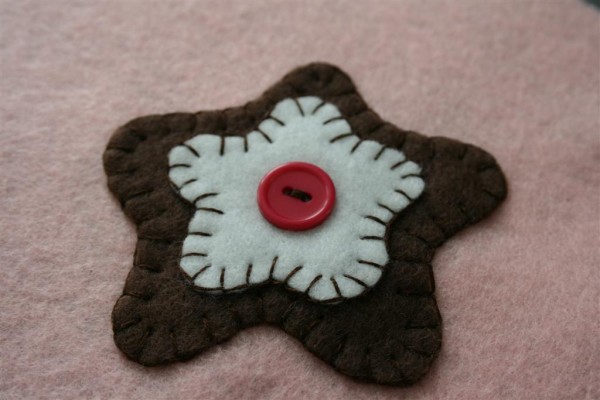

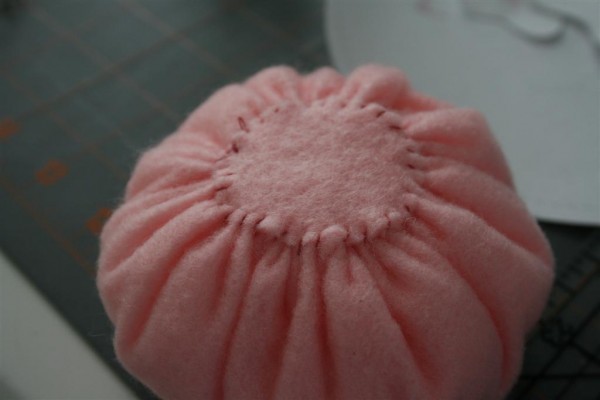
Your circle should look like this.
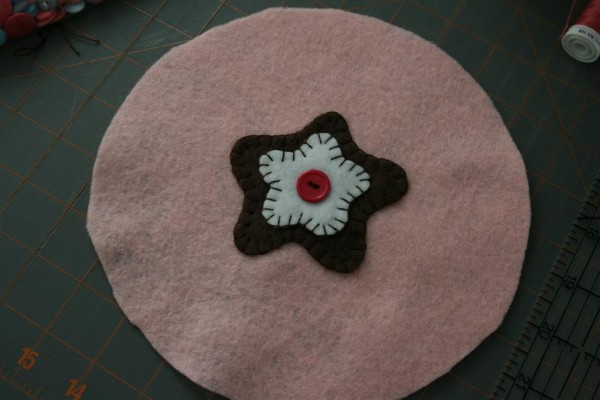

Turn the circle over, wrong side up.  Thread a needle with 36 inches of sewing thread.  Knot the ends of the thread together and begin a running stitch around the perimeter of the circle, about 1/4 inch in from the edge.
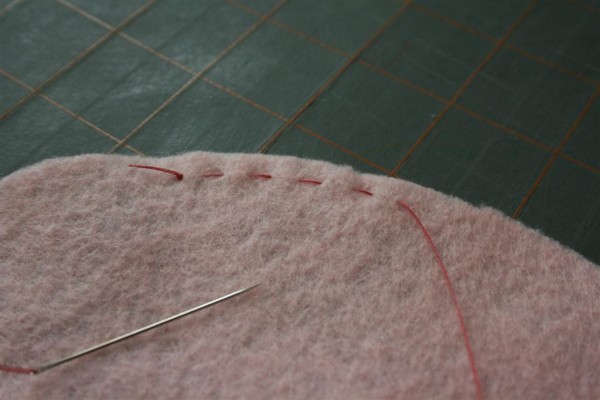

Gather the circle.
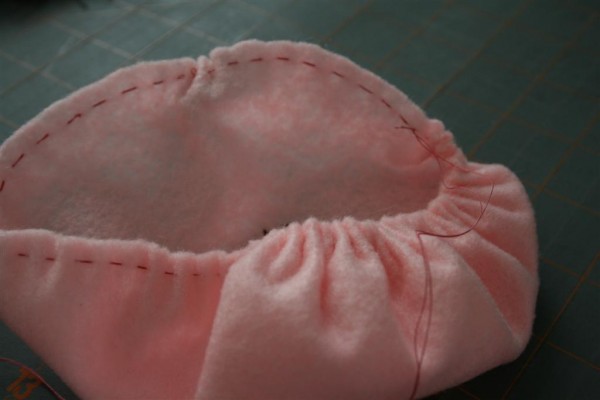

Stuff with filling.
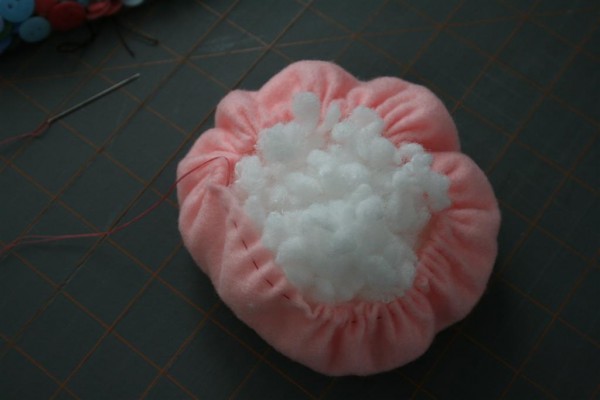

Tighten thread until the hole is less than 1 inch in diameter and carefully knot your thread.
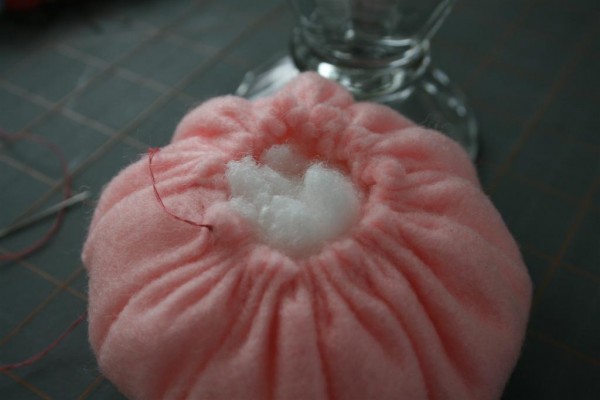

Cut a circle of felt to cover the hole.
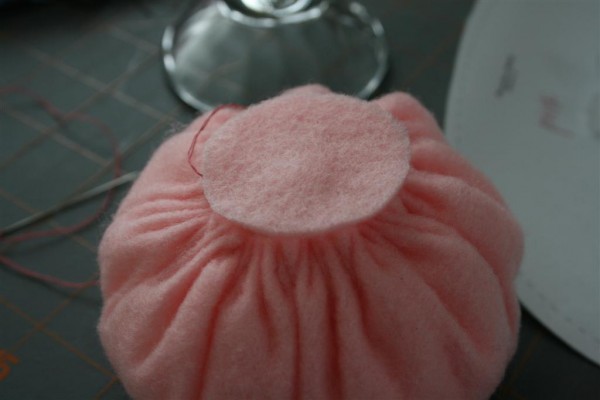

Whip stitch into place.

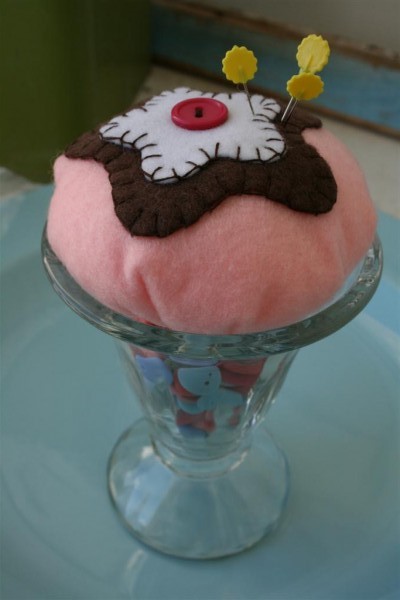
You’re done.  All you need is a parfait glass.  We found ours at WalMart.  This pincushion is designed to sit on the top of the dish.
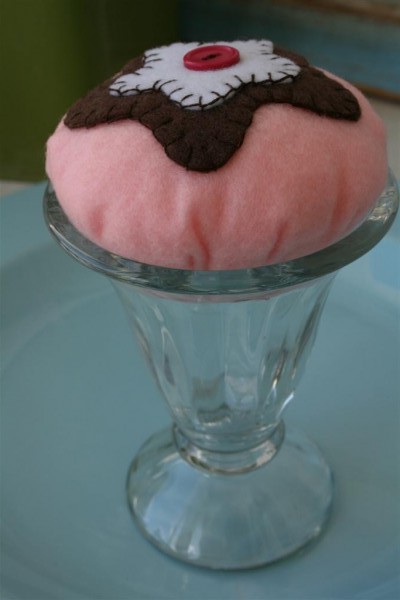

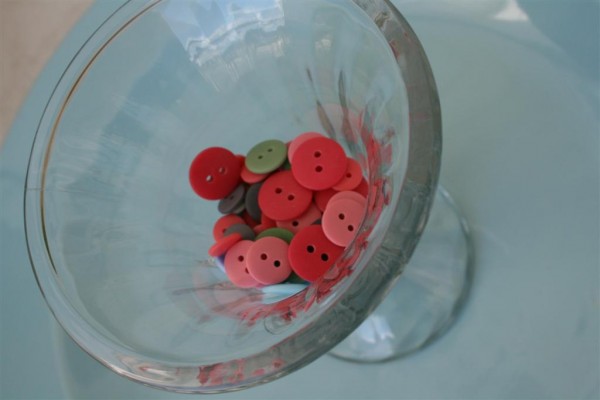
This allows you to store buttons or other notions in the glass beneath the pincushion.

It was so easy to make that I experimented with other colors, too.
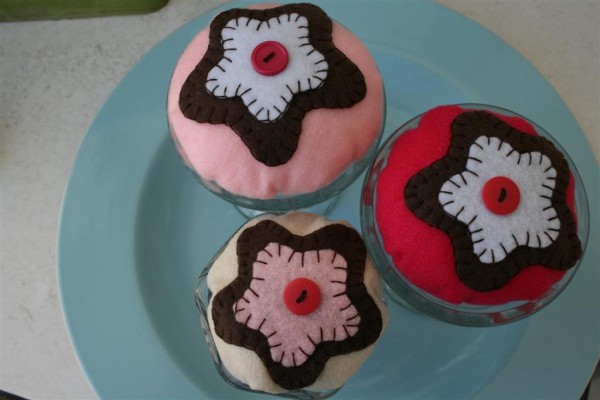

My girls quickly saw the potential of these creations and whisked them away to the toyroom for use with their little kitchen.
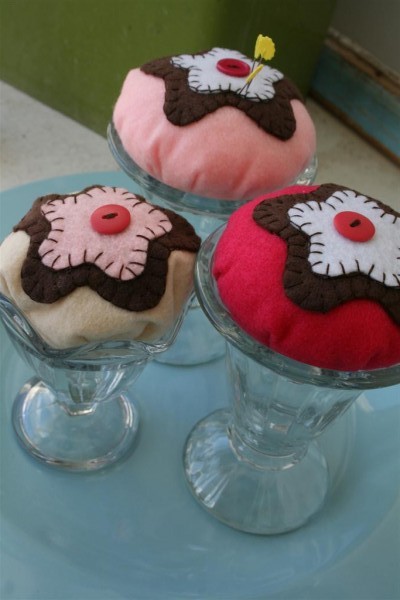

I’ve seen some of the cute felt food that people are making for children to play with but I had no idea how much fun it might be to make it!  This project left me wanting to stock the playroom with sweet little bits of food.  Whether it’s used as a toy or a pincushion, this was a fun project.

Hopeful Homemaker Shared at DIY Day

Wild Thing/Verna Quilt

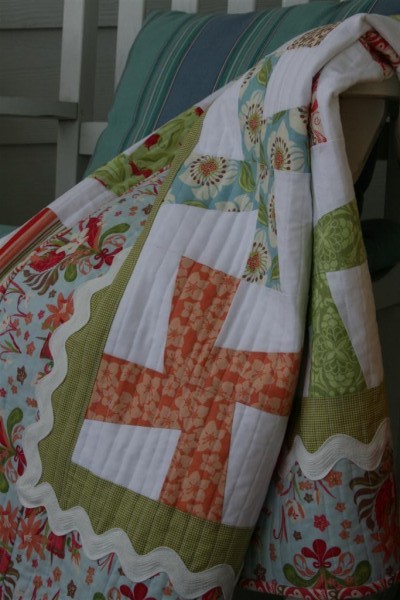
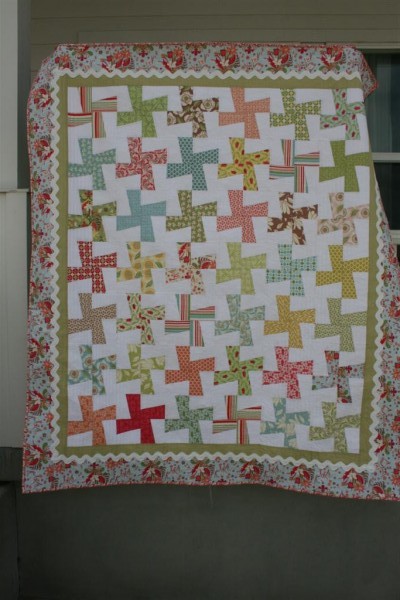
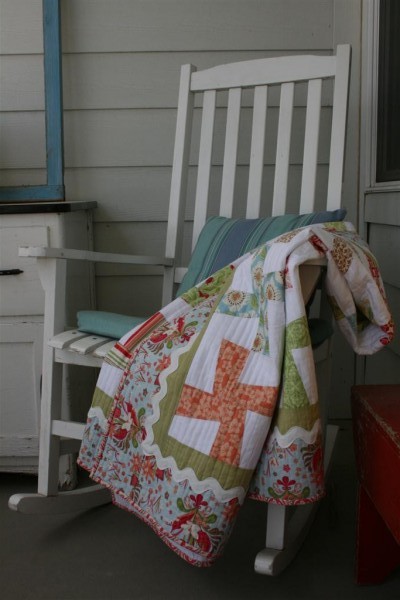
I have a new favorite quilt.  It’s finished, and I am giddy.


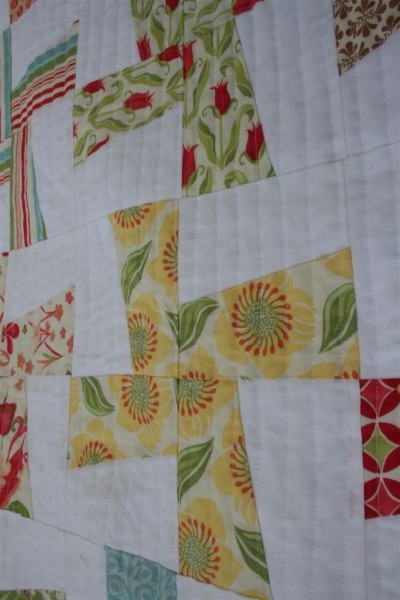
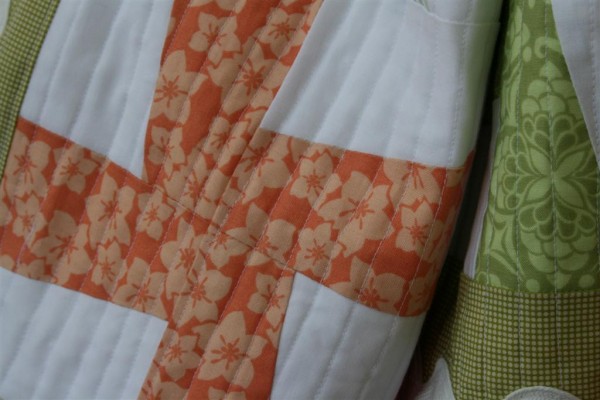
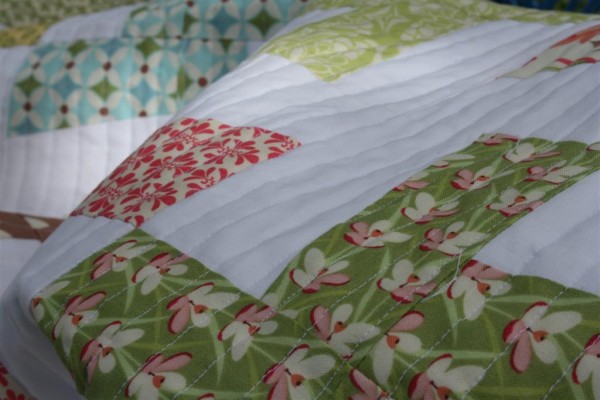
I decided to quilt it myself, on my little sewing machine.  I’m trying to make my hobby more affordable and I’m also trying to learn new things.  Inspired by this quilt , I went for straight lines, spaced 1/2 inch apart.


I’m SO pleased with the results.  I will be using this technique again.  Especially since I discovered my handy dandy quilt tool that came with my machine, which helped me keep the lines straight but not too straight.


Between the little lines and the happy Verna prints, this quilt makes me smile when I look at it.


It took me about 7 hours to quilt this in its entirety.  Because I did most of the work in snatches of 10 minutes, it didn’t bother me.  I have no idea how much it would cost to have someone quilt like this, but I feel like my time was well spent because I learned a lot and generally enjoyed the process.

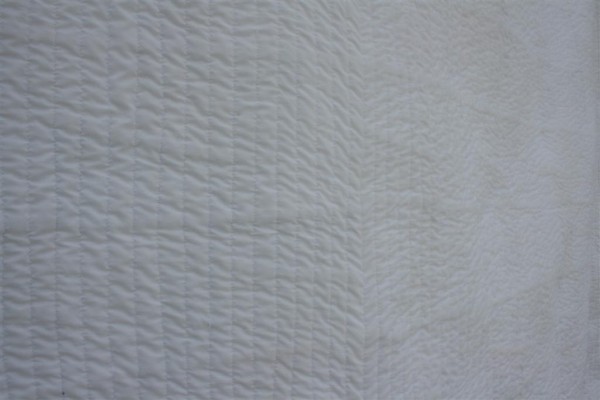
I liked the white so much that I went with a plain white back, and I love the way the quilting looks on it as well.


In short, I am happy, happy, happy with this quilt!


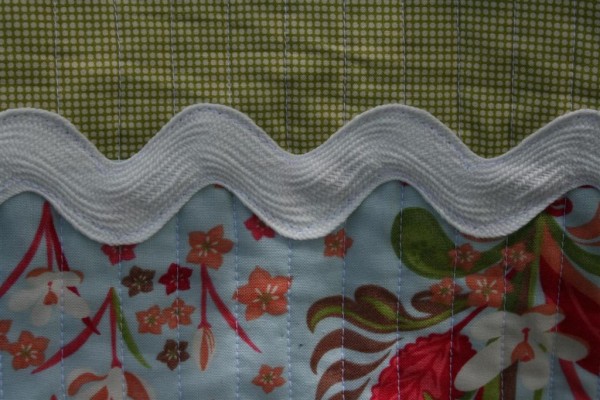
I opted not to sew rick rack into the seam when I pieced the quilt, and went back and forth over adding it at the end between the two borders.  I’m glad that I did.  I like the extra pop of white.  I chose to sew down each side of the jumbo rick rack so that it lays flat.


Hooray!  I love my new quilt!


Jennifer

Pinwheel Sampler Quilt Blocks

I’ve had my eye on this quilt along for a few months now.  Naturally, now that those who’ve been quilting along with Rachel’s posts are FINISHED with their quilts, I decided to throw in and make one.  Oh well.

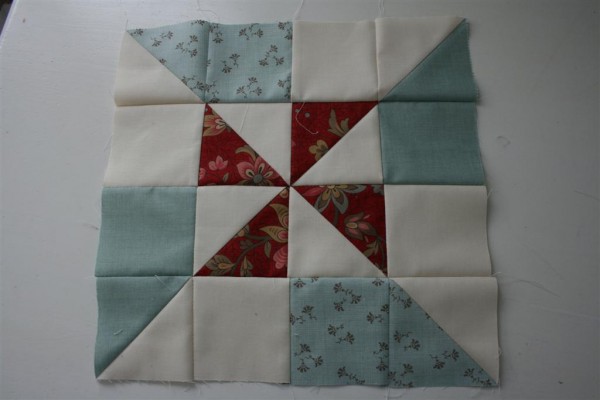
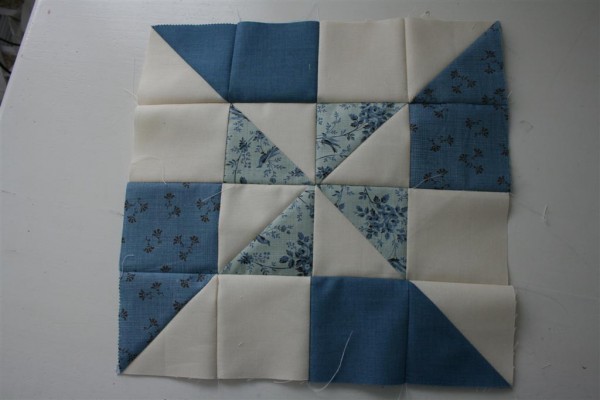
I decided to use my Rural Jardin layer cake for this project.  I’m using a cream colored Bella solid with it, and am excited to see how the whole red, white and blue with a twist theme works in this quilt.  I had a red, white and blue quilt all planned to make in May, but that’s not happening right now so this looks like a fun, fast substitute.

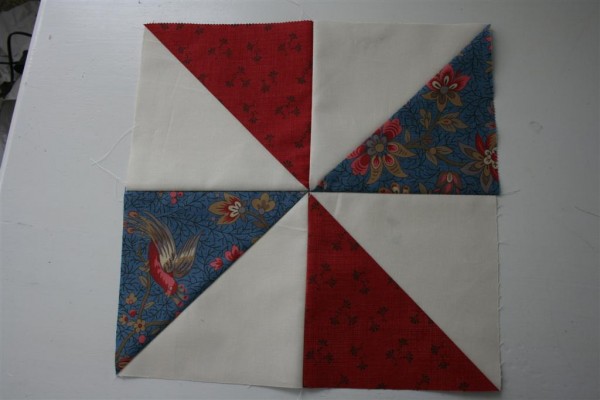
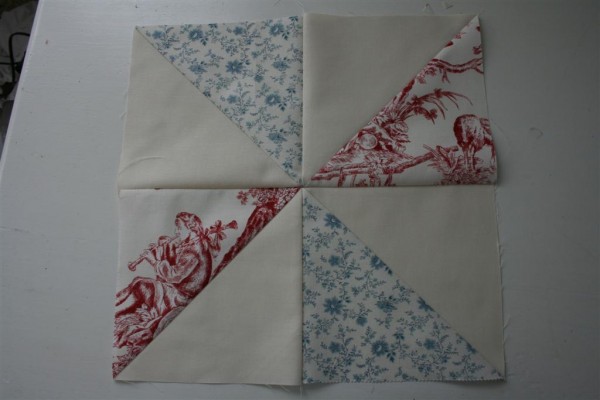
Last night I put together the first two blocks, making two blocks of each.  Part way into the cutting I realized that you can’t really get the first block out of a layer cake piece unless you have two of the same print in the stack.  I decided to throw in two secondary prints instead of one, but used prints that are similar in color.  This let me alternate them.


I like how they turned out.  Block Two was simple and fast.  Here they are:


Two down, six to go.  This will be fun!  Anyone want to join me?  (Em, have you cut into your layer cake yet?)

HH

1 129 130 131 132 133 143