
Hunter’s Star Quilt
The hunter’s star quilt is now complete. It’s my first red and white quilt and I’m thrilled with it.
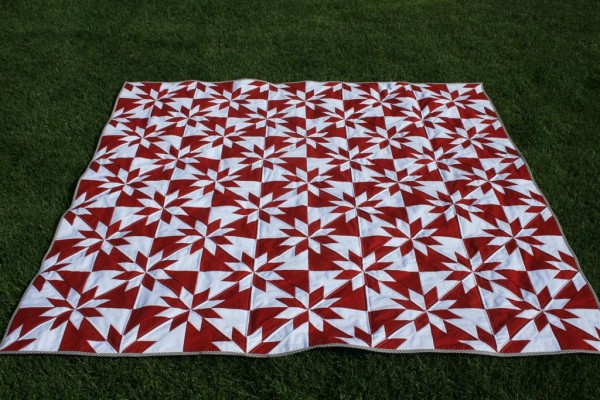
This quilt was a lot of fun to make. The cutting and piecing method is not difficult and there is no waste of fabric. It requires no special tools or templates. I am pleased with the accuracy of my blocks. It amazes me a little that two solid fabrics can produce such a beautiful quilt.

This quilt features a white cotton sheet for the backing. I had just enough red fabric left to reduce the blocks and make two smaller stars so I gave them a red border and sewed it into the back. Piecing a little something for the back of my quilts is becoming more fun. This picture of the back of the quilt also shows the simple straight line quilting I chose. I quilted 1/4″ from the seam on the diagonal lines through each block, then added vertical lines through every other block as well.

It seems I’ve also become partial to the gray polka dot binding that I’ve used on a couple of other quilts this year. In this case it was just dark enough to ground the deep red but low key enough to let the stars take center stage.

This quilt was a project I’ve intended to make for quite some time. It feels good to have it done.

Update: After many requests, I have written the pattern for this quilt. It includes fabric requirements for 4 different sizes. The Hunter’s Star quilt pattern is available here !
-Jennifer


