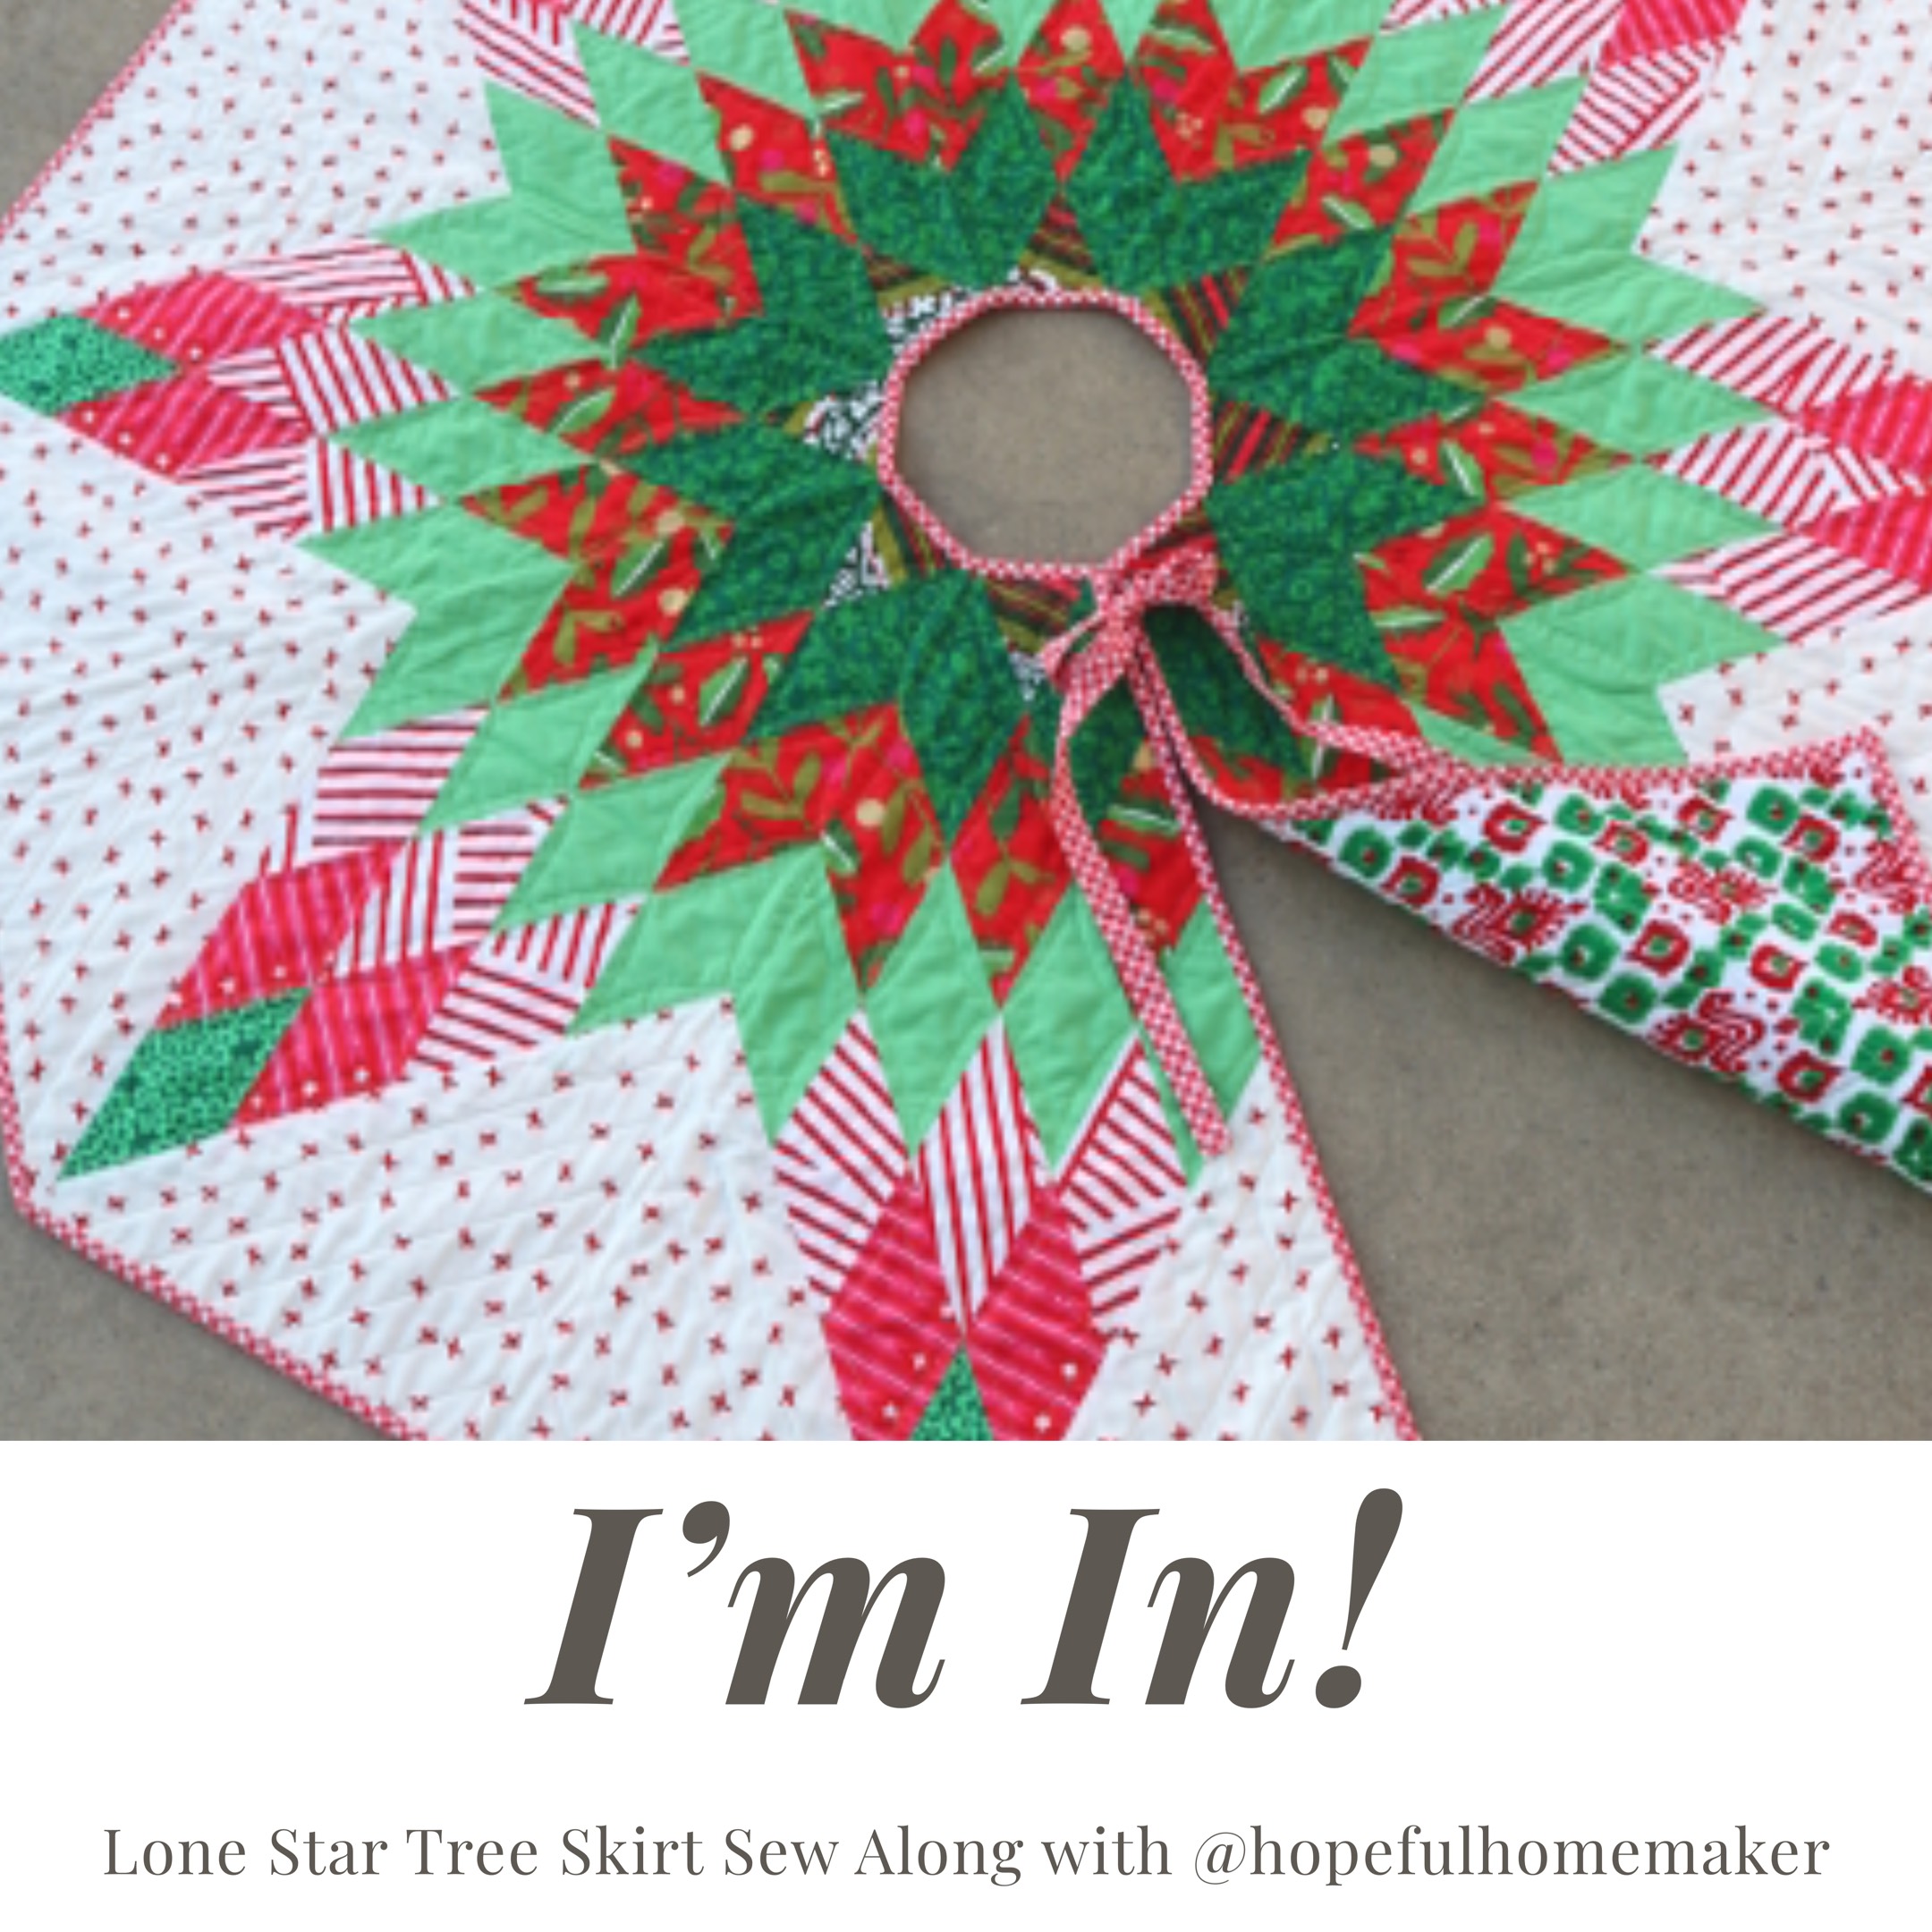
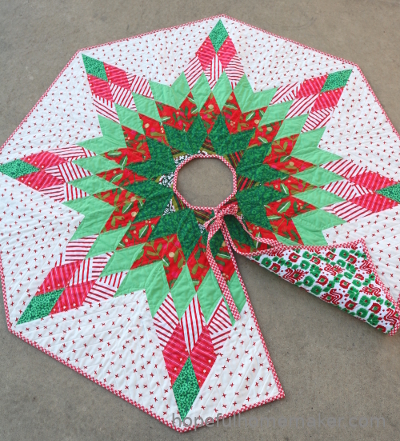
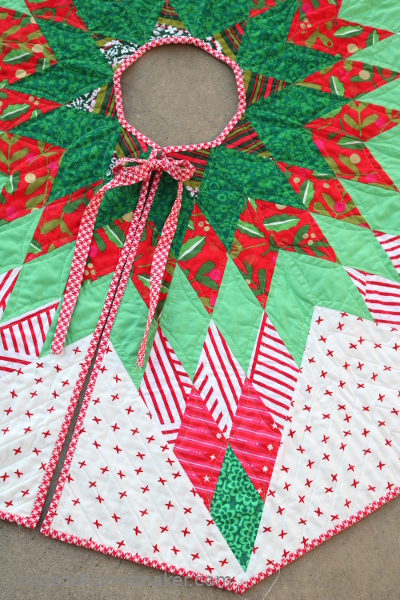
Lone Star Tree Skirt Sew Along
My new Lone Star Tree Skirt pattern launched recently and due to the great response I’m hosting a Lone Star Tree Skirt Sew Along . I intend to give you the little push you might need to make yours before the holiday season.
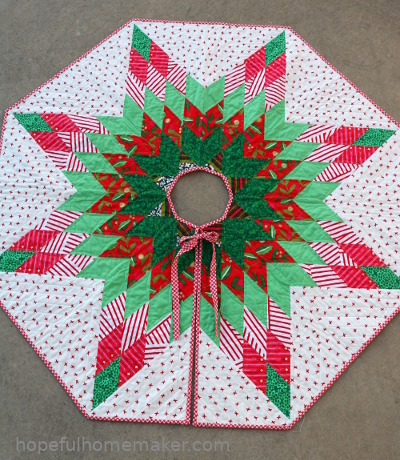
The tree skirt is a fairly quick project to make.
Our Sew Along will run for five weeks, with the kickoff on Monday October 7, 2019.
I will post a video every Monday with detailed tips and instructions for completing the week’s steps.
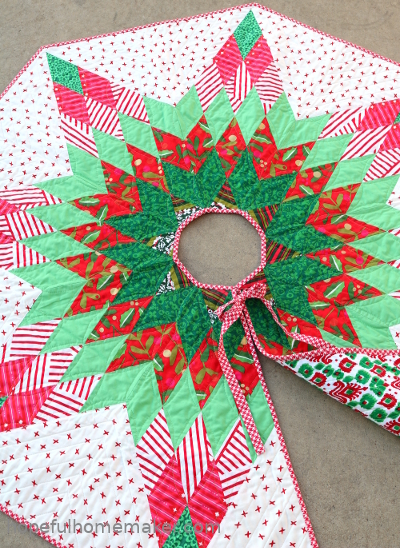
You may sew at your own pace, but if you keep up with us you will have a finished tree skirt in early November! It’s going to be lots of fun!
If you’ve already purchased the pattern, choose your fabrics now. If you’d like to join in, you can purchase it here.
Sew Along Schedule:
Before October 7: Purchase the pattern and select your fabrics October 7-13: Cut & Sew Strips October 14-20: Piece Diamonds October 21-27: Piece Star & Add Background October 28- November 3: Quilt Star November 4-10: Cut Tree Skirt and Bind November 11: Share finished tree skirts To follow along, visit the Lone Star Tree Skirt Sew Along page for links to each week’s post and video.
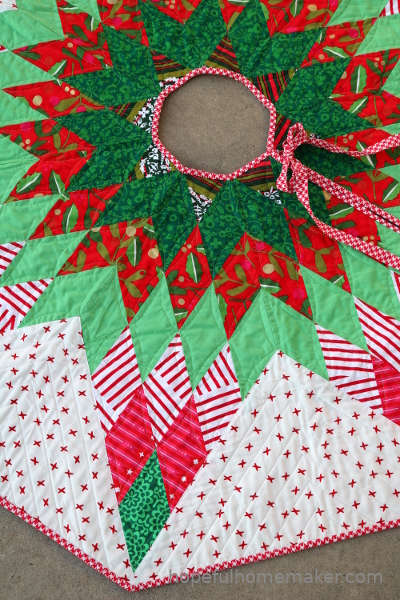
If you haven’t made a lone star, this is a great way to start and if you have made one, you will know that one star is not difficult.
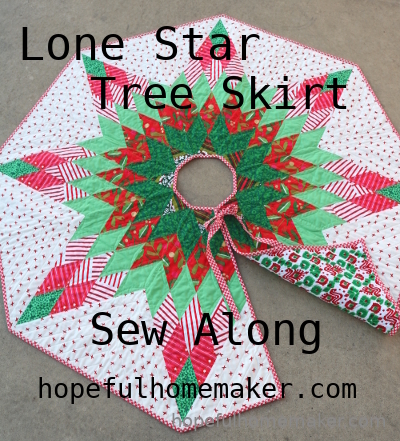
In addition to the weekly videos here on the blog, you can follow along on Instagram @hopefulhomemaker, and follow the hashtag #lonestartreeskirt. Links will also be posted on the HopefulHomemaker Facebook page. Right click on one of the images below to save and share on social media.
Purchase your pattern here , select your fabrics, share that you’re in, and let’s get ready for some fun!