Be Beautiful Mini Quilt
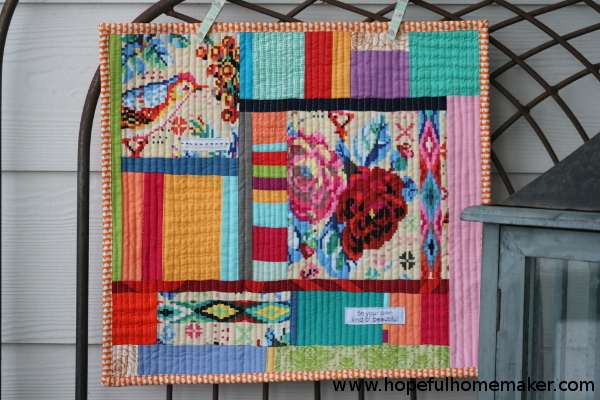
Meet my first project of 2017! This mini quilt was made for an annual swap held by a friend and I had a wonderful time making it.
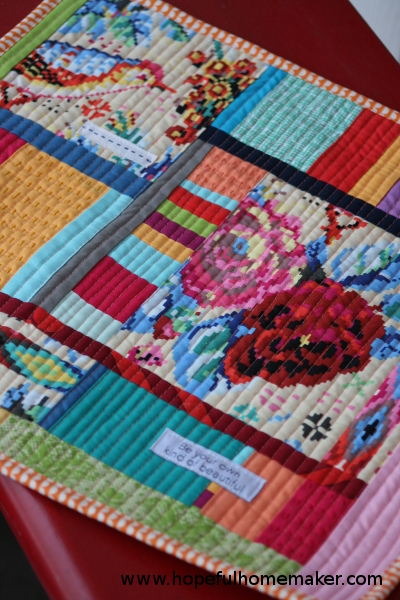
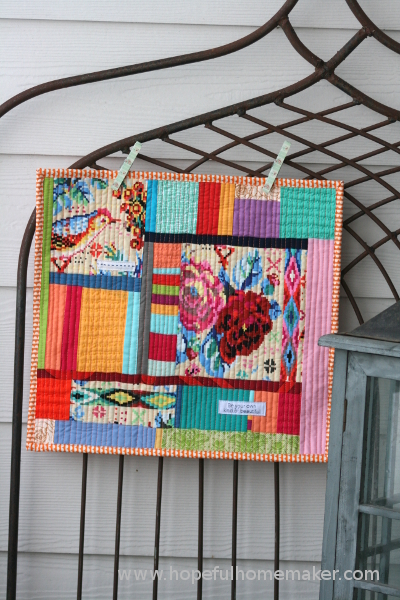
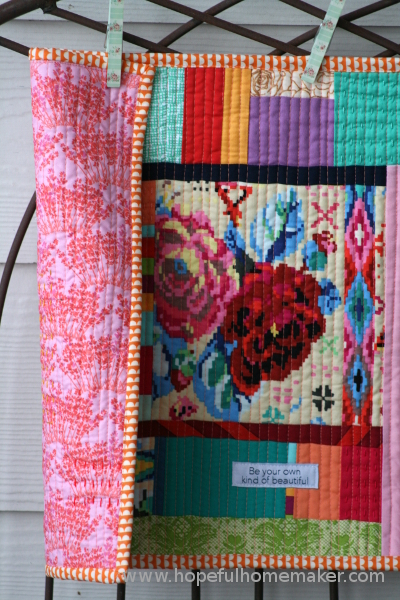
I started with a piece of Amy Butler’s fabulous Celestial bird print from her Hapi collection. This fabric is a treasured favorite of mine and I wanted to show it off.
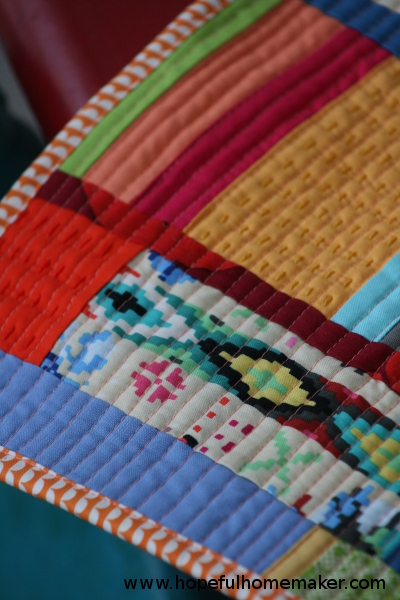
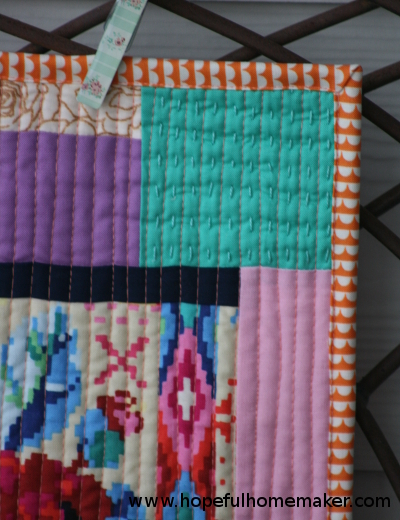
Improv piecing is something I’m working at becoming more comfortable with so naturally this project was a great exercise. I love straight line quilting and chose a peachy orange thread, and when I had quilted it I took a deep breath and decided to add some extra details, the kind I always admire in others’ work but struggle to add to my own. I want to push myself creatively this year, so this felt like an appropriate start.
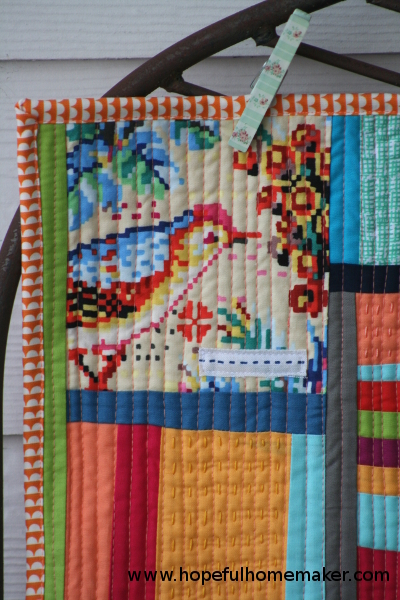
I chose coordinating perle cotton and hand stitched the quilting in several small solid areas and stitched a tiny piece of selvedge I’d saved from my 100 blocks project to the bird square.
My sister sent me some really cool tags for Christmas, the kind of detail I usually store carefully to save for the “perfect project” that never gets made. Not this time. I decided to add the “be your own kind of beautiful” tag and I love it so much!
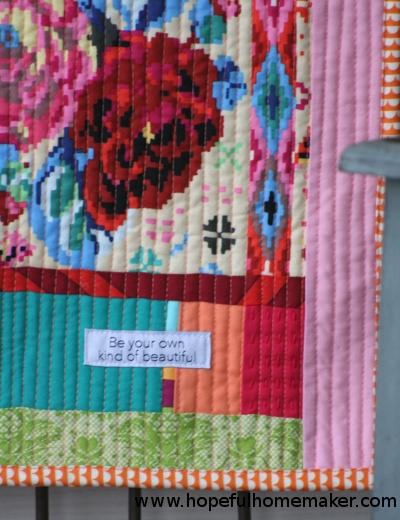
A bit of Kate Spain fabric for the back and orange scallop for the binding finished this off beautifully.
I have to admit that when I finished I half wished I could keep it. It’s true that we stitch little pieces of ourselves into our work and giving it away can be bittersweet. That’s the beauty of creating, and I loved creating this piece. It left me with a smile on my face and a feeling of fulfillment in my heart.