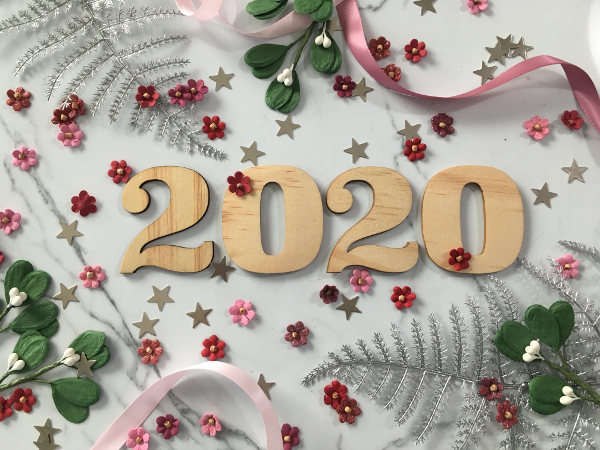
Good Morning, 2020!
It’s January 1st. A new day, new year, new decade. We awoke this morning to a world blanketed in white with puffy snowflakes peacefully falling to the ground and the luxury of staying at home. I love the way the world looks with fresh snow – glistening perfection, undisturbed and covering the dull brown of winter. I looked out my window and thought, “Good Morning, 2020!”
New snow is like a fresh notebook without a mark in it, or a stack of fabric waiting for the perfect project. It’s full of promise and potential. The perfectionist in me is sometimes intimidated by the blank canvas these new starts offer; I’m afraid to make the first mistake. The funny thing is, I make mistakes no matter what, so why hesitate to dive in?
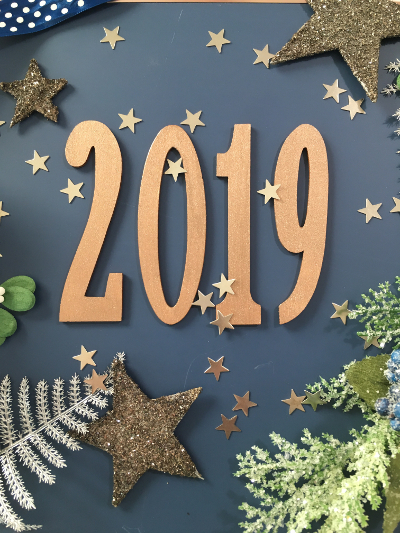
Really, there’s nothing special about January first. Any day – every day – is the day to make a change. Still, it’s fun to change the calendar and start a new year and I want to dive in the way my children race out into the snow, excited to leave tracks all over and see what kind of adventure they can create. I like the sound of “twenty-twenty”. It reminds me of perfect vision, and the phrase “hindsight is 20/20.” The idea of taking everything I’ve learned from 2019, even from the last decade, and putting it to work in 2020 has me excited. So I really mean it: Good Morning, 2020!
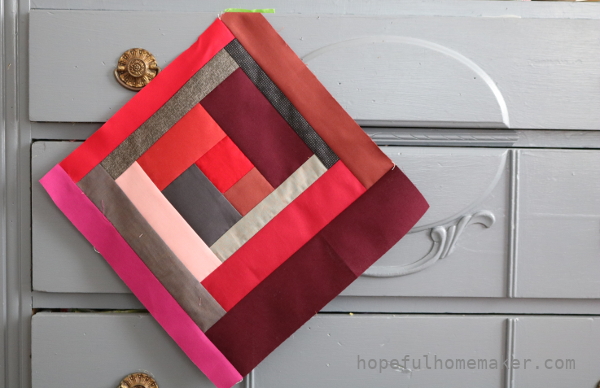
Last year I tried, with limited success, to sew for 15 minutes a day. I noticed I felt happier and more productive in general when I was doing it. In the last few weeks I’ve only looked longingly at my sewing machine as the holiday season commanded my attention. I have goals for 2020 in several areas, but my creative goal is one I’m really excited about.
I’m calling it “20 in 20” and it’s a goal to spend twenty minutes sewing every day (Monday – Friday, at least) in 2020. I’ve got a master plan for it, and my official start date is Monday January 6th. That’s the day everyone goes back to school at my house. We’re going to enjoy vacation mode for a few more days as a family.
I’ll be back here on Monday to share the details of my “20 in 20” challenge. I have a great feeling about the new year. Good morning, 2020!