Jewelry Board
I have a shelf in my bathroom closet that houses my jewelry.
It’s not expensive jewelry, but some of it I really like. It fits my stage in life.
But lately, between my girls going through things and me falling asleep on the couch every night while I check my email (what can I say, it’s my 8th pregnancy!) which has caused me to become somewhat lazy with my bedtime routine, the jewelry shelf has become rather, well, scary.
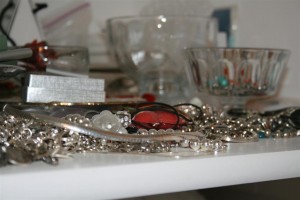
Time to organize.
I’ve been looking for ways to accomplish this, and the other day I looked at one of my old picture frames that is now painted white and had an idea. Today I’m going to make it happen.
To make this board, all you need is a picture frame, a piece of foam core board, and fabric of your choice. I went to my cupboard which holds my stash of heavier weight decorating fabric for ideas.
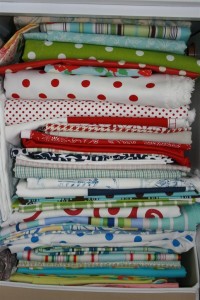
I love all those colors! Stacks of fabric are so beautiful.
I came up with this frame and fabric:
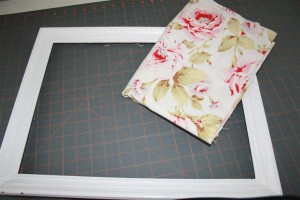
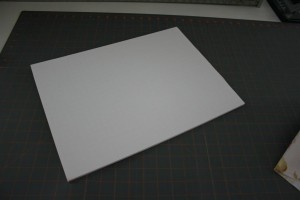
Step one is to carefully measure the opening of your frame. This is done by turning the frame over and measuring the size of the hole where the glass would sit if you were inserting glass. On older frames especially, measure carefully because the frame sizes weren’t so standardized as many are today. Mine was 16 inches by 12 1/4 inches. Next I cut a piece of foam core board (available at any WalMart for a couple of dollars) the same size.
Next you need to cut the fabric, but it needs to be cut larger than the foam. I cut mine 3 inches wider on both sides, making it 19 inches by 15 1/4 inches in size. You can go even larger than this if you like, but I prefer not to have tons of fabric hanging around on the back to deal with.
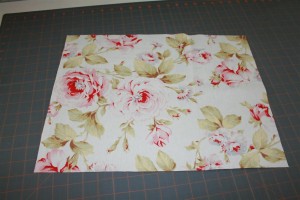
You can see how it is bigger than the foam.
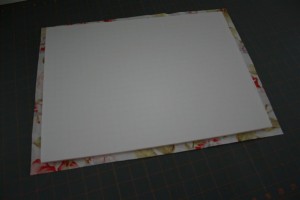
Now for the assembly. Place your material face down on your work surface.
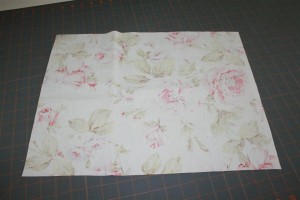
Now center the foam on top of the fabric.
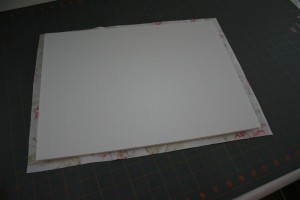
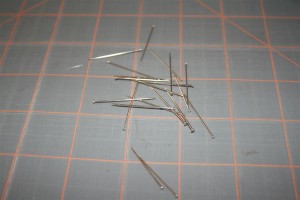
All you need now is a bunch of straight pins with flat heads. They are super cheap and can be found in any fabric store.
In the center of one side of your foam, pull the fabric tight around the edge of the foam board like this:
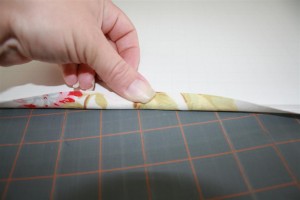
Carefully push a pin into the edge of the foam, pushing it all the way in.
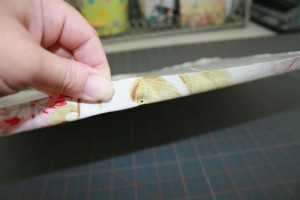
Now do this in the center of all four sides of the board. Then come back and start pinning all the way down every side of the foam. I place my pins about one inch to 1 3/8 inches apart.
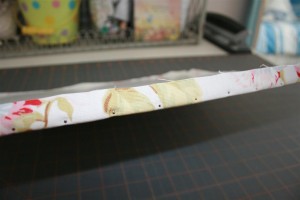
The only two things to remember while pinning are to keep the fabric taut so it doesn’t bubble anywhere and to get the pins in straight so they don’t come poking out of the foam in the front or back. If your fingers become sore, just use the end of a pencil or something to push them in. When you’ve done all four sides, turn it over and it should look like this.
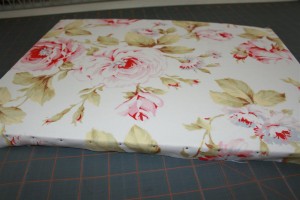
Now all you have to do is insert your fabric covered board into your frame. If you measured and cut carefully, it should stay in pretty well on its own, especially because the pins will help make it a snug fit. If you need to, you can tape the back to make it stay if you’re concerned it won’t hold.
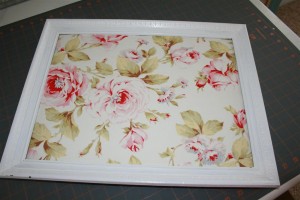
I’m excited to try mine out! I leaned it against the wall on my shelf and used some big pins that I had on a different bulletin board to hang jewelry on.

And here is my finished project!
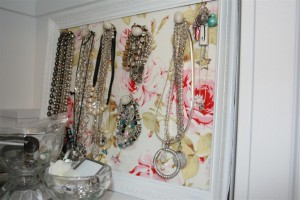
Now I’d call that an improvement! One organized, tidy shelf. (Around here, baby steps are good things, especially when you’re pregnant and you just used all your second trimester energy getting 5 children through their soccer seasons.)
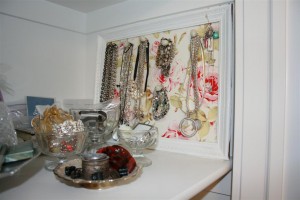
I like it! This project took me about 20 minutes from start to finish (but would take longer if you had to paint your frame or something like that.) Do you have a trouble spot somewhere that could be helped by a board to hang things on? Try it out! It’s fun, pretty, and inexpensive.
And it will motivate you to stay organized. That’s a good thing.
