Graduation Party Decor Idea

Last week my amazing brother and his fabulous wife graduated from BYU.  We had a little graduation party to celebrate their accomplishments along with my brother’s birthday.  I wanted to do something fun to decorate for the party without spending a lot of money.

Here is what I came up with.
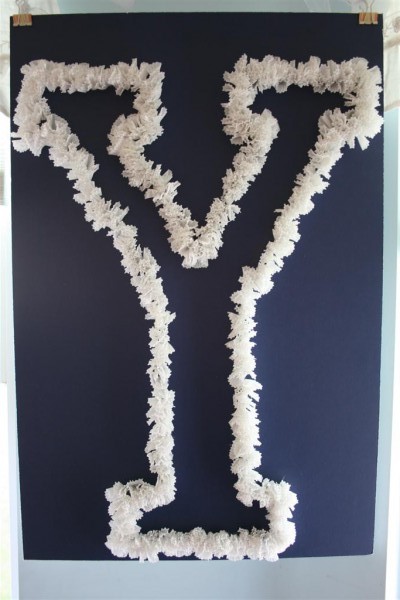

I found a piece of foam core board at WalMart in one of the school’s colors (dark blue).
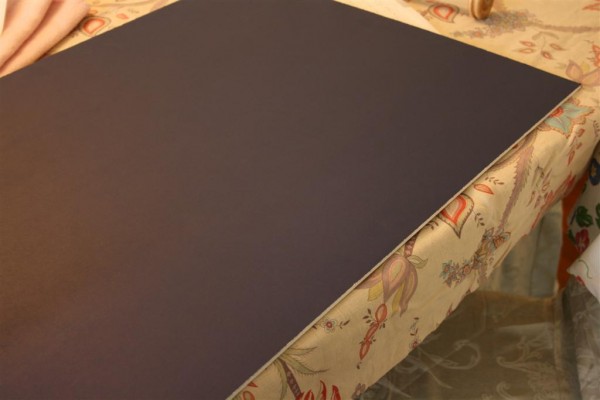

Using a dark colored marker and a small ruler, I drew a Y on the board.  I was able to see the lines well enough to complete the project, but they don’t stand out.

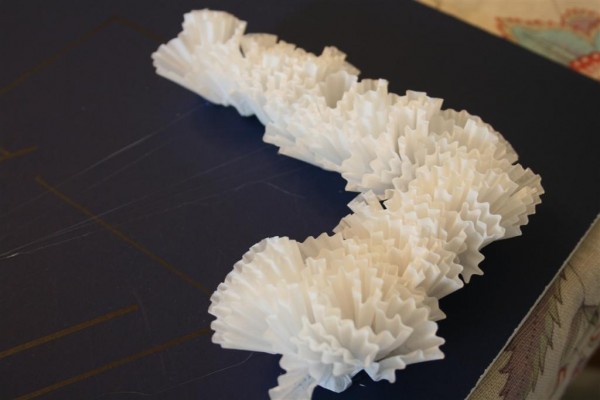
Next I took white (another school color) miniature muffin cups and crumpled the bottoms, pinching them into a point.
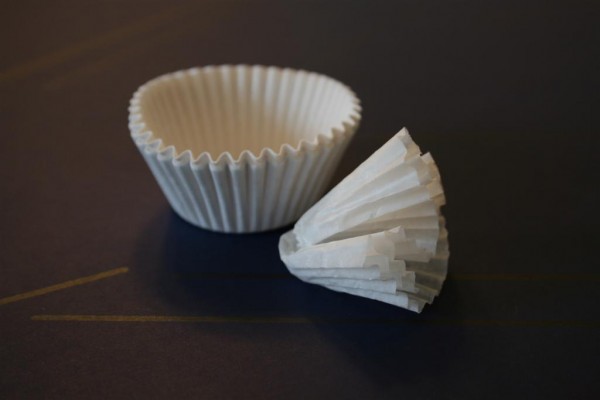

Using my hot glue gun, I dabbed a bit of glue onto the point of the muffin liner and glued it to the outline of my Y.
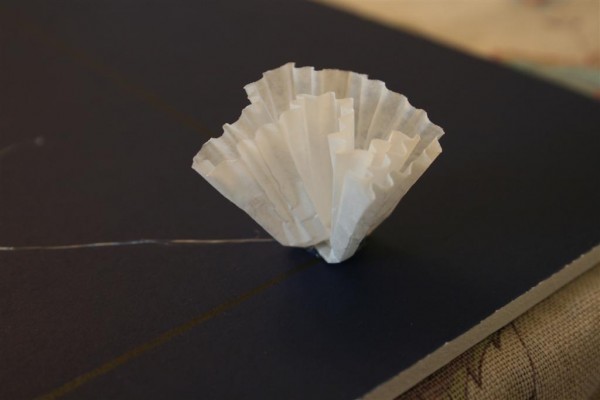

Repeat with more muffin cups, gluing them along the edges of the letter.

When I dreamed up this idea, I pictured the letter completely filled in.  When it took 200 cupcake liners to do the outline, I decided to stop there.  Two hundred liners may sound like a lot, but it was actually a calming experience for me to perform a simple, repetitive task while my mind was still spinning after this unexpected dash to the doctor’s office.  In all I think the project took less than an hour.


Because I purchased miniature cupcake liners in bulk last year, the only cost was the $3 foam board.  Everything else I had on hand.  As I was working on it, I was thinking how fun it would be to make one of these with a number on it to celebrate a birthday party.  You could also do a monogram.  I really liked using the school’s letter in this instance.  The muffin liners added much more dimension and interest than simply drawing would have done.
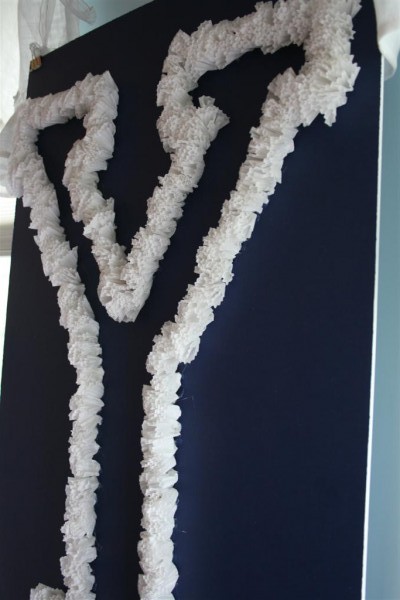

This was a fun way to make a big statement for our party.  It added festivity to our gathering without too much effort or cost.  I’ll be using this idea again!  What do you think?

Note:  to see how we incorporated the school letter idea into our dessert, check out this post .

Hopeful Homemaker shared at DIY Day and Girl Creative

Wicker Rocking Chair

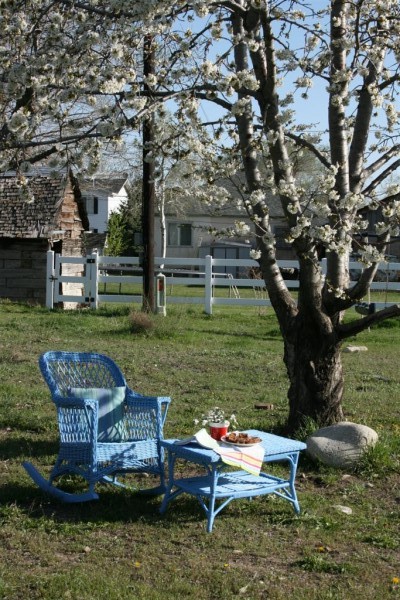
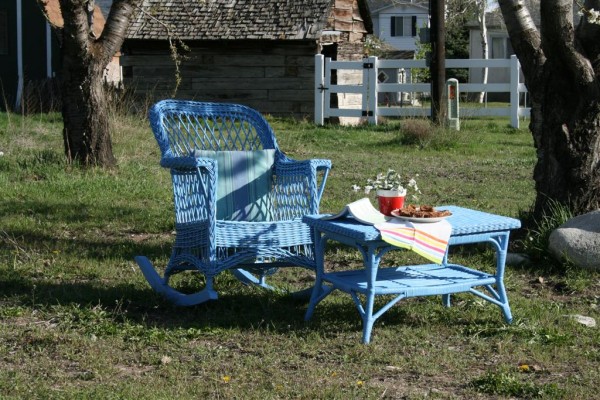
Last year I promised myself a place to read beneath the cherry tree when it blossomed in the spring.   I cannot explain how much I love this tree.  Its branches have gone from buds to blooms in just two days, so today’s task was to keep my promise to myself.


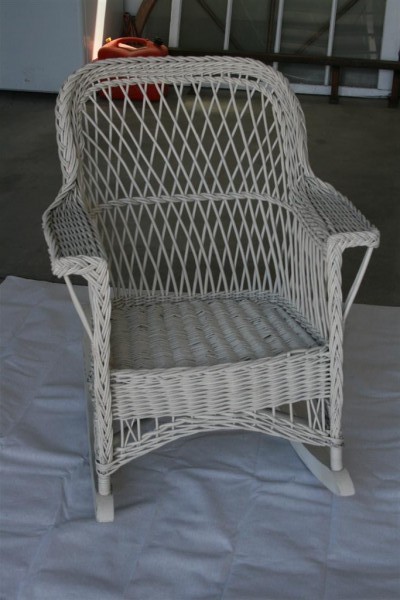
A couple of years ago I picked up an old wicker rocking chair for $5.  It’s been used here and there, but most recently it’s been sitting in the basement.  Not much to look at.


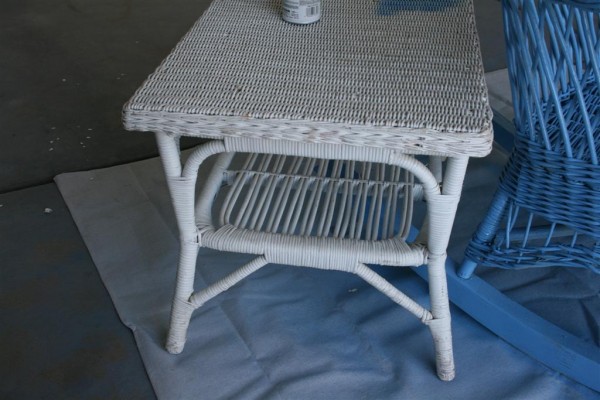
The wicker table was a thrift store find.


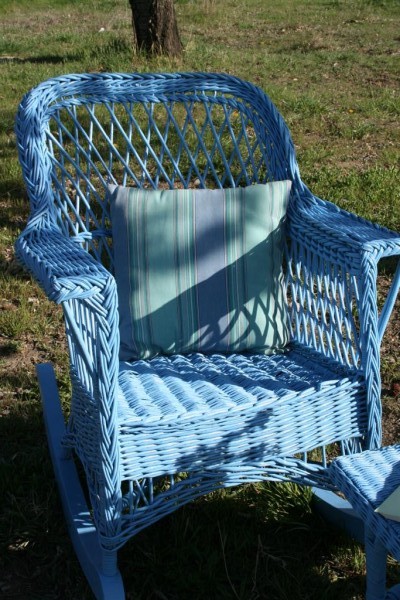
A trip to Home Depot yielded three cans of Rustoleum spray paint in Spa Blue.   It reminds me of a piece of Pine Cone Hill furniture, or an Adirondack chair out of a catalog.

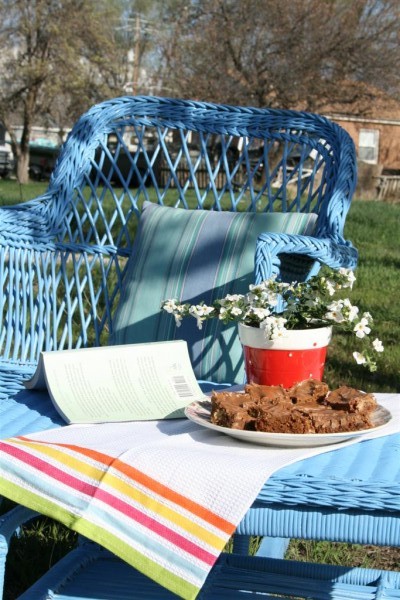
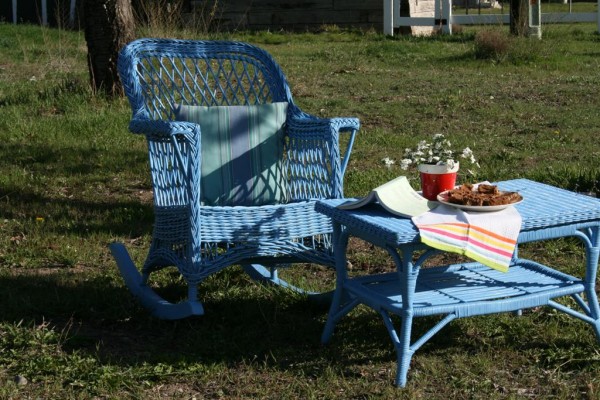
blue wicker rocker

It’s just what I was hoping for.  I’m pleased with the results.  Don’t you love what a little paint can do?!


I know where I’ll be sitting when the little ones enjoy a backyard picnic tomorrow!


Every spring I feel like our cherry tree turns the backyard into something of a paradise.  My blue wicker is the finishing touch that begs you to go sit beneath it and inhale the lovely scent of the blossoms while you lose yourself in a good book.


Wish you were here to join me!

Hopeful Homemaker Shared at DIY Day and A Silly Little Sparrow

Burlap Storage Bin DIY

I’ve been looking for a storage bin to fit a certain spot for a long time.  Recently it occurred to me that I could just make one instead.

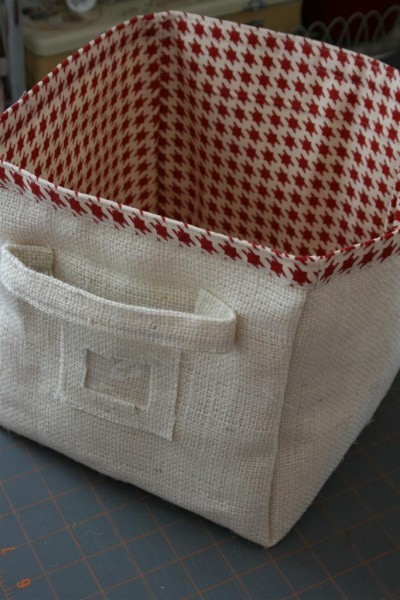
fabric storage bin

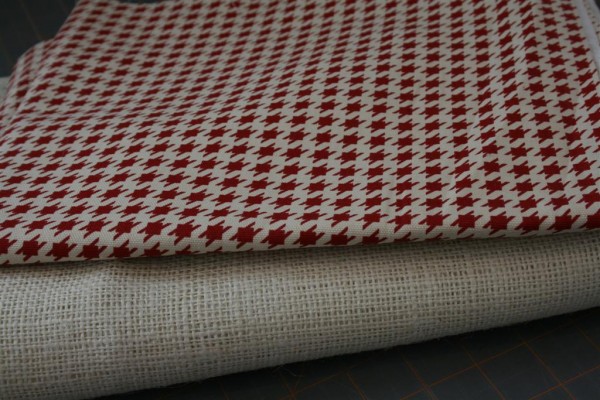
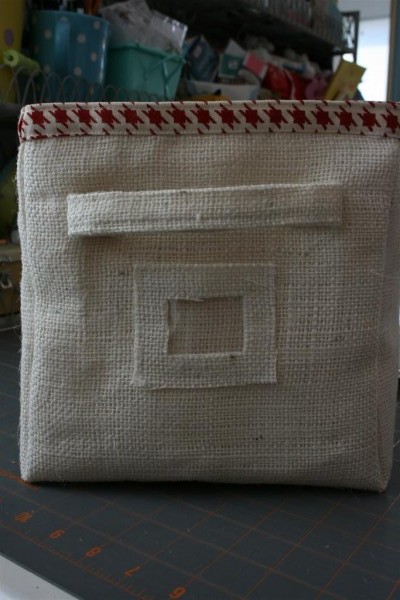
I used a bleached burlap for the outside and chose a coordinating hounds tooth pattern from my stash for the inner lining.


To determine the size of my fabric, I measured the space I wanted it to use on my shelf.  This would be the base, and then I decided how high the sides were to be.  Once you know those numbers, multiply the height of the sides times two, and add that to your dimensions for the base.  For example, if you want the base to be 8 inches wide by 10 inches deep, and your sides to be 6 inches high, then you need to add 12 to the width and height of the base.  This means you will cut your fabric to be 20 inches wide by 22 inches long.

Once you do this, you might want to reinforce the fabric by ironing some interfacing to the wrong side of the fabric.


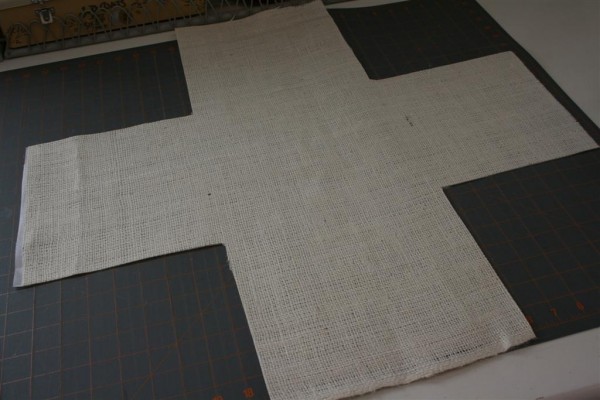
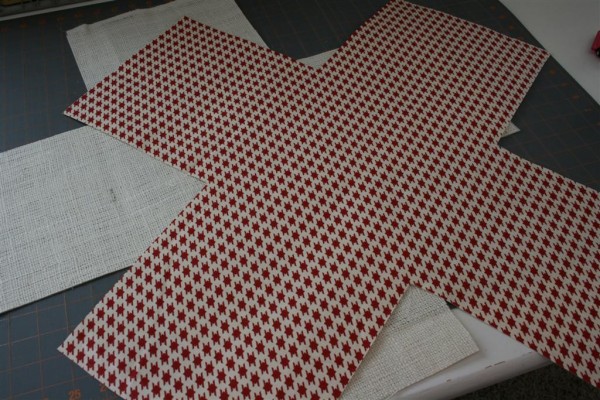
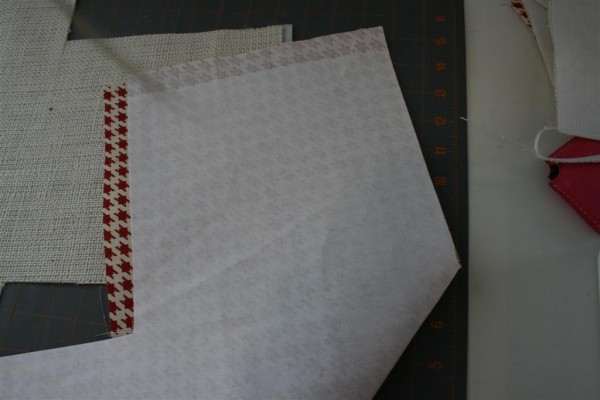
Now you need to lay the fabric flat and on each corner, cut out a square the size of the height of your bin.  If we continue the measurements from the above example, you will cut a 6 inch by 6 inch square out of each corner.  This will leave you with something of an “x” shaped fabric.


Repeat with the piece which will be your lining.


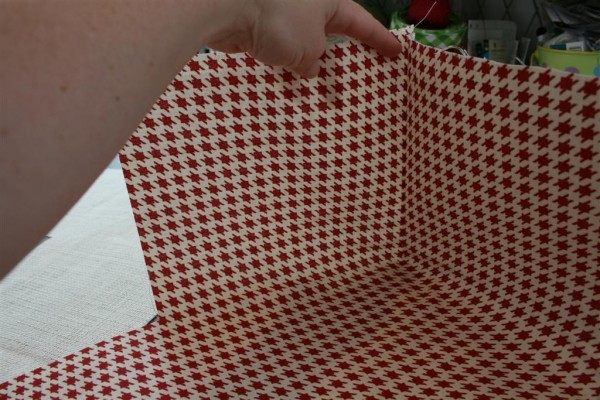
Fold each “x” in half on a diagonal line through the center square or rectangle.  Carefully line up the sides of each piece, with right sides together (RST) and sew down that six inch line.


You will be able to see that you have just formed one corner of the bin.


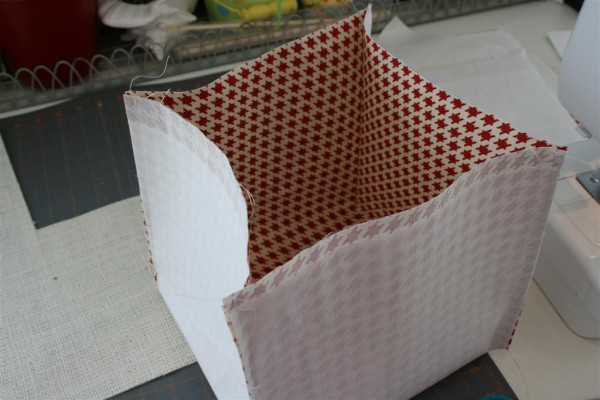
Repeat with the remaining three sides until you have made a little box.


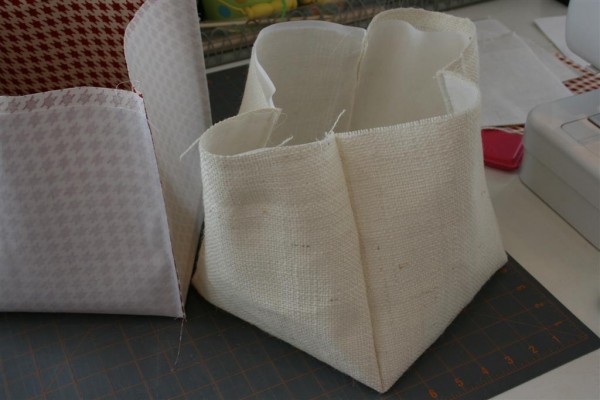
Repeat with the other piece of fabric to form a second bin.  Turn the outer piece right side out.


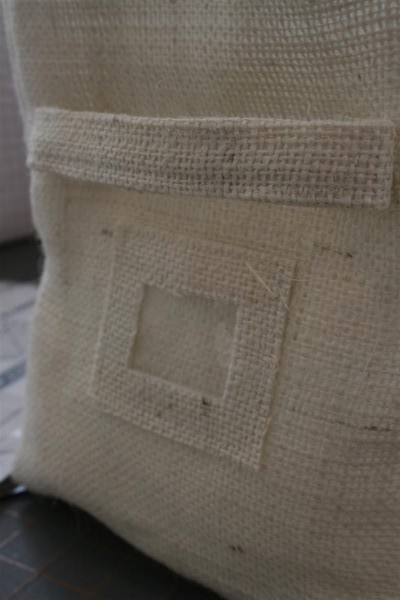
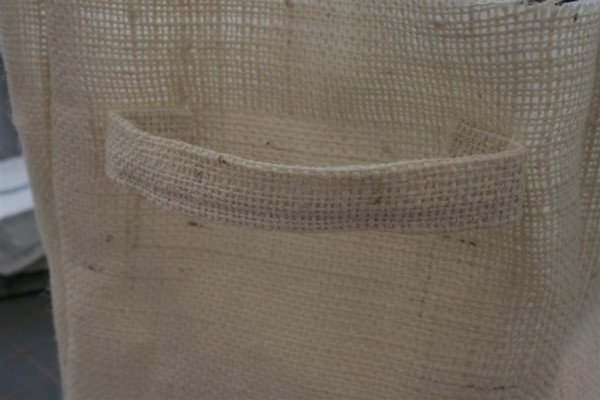
Now for the embellishments!  I chose to make a handle and a little pocket for a label.


For the handle, decide how long you wish it to be, and cut your fabric that long, but twice as wide as you want it.  With RST, sew the fabric into a strip lengthwise.  Turn it right sides out, tuck the ends under, and attach it to the outer bin wherever you want it.


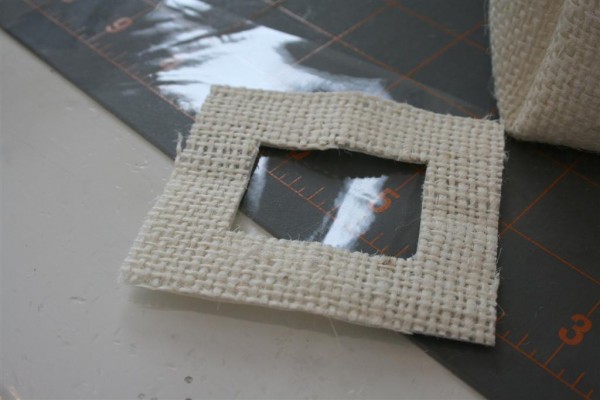
For the label holder, I cut a small rectangle, and then cut another, smaller rectangle out of the center.  I placed a piece of clear vinyl behind it and sewed around the inner edge of the burlap rectangle.  Then I sewed the rectangle to the bin on the sides and bottom only, leaving a pocket in the top.


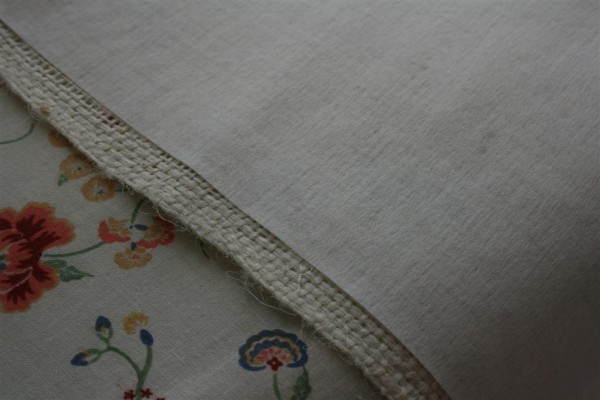
Lastly, place the lining inside the outer shell.  Fold the liner under, and then fold it over the top of the outer shell to form a contrasting strip around the top of the storage bin.  Carefully sew into place.


You’re done!  Now go fill it with whatever you made it to hold.

fabric storage bin

I must say that the burlap was a bit of a hassle to deal with, especially in spots where I was sewing through several thicknesses of it.  Still, I’m happy with the result, and it’s nice to have the size I needed without spending any money.  I love it when I find useful ways to use my stash and it’s always fun to combine creativity with organization.

I hope you’ll try one and tell me what you think.  It was a lot of fun!

Hopeful Homemaker

1 2 3 4 5 6 9