Okay, so I know that you don’t usually celebrate a baby’s first 3.5 months of life by mailing the birth announcements. I realize it’s supposed to happen sooner than that. But… when it’s your 8th baby and you’ve done it for all your other children, well, you do it late rather than not doing it at all.
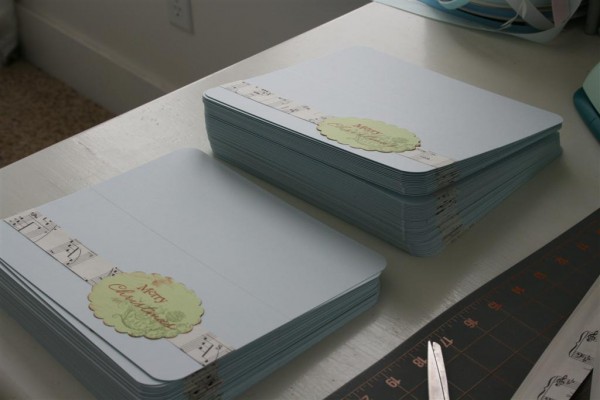
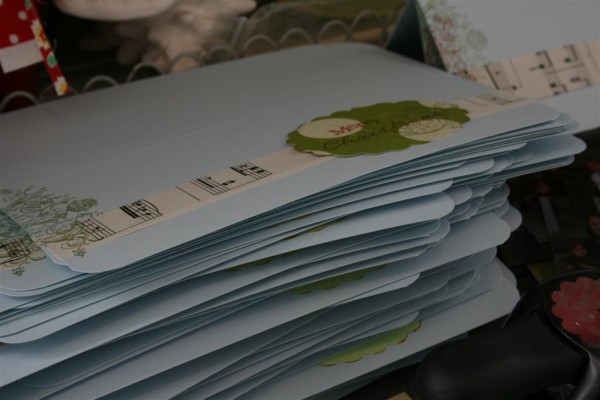
I’ve had the design figured out since she was 3 weeks old, and the supplies have sat, cut and neatly stacked ever since.
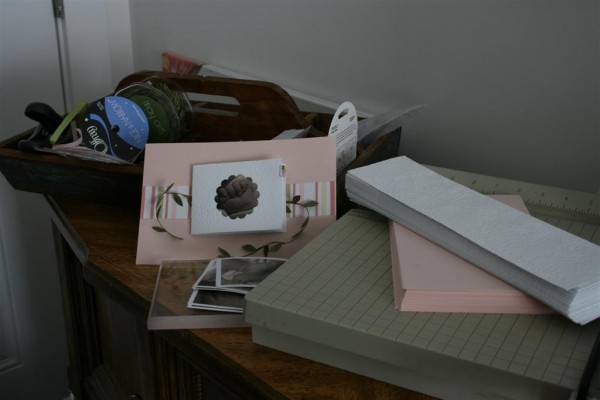
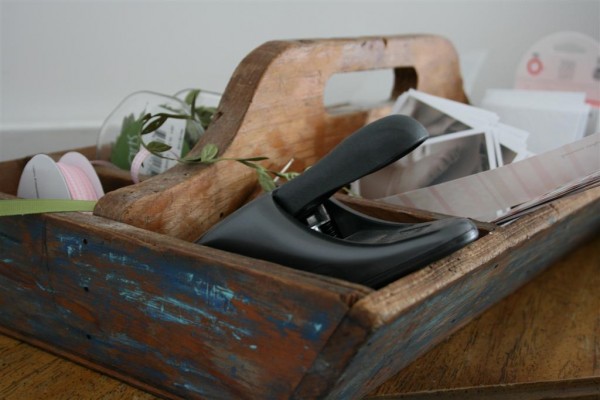
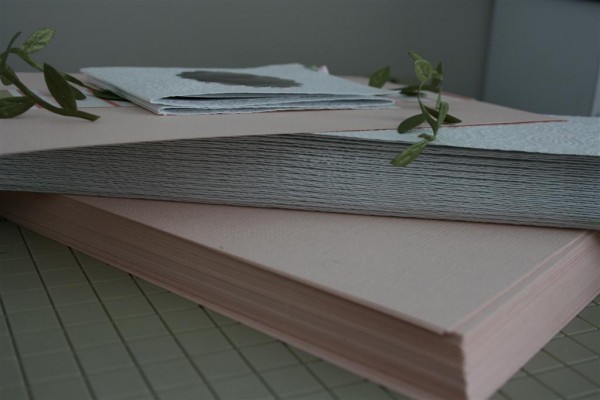
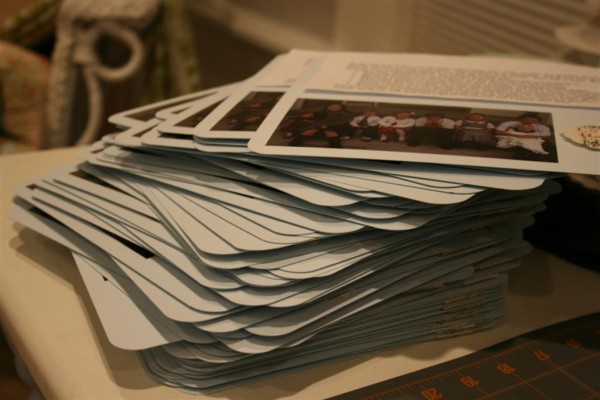
I love tidy stacks of cut paper, just waiting for something to happen to them.
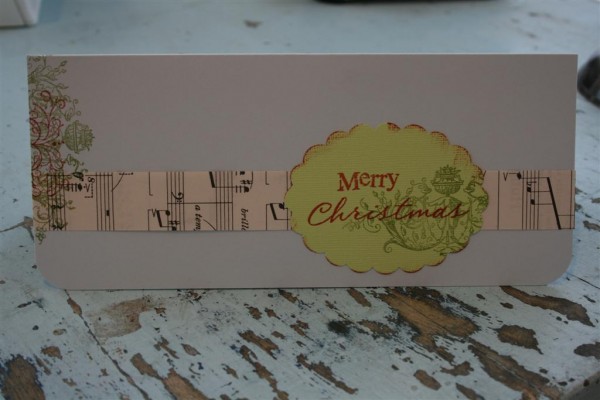
These came from my stash of old scrapbooking supplies. Perfect colors, perfect amount. Hooray! (No shopping.)
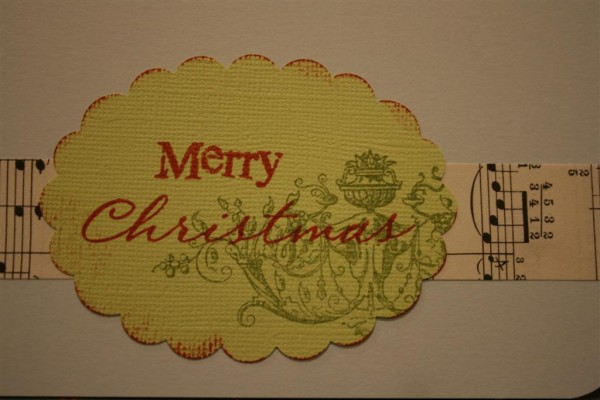
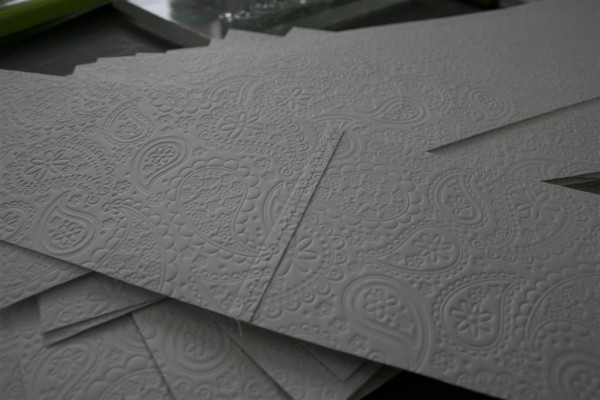
I also used some of this lovely embossed white paper. (Again, from the stash.)
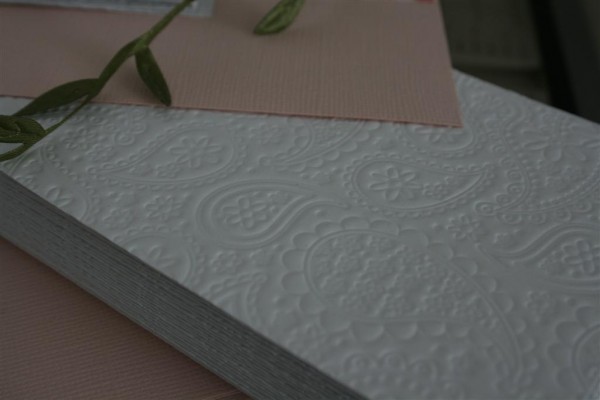
This week I finally managed to carve out the time to assemble.
I had four pictures I wanted to use, so I made an announcement that could be opened, accordion style, to see them. This meant I needed a strip of paper around 16 inches long, so I used strips of 12 inch paper and sewed them to 4 inch pieces that were the same width. Before I did that, I used my dry embossing tool and made fold lines at the appropriate spots so it would be easier to sew and easier to fold.
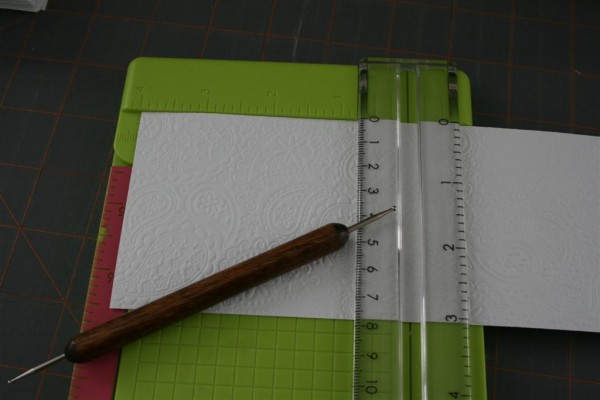
With my paper cutter as a guide for straight folds, I made fold lines at 4 inches, and then two more spaced 3 and 7/8 inches down. This left me with about 1/4 inch at the end for sewing my paper together.
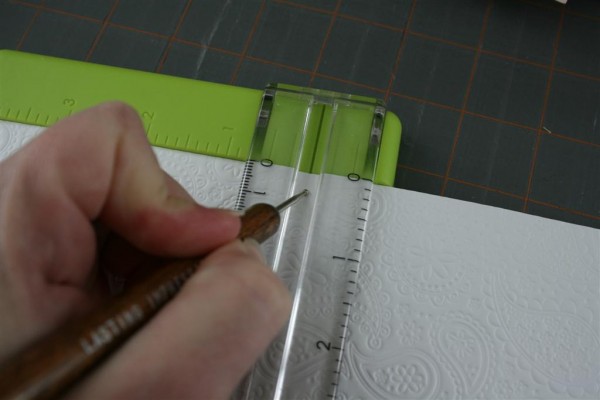
The strip looked like this when I was finished. You can see the faint fold line in the paper.
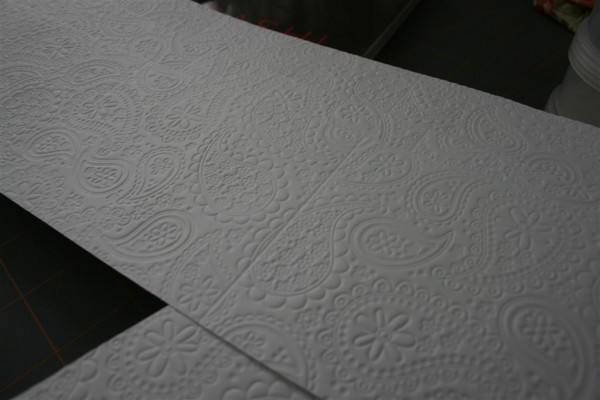
Next I took my stack of 4 inch long pieces, 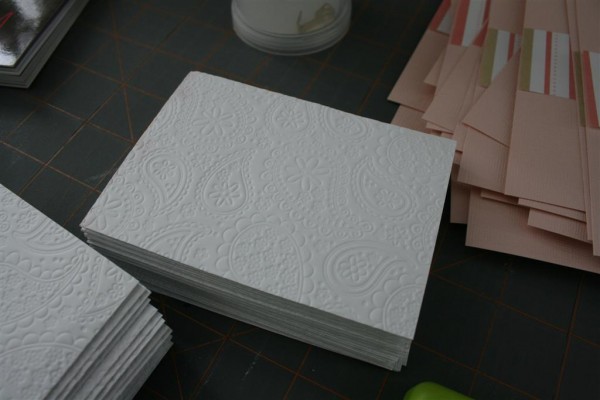 and carefully lined one of them up with the tiny tab on the long piece. I then placed them on the sewing machine.
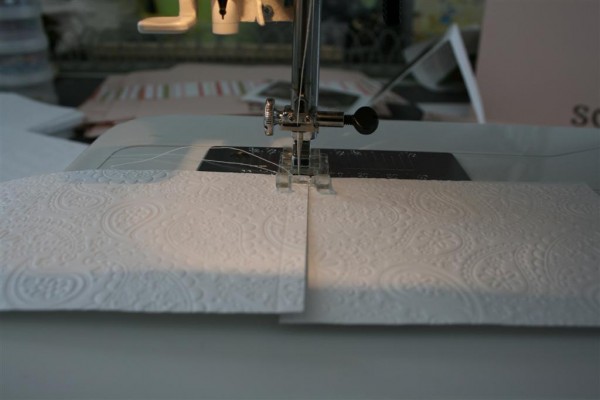
I put my sewing machine on the slowest speed setting and carefully stitched the pieces together.
I now had a strip of paper that was just under 16 inches long.
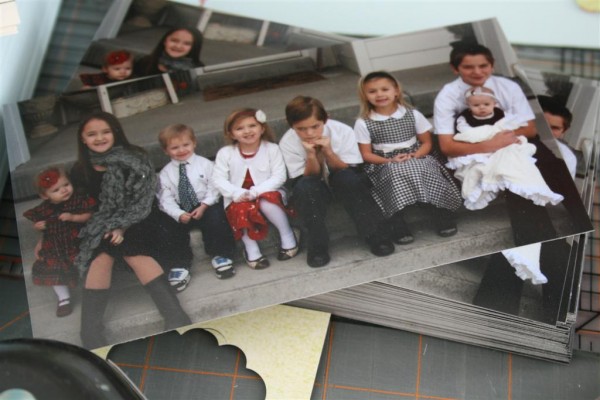
I then centered the pictures and birth information in the appropriate spots, and secured them to the paper. The birth statistics I printed on more patterned paper from my stash.
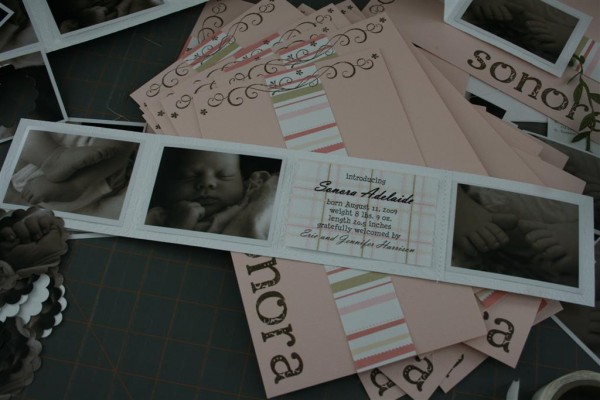
It’s starting to take shape! Because of the fold lines, it was easy to get them folded neatly, and they lined up just right!
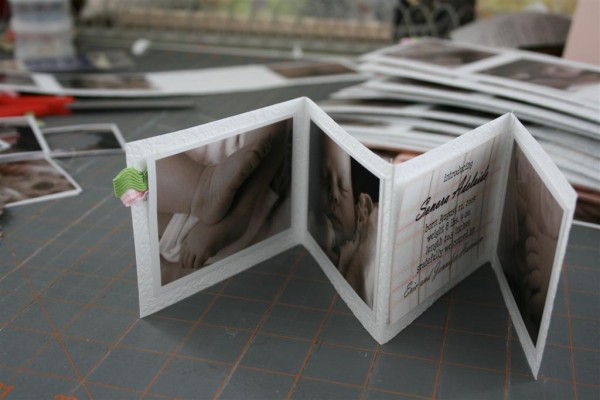
I guess I should mention that on half of them I added a couple of little ribbon tabs on what will be the front, but when I ran out of ribbon I didn’t worry about the rest of them. They looked pretty either way.
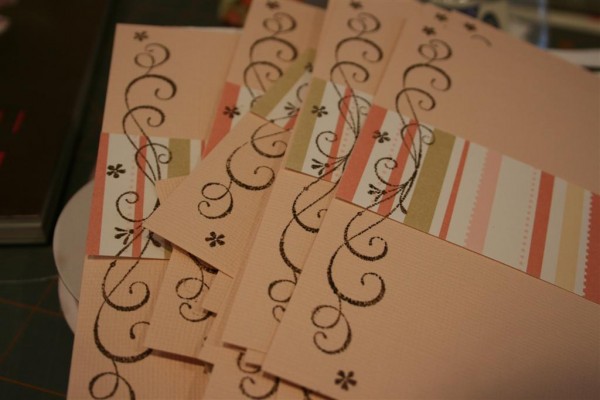
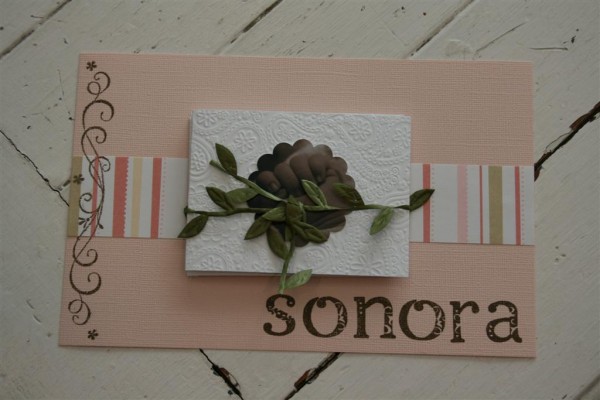
Time for the final assembly! I took my stack of pink paper which I had embellished with a strip of striped paper and her name stamped in brown, along with a little detail on the left edge. These were half sheets of 8.5 x 11 paper, cut to be 8.5 by 5.5 inches.
Don’t you just love stacks of pretty things?
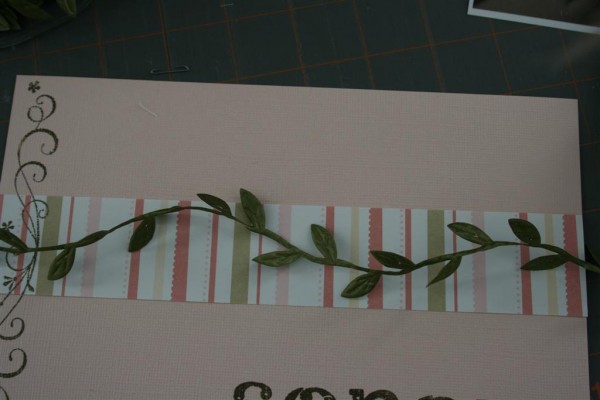
I laid a piece of lovely olive green vine ribbon down the middle of the striped paper (my ribbon was cut in 14 inch lengths). This ribbon is my all time favorite ribbon, made by May Arts . I feel like this ribbon was the perfect complement to the announcement. The olive color grounds the whole project and adds balance to the dark brown ink and sepia pictures, but the ribbon itself is very dainty and fragile looking.
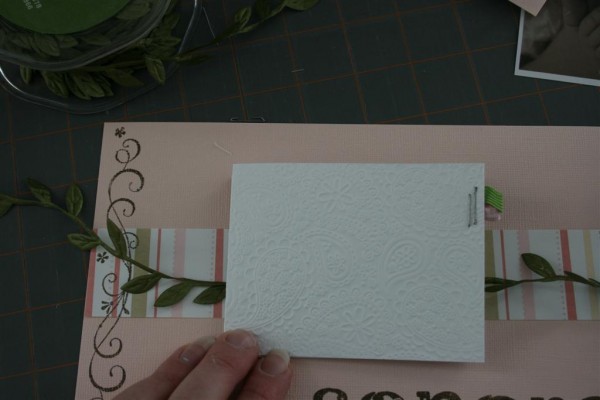
Next I put a glue dot on each corner of the last section of the embossed paper (which was the part I had sewn onto the long strip) 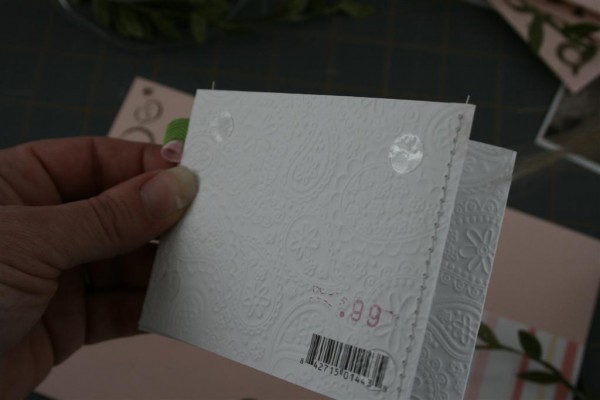 I carefully centered it on the paper and adhered it.
I punched the final picture of her little fist using a scalloped circle punch and put it on the center of the front fold.
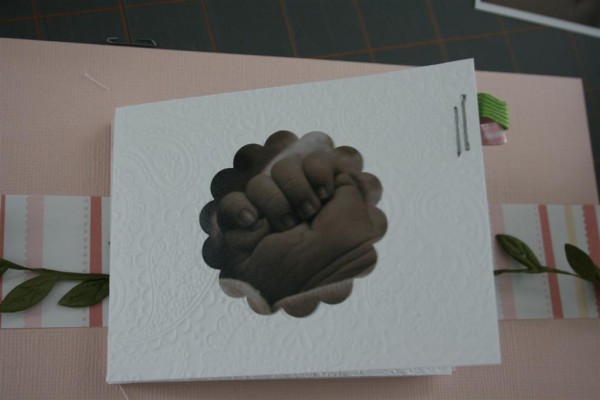
Lastly, I tied the ribbon in a loose knot.
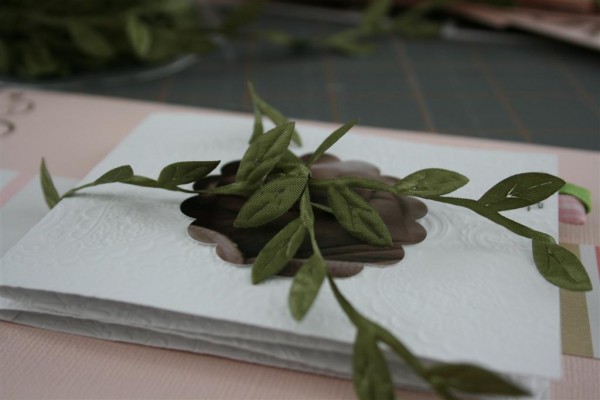
Finished, at last! Now they’re mailed and gone and I’m so thankful!
I should probably also note what a bittersweet thing it was to spend a few hours with pictures of her as a newborn. She’s changed so much! I love her as she is now, but I hardly noticed the changing as it happened, which reminds me how quickly she will be different again.
Part of me wants the newborn back, but another part of me is so grateful for the passage of time… it means we’re a little closer to new routines, I’m a little closer to feeling fully recovered. I just wish she could stay the same during the adjustment! But alas, God didn’t appoint it to be that way. Still, I can wish, and hold her close and try to capture this moment with my heart, before it’s gone.
