Scrappy Swoon Quilt Along: Sections 9 & 10 (plus an announcement!)
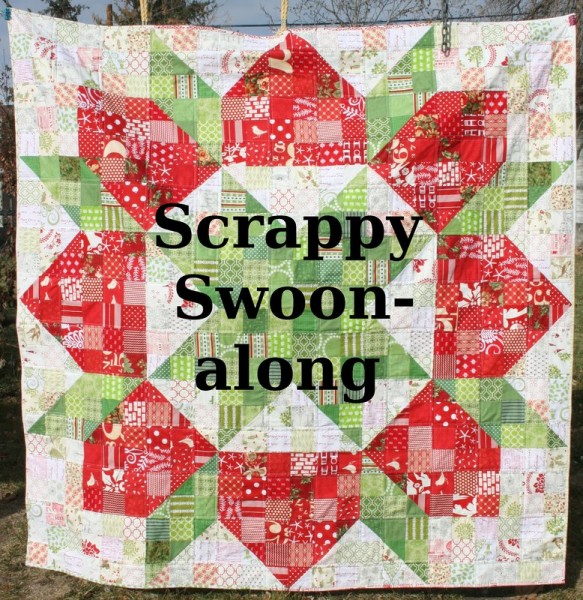
Welcome back everyone for our last week of piecing little squares! Last week we knocked out the last of our colored squares and today’s tutorial will take care of the remaining background squares. But before we get started, a bit of good news!
The wonderful group at Fat Quarter Shop has offered a fat quarter bundle of Jeni Baker’s new collection, Color Me Retro for one of you!
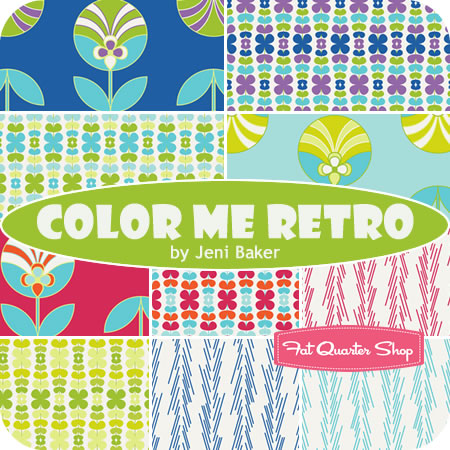
Just finish your quilt by March 11th to be entered in the giveaway. I’m so excited to have the Fat Quarter Shop sponsor this quilt along and offer a big thank-you to them for their generosity! Color Me Retro is on my wish list and I’m thrilled that one of you will get a bundle of it.
Ok, with that as an incentive, let’s knock out sections 9 and 10.
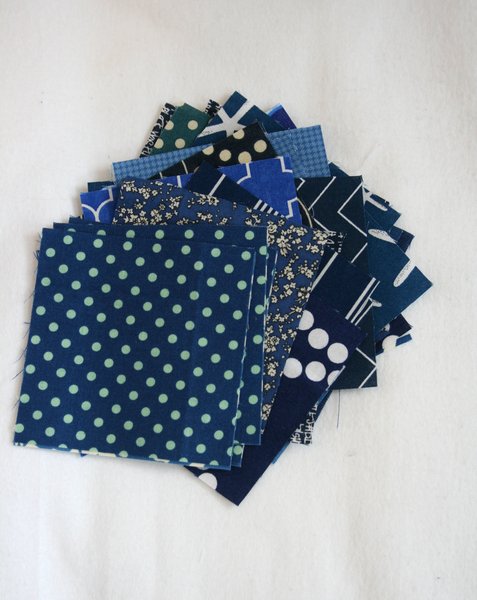
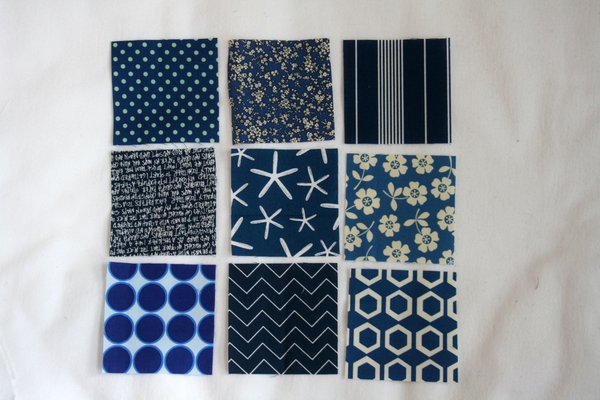
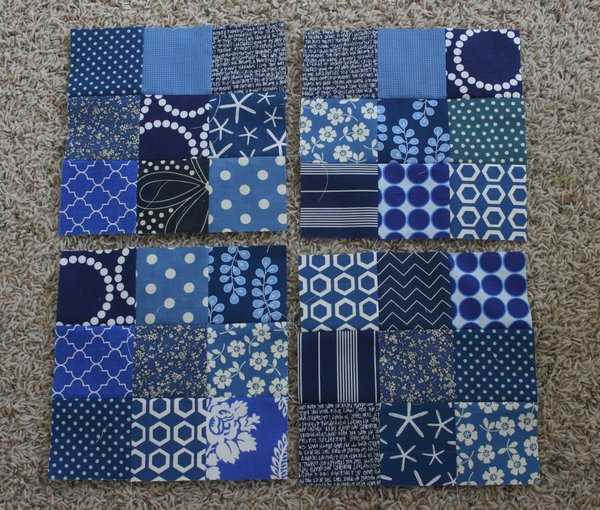
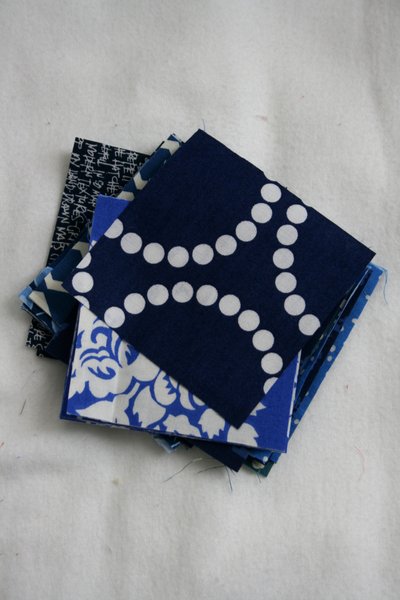
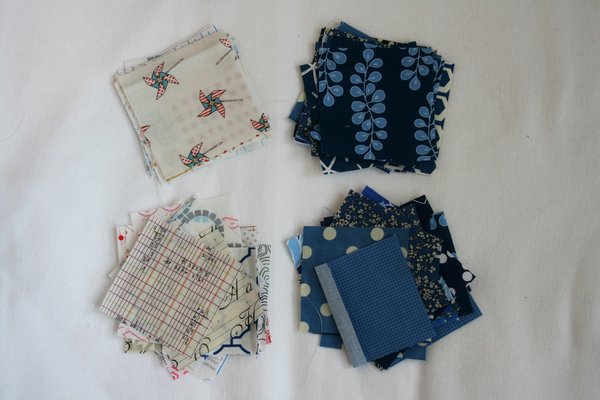
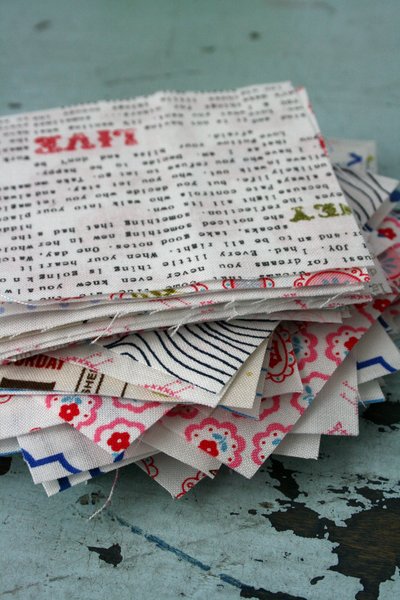
Section 9 This section requires 36 – 3.5 inch squares of background fabric.
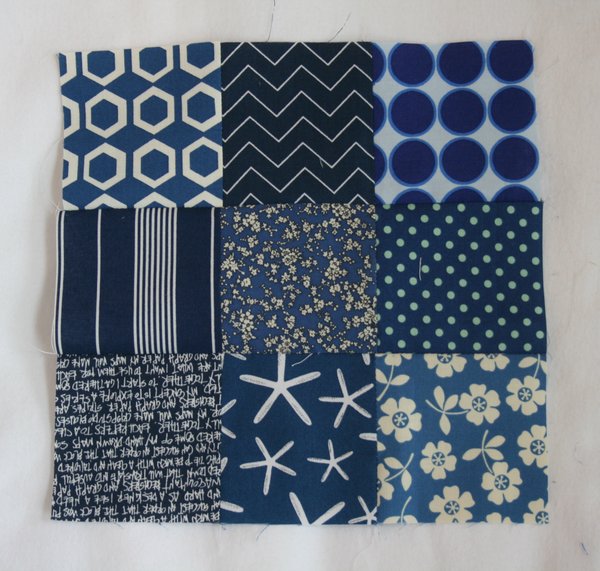
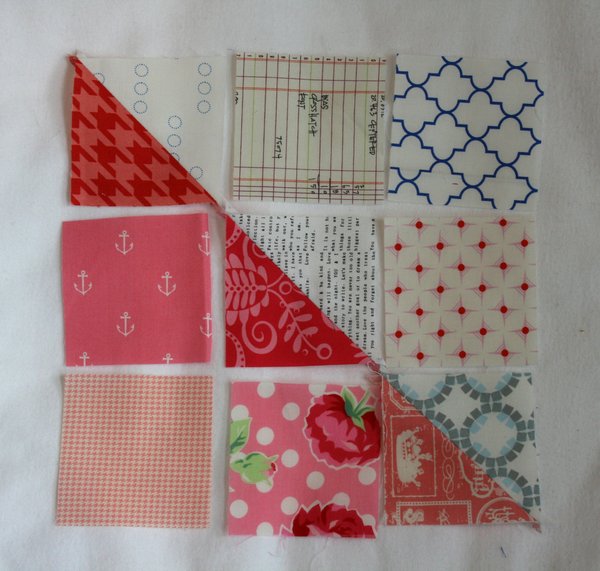
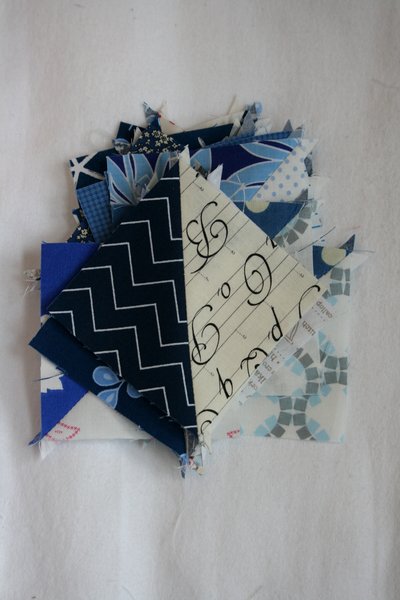
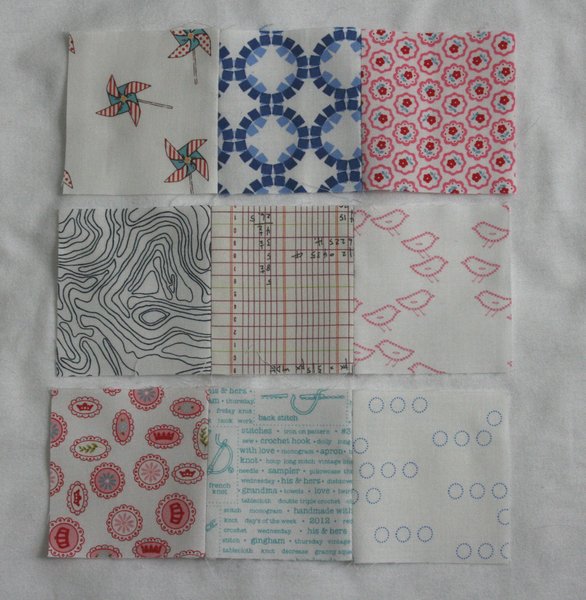
Each block will take 9 squares. Lay them out in a 3 x 3 pattern.
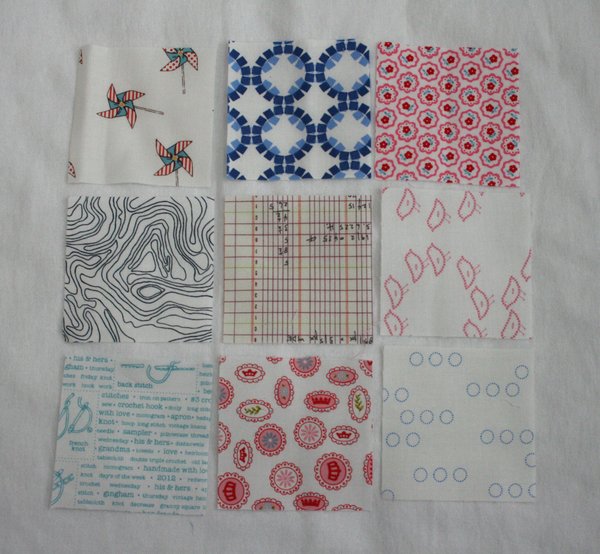
Sew the squares into three strips of three.
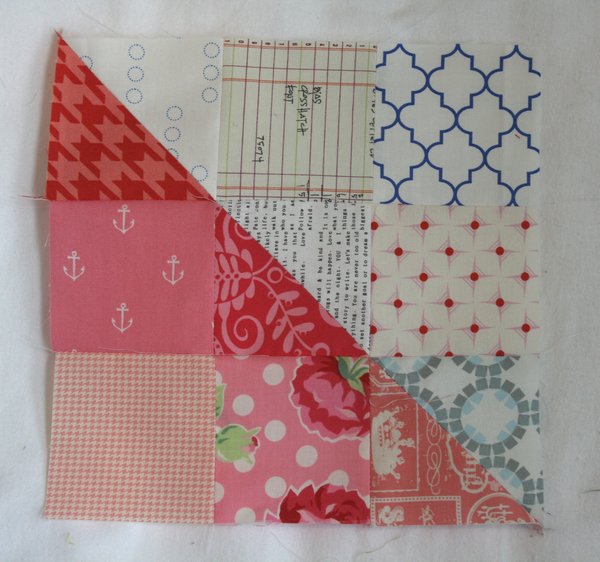
Sew the strips together to make a 9.5 inch square.
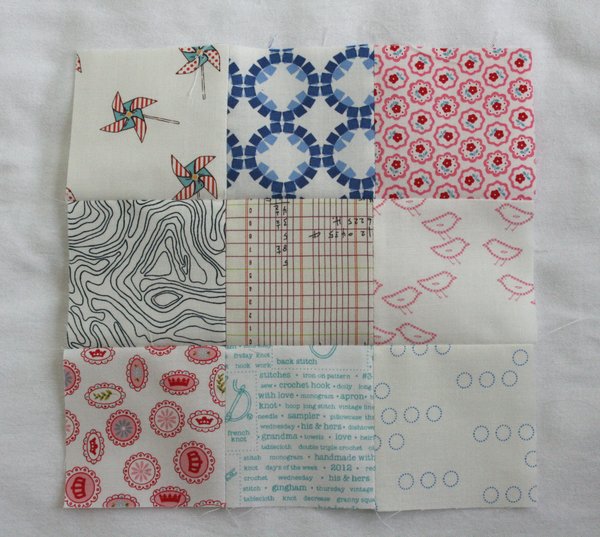
Make four of this block.
Done!
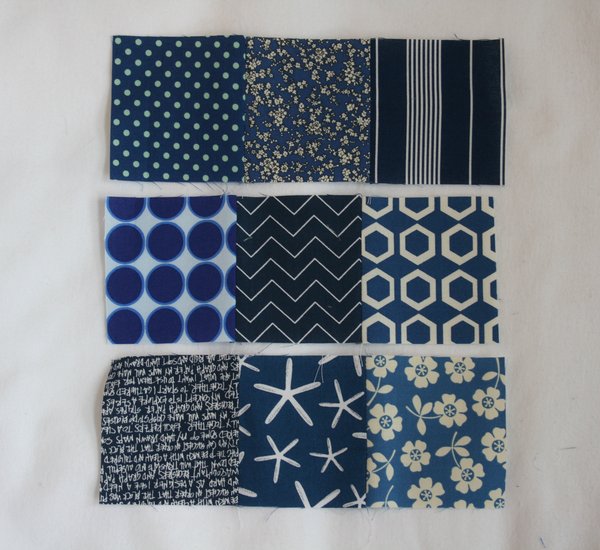
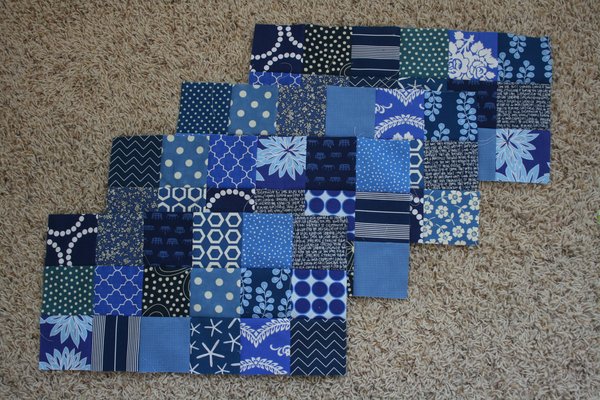
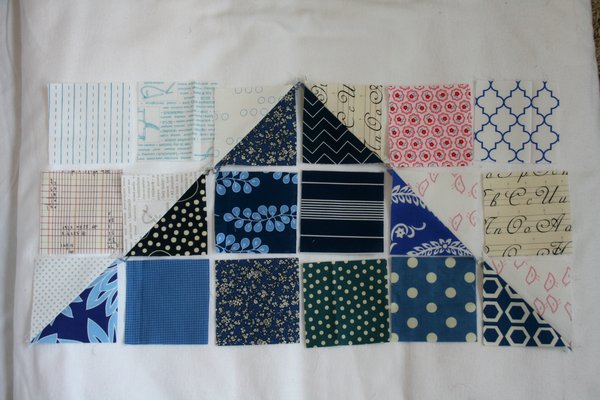
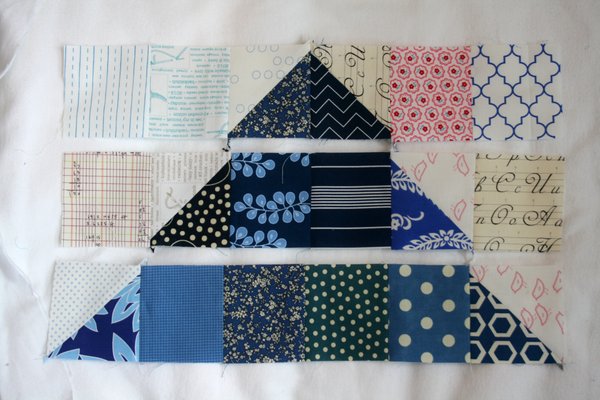
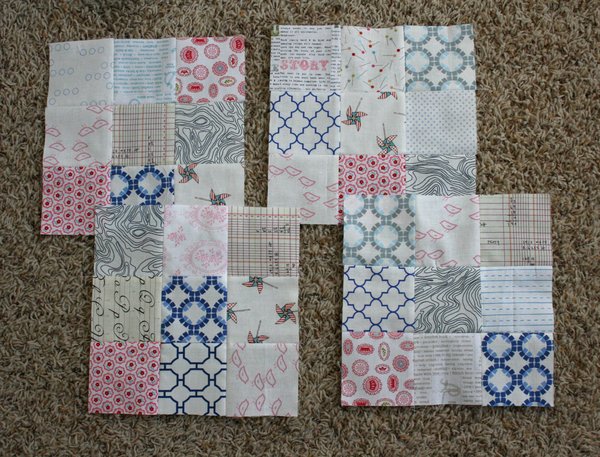
Section 10 This section will use your remaining 72 – 3.5 inch squares of background prints.
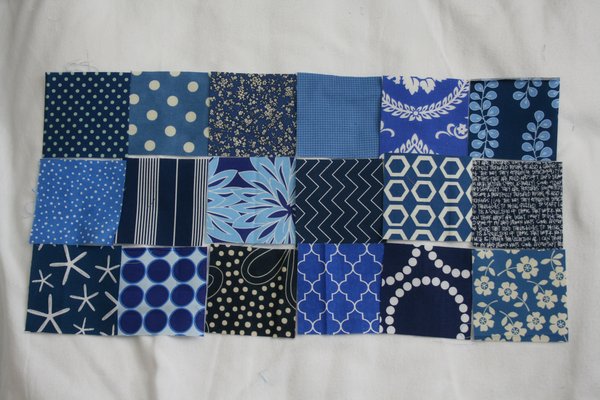
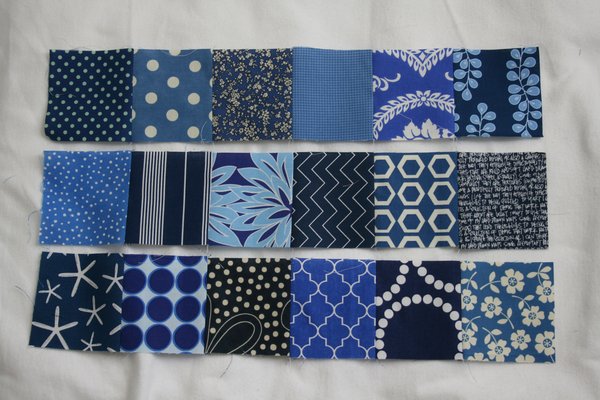
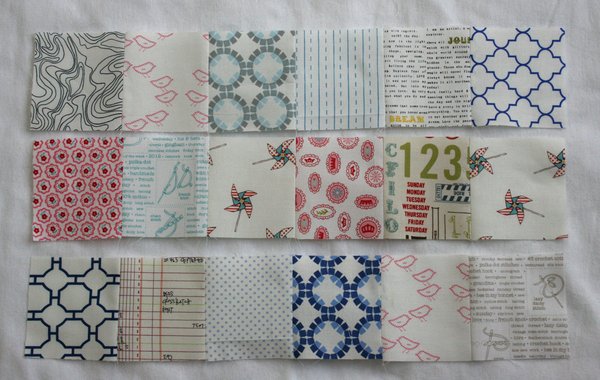
Each block will take 18 squares. Lay them out in three rows of six squares.
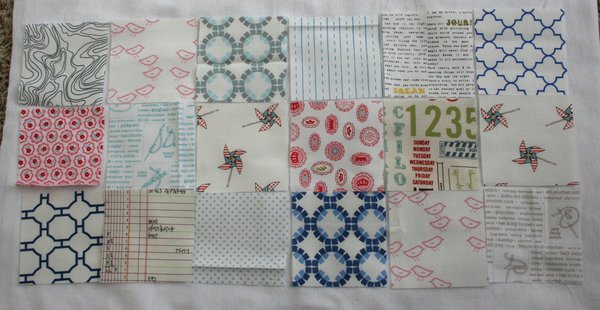
Sew the squares into three rows.
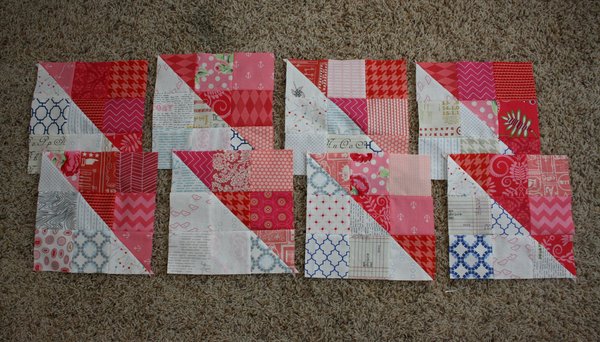
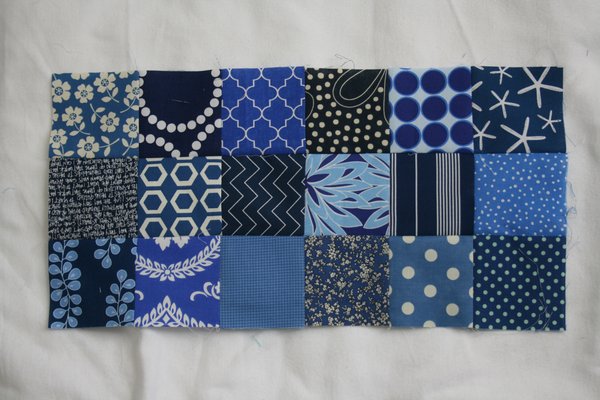
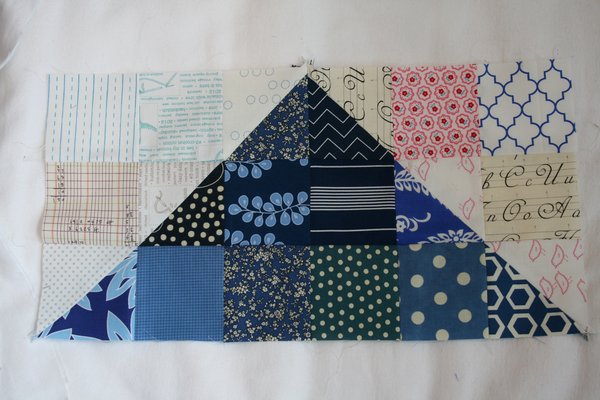
Sew the three strips together to make a block that is 18.5 inches long and 9.5 inches tall.
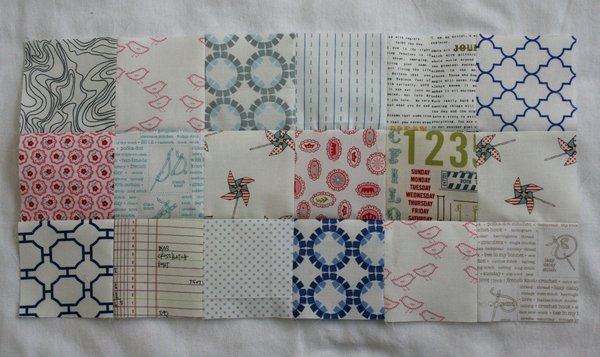
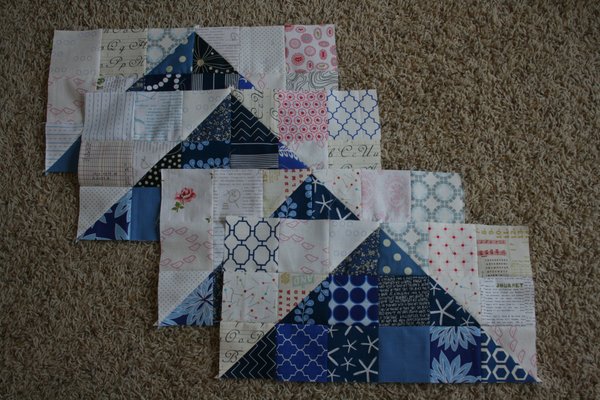
Make four of this block.
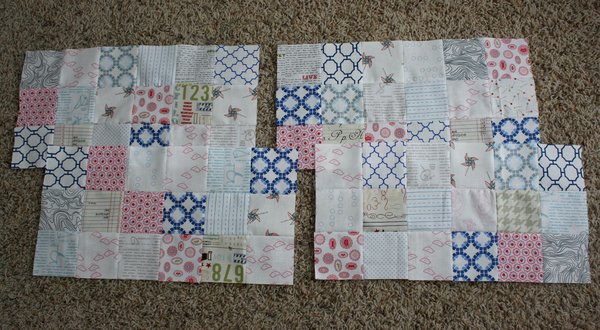
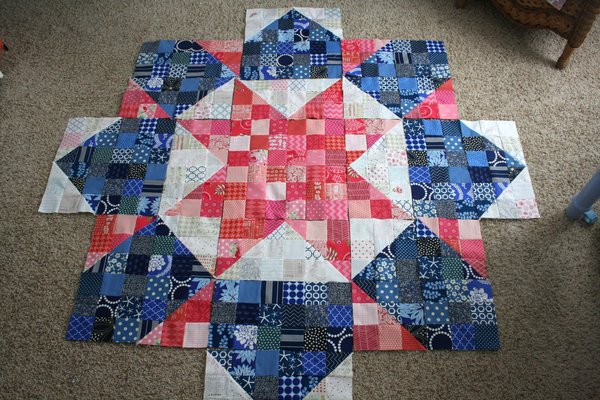
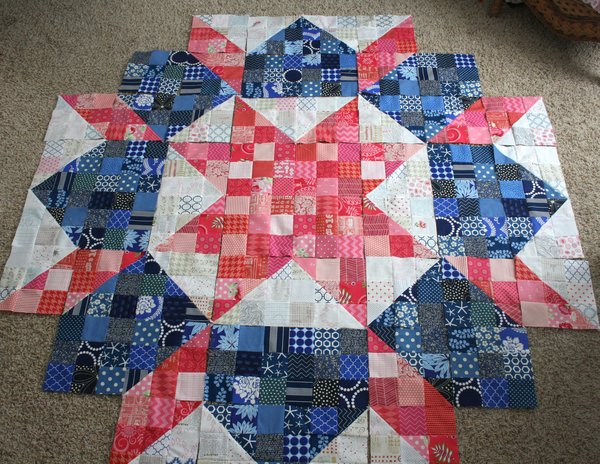
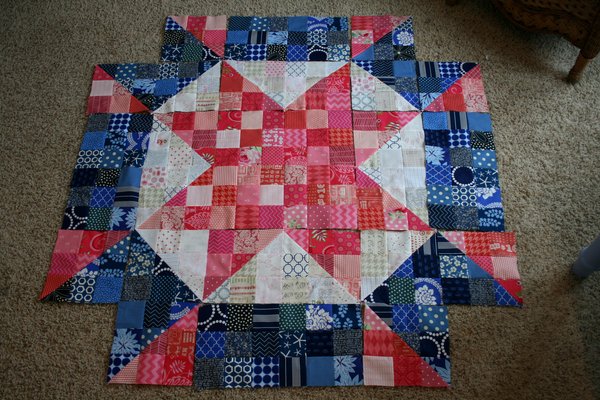
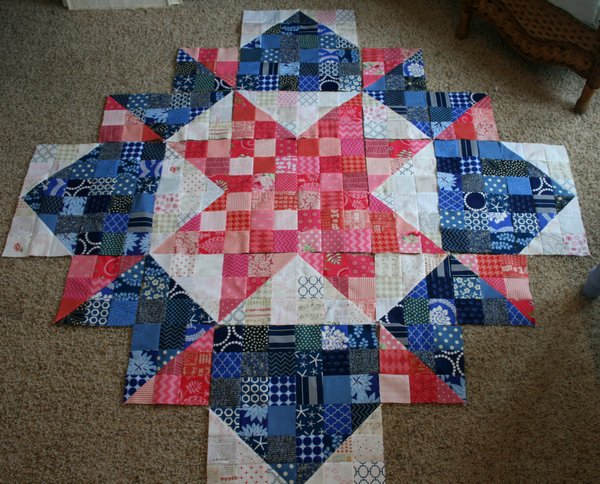
And you’re done! Now lay them all out to see how it looks…
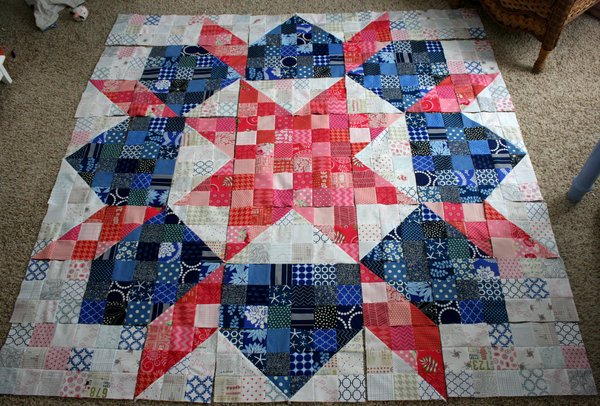
Terrific! Here’s our schedule for the next few weeks:
Monday February 18th: Instructions for piecing the quilt top together, and measurements for backing.
Monday February 25th: Basting and quilting Monday March 4th: Binding Monday March 11 – 13: Link Party! Link up (or email me pictures of your finished quilt if you don’t have a blog) to be entered in the giveaway.
Thursday March 14th: Drawing for Color Me Retro bundle.
That’s the schedule! A few more weeks and you’ll have a finished quilt. Don’t forget to add your photos to our Flikr group . For those of you who are on schedule (or ahead), just keep it up. If you started late, you still have a month to catch up so you can enter. The photos so far are lovely; I can’t wait to see your finished quilts!
Happy Sewing, Jennifer