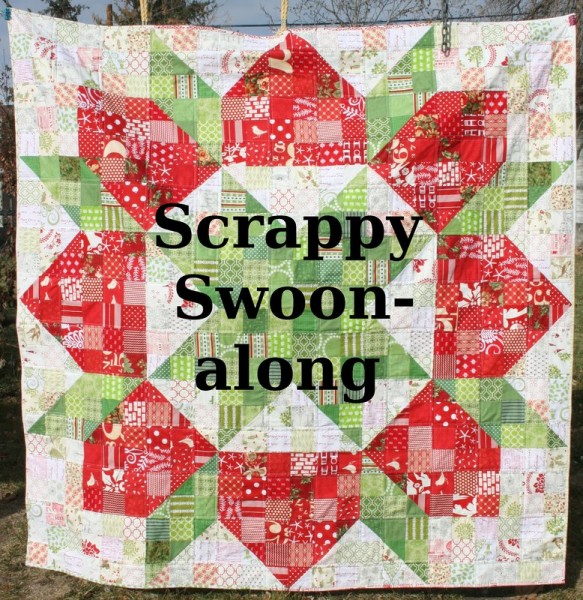
Scrappy Swoon-along: Blocks 3 & 4


scrappyswoon

Welcome back!    I hope your center star is taking shape and that you’re excited to see the quilt top grow.   Let’s get started on sections 3 and 4!

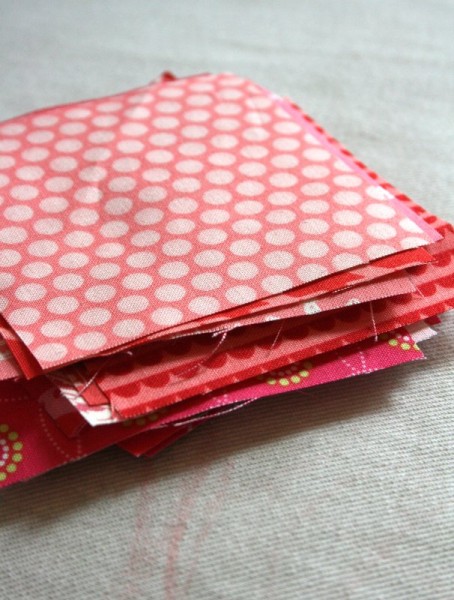
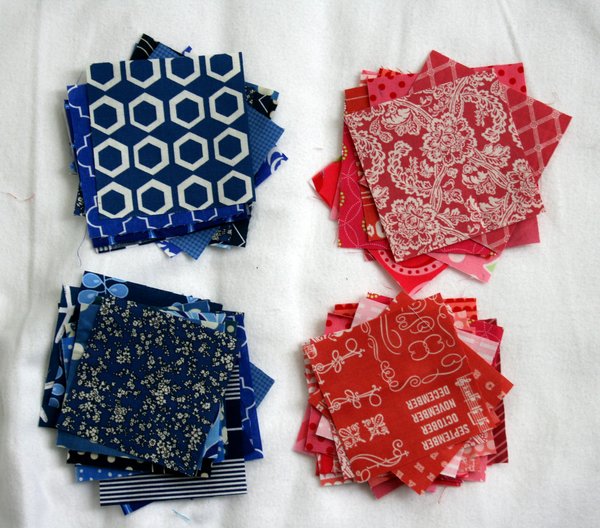
Section 3
In this section we introduce your secondary color.  For section three you’ll need 6 – 3 7/8 inch squares of both your secondary color AND your background color, and 12 – 3.5 inch squares of both your secondary color and your background color.

section3squares

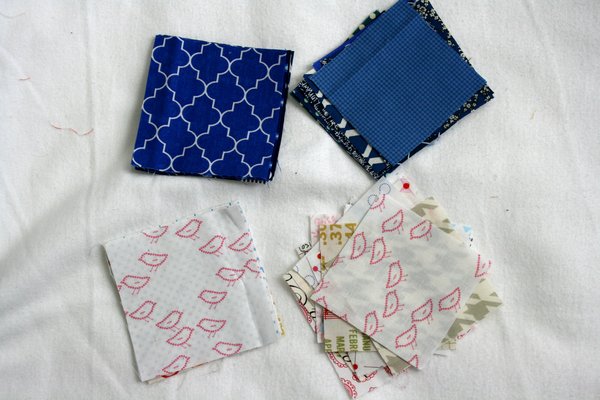
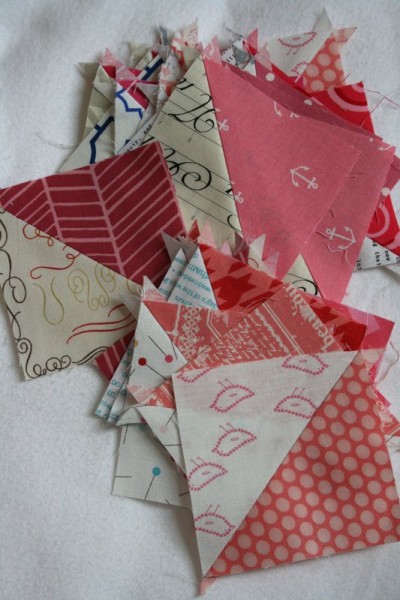
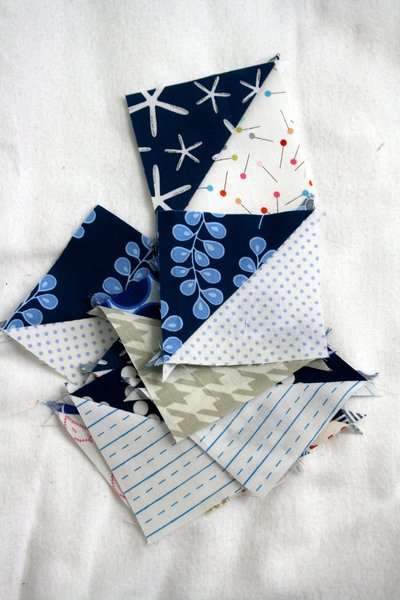
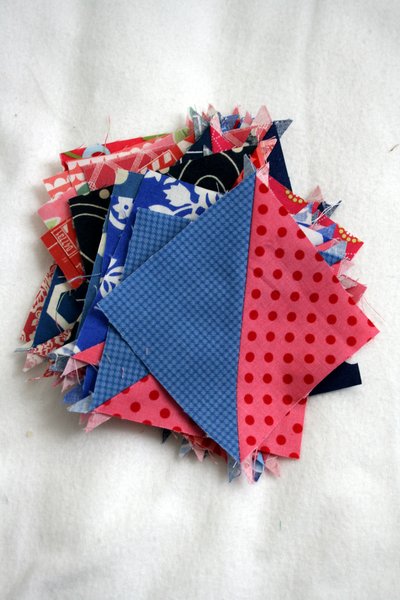
Take the 3 7/8 inch squares and pair each background square with a secondary color square.  Make 12 half square triangle blocks using these squares.

section3hst

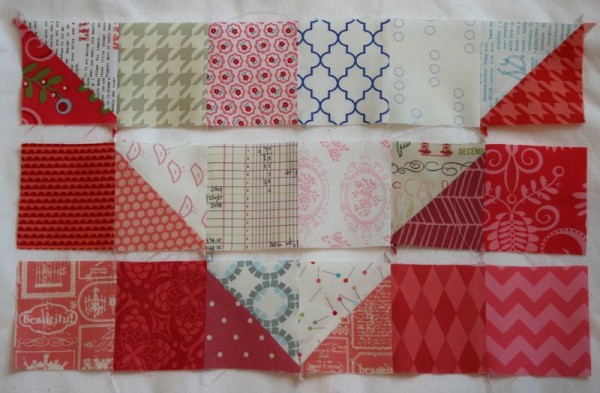
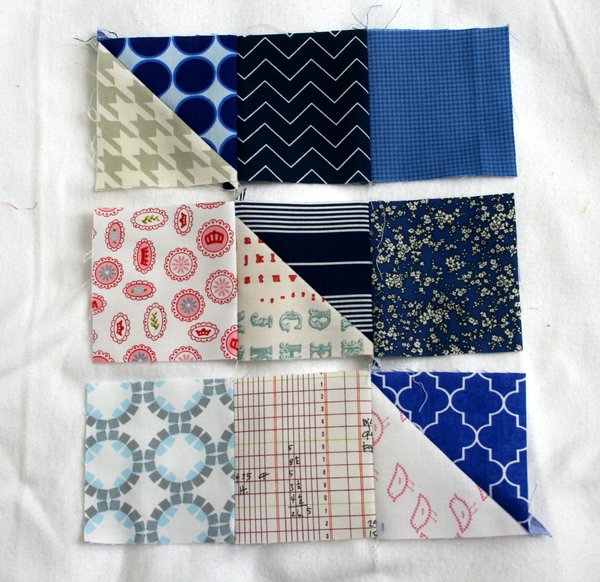
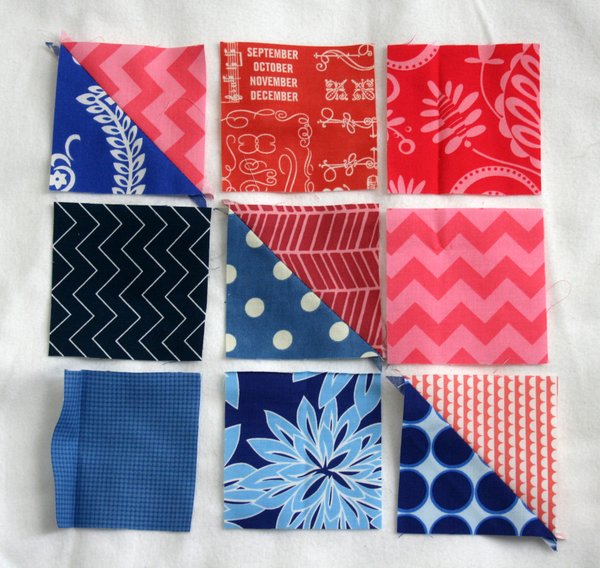
For each section 3 block you’ll use 3 half square triangle squares, three background squares, and three secondary color squares.  Lay them out in three rows of three as shown below:

section3layout

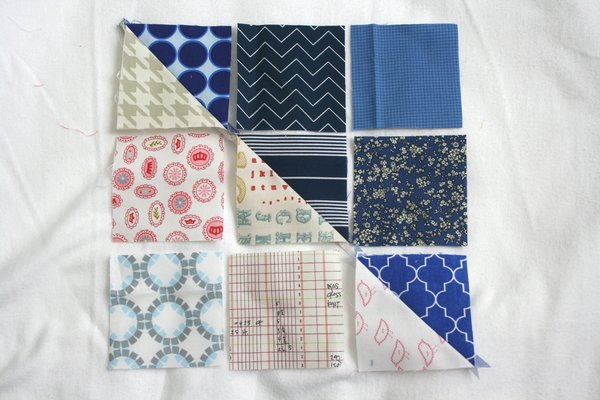
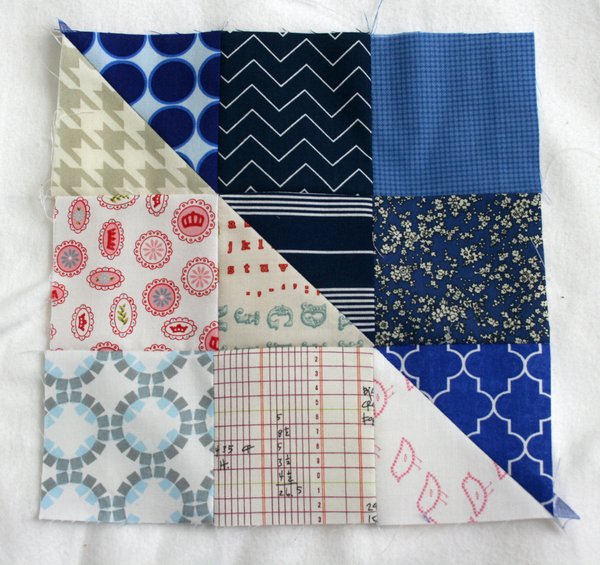
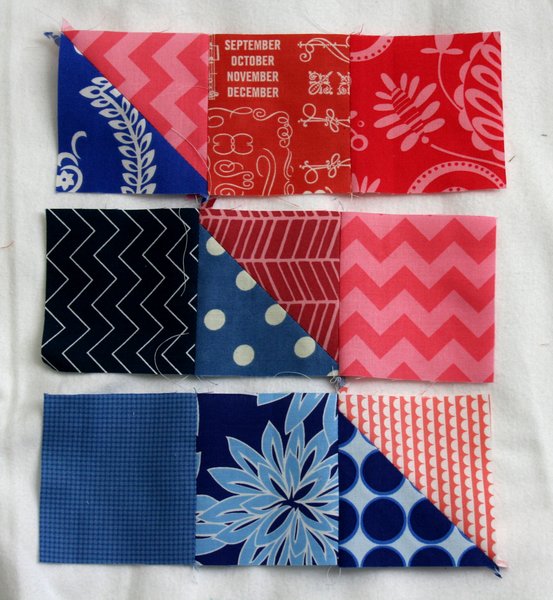
Sew the squares into three rows:

section3 rows

Finally, sew the three rows together to make a square.  The block should measure 9.5 inches square.

section3block

Make 4 of these blocks.

4section3blocks

These blocks will form the corner squares in the center of the quilt, like so:

centerblock

It’s so pretty!  Don’t you love all those scraps?  Now for the next section…

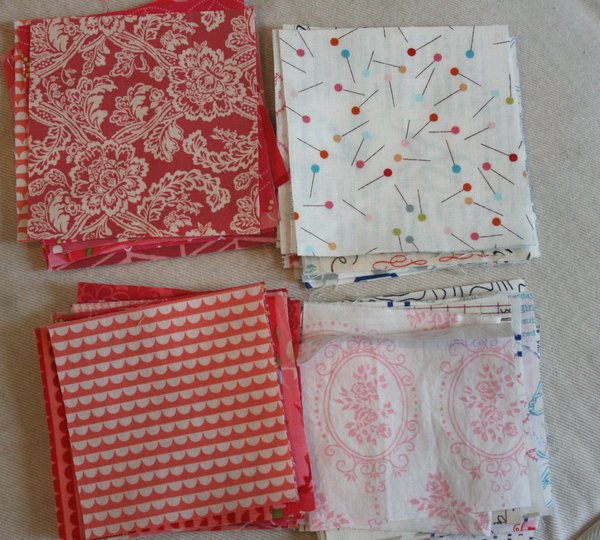
Section 4
In this block you’ll be using both your primary and secondary colors.  Choose 12 – 3 7/8 inch squares of both colors, and 24 – 3.5 inch squares of both primary and secondary colors.

section4squares

Again, pair up the 3 7/8 inch squares to make 24 half square triangles.

section4hst

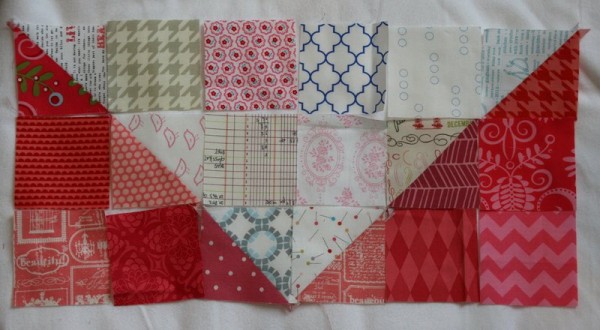
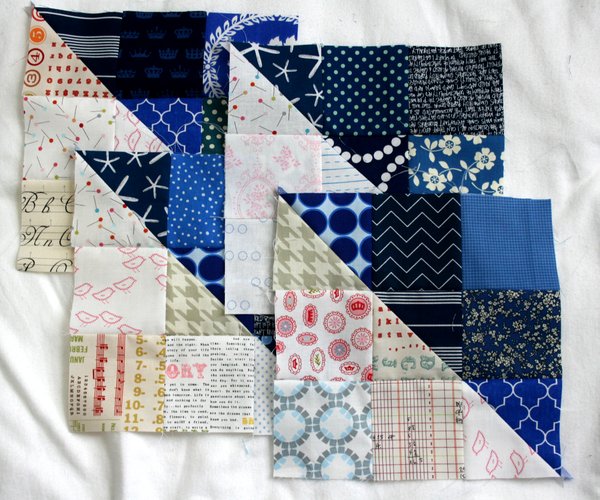
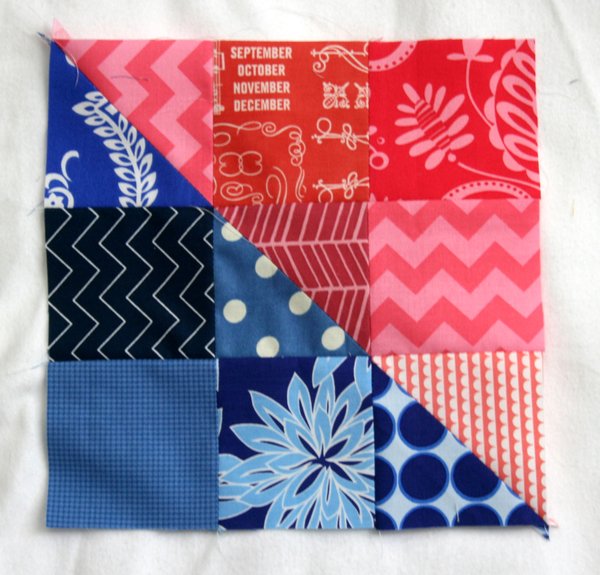
To make one block, you’ll use 3 half square triangles, 3 – 3.5 inch squares of primary color and 3 – 3.5 inch squares of your secondary color.  Lay them out like so:

section4layout

Sew the squares into rows:

section4rows

and the rows into a 9.5 inch square block:

section4block

Make eight of these blocks.

8section4

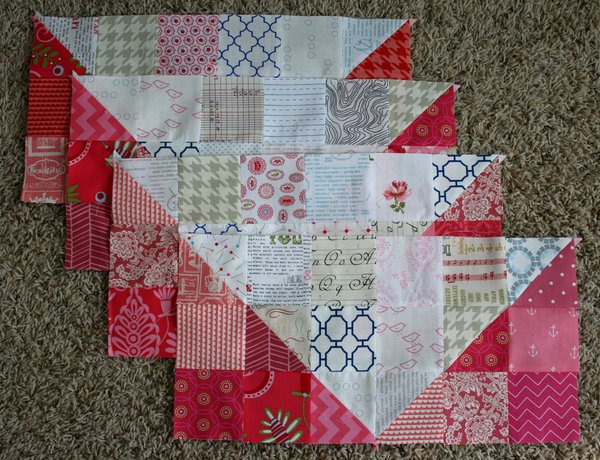
Now, making eight of these can be a bit tedious even though the block itself is incredibly simple.   I adopted a little method that allows me to quickly lay out all my blocks at once, keep the squares organized, and be able to walk away easily without a mess to return to.  In my house full of children, that’s important!  Here’s how I make them:

hint1

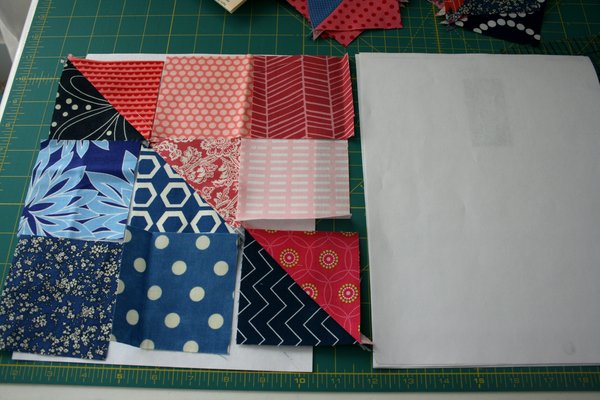
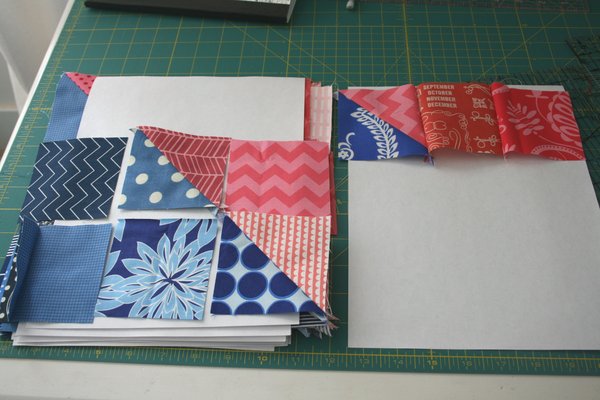
Get 9 pieces of paper.  On one sheet of paper, lay out the squares for a single block.  Then place a sheet of paper on top of that and lay out another block.  Do this eight times.

hint2

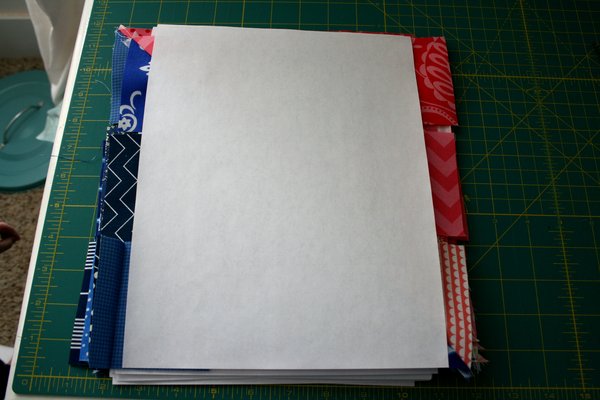
Because sewing is often something I come back to for ten minutes here and there, I keep a 9th piece of paper on top to make sure the squares will stay put (and to deter my three year old from scattering them).

stackedblocks

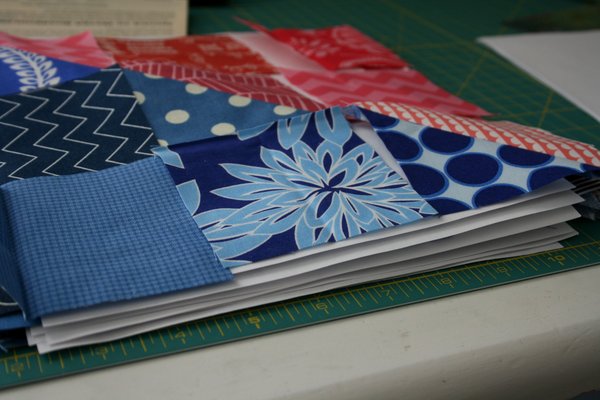
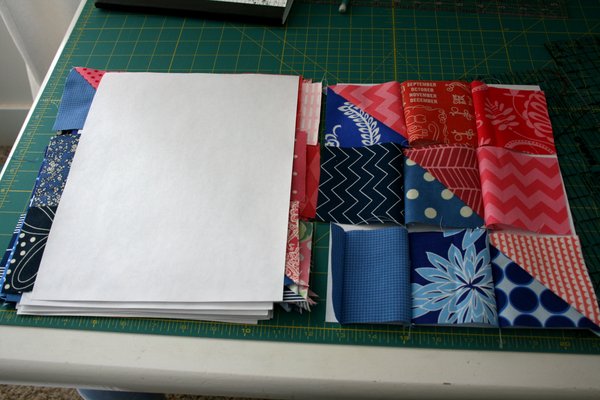
When it’s time to sew the rows together, I put the top paper next to my stack and start transferring the blocks, one row at a time, to the other paper.

hint3

Once I’ve pieced three rows, I have another piece of paper ready to put on top of my rows so I can begin the next block.  I continue to do this until I’ve worked my way through the stack, and then I carry the stack to the ironing board and do it again.  This method lets me sew all the rows at once, iron all at once, then sew the rows together and before I know it, I’m on the last block and it seemed to happen so fast!

hint4

When the blocks are all pieced together I iron them and, to save workspace in my sewing room, I use clothing hangers to store the blocks.

hangingblocks

I do this with all the quilt along or block of the month blocks I’m working on.  It keeps them nice and flat and easy to get to. I have a different hanger for each quilt hanging in the closet, and I find that seeing them like that keeps me motivated to work on the project.  These are probably very simple tips that you already use, but I find them helpful, especially when I’m making eight of the same thing!

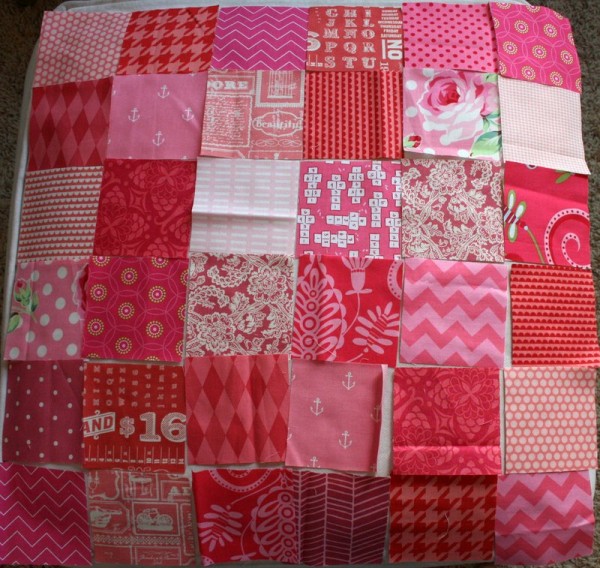
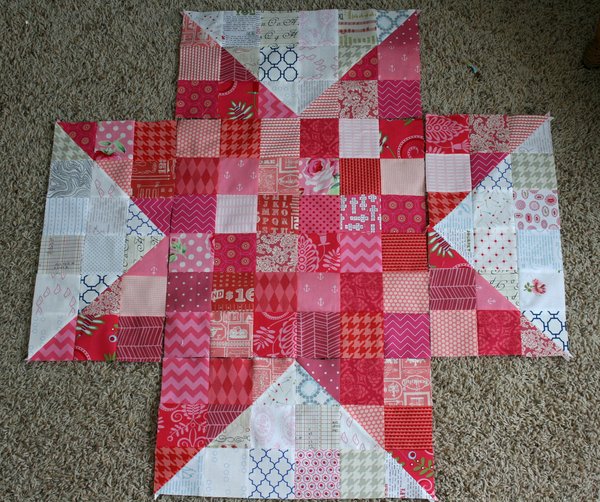
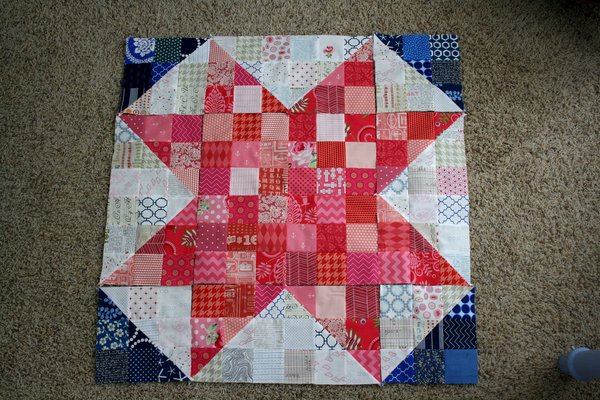
Now, with sections 3 and 4 pieced, this is what the quilt top looks like so far:

blocks3&4

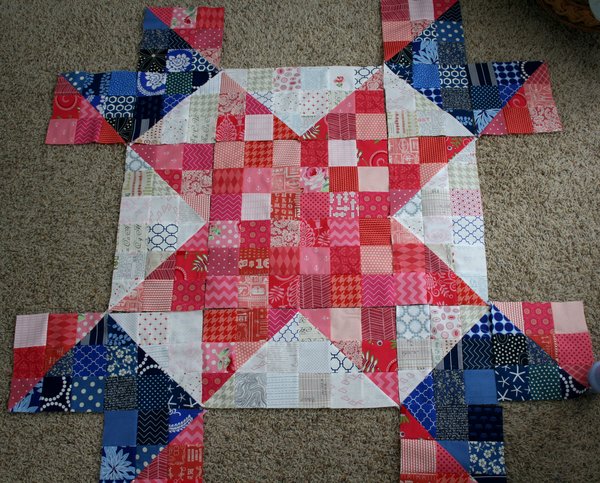
I love it!   Please share your progress in our flikr group , (I LOVE all the great colors and fabrics you’ve shared already in your first two sections!) and we’ll meet back here next Monday for sections 5 & 6.

Happy sewing, Jennifer To go directly to the next post in this quilt along, click here.

Scrappy Swoon-along: Sections 1 & 2


scrappyswoon

This quilt is made in ten different sections.  We’ll cover two sections each week for five weeks, and then you’ll be piecing them all together.

*Important note:  When I published the fabric/cutting post last week, there was an error in the number of 3 7/8 inch background squares you’ll need.   It was corrected within a few hours, but if you didn’t see that correction (the right number is 42, not 30) then please go back and re-read the cutting requirements for your background fabric.

Let’s get started!

Section 1
For the first section you’ll need 36 – 3.5 inch square blocks in your primary color (the color of the center star, which is green in the quilt pictured above) 36 pink squares Lay your squares out in a grid that is six rows of six squares each, like below:

6x6 rows

Now sew your squares into six rows of six squares.

I recommend pressing all seams open in this quilt
to make the later joining of each section to the others easy, and to reduce bulk.

Note:  all seam allowances in this quilt are 1/4 inch.


six rows

Press each row and sew together to form a square.

center square

Iron, and stand back to admire your center square!  This piece should measure 18 1/2 inches square.

Section 2
For section two you’ll need 12 – 3 7/8 inch squares of background fabric AND 12 – 3 7/8 inch squares of your primary color (the same color used in section 1).  You will also need 24 – 3.5 inch squares of background fabric and 24 – 3.5 inch squares of primary color fabric.

section 2 squares

With the 3 7/8 inch squares, pair each background square with a primary colored square to make half square triangles.  If you are unfamiliar with making a half square triangle, you can find an excellent tutorial here.
You will end up with 24 half square triangles.

pink & white HSTs

For this piece, you will need six background and six primary colored 3.5 inch squares as well as six of your half square triangles.  Lay out three rows of six squares as you see below, with the background squares forming the center of a large patchwork flying geese block and the primary colors forming points for your center star.

section 2 squares

Sew together into three rows of six squares:

three rows section 2

Then sew the three rows together to make a rectangle that measures 18 1/2 inches long by 9 1/2 inches tall.

section 2 block

Make four of these blocks.

four section 2 blocks

That’s it! The first two sections are complete.  Now lay them all out together and admire the center star for your quilt, then snap a picture and share it in the flikr group.

scrappy swoon center star

Come back next Monday, January 21st, for sections three and four.

Happy sewing, Jennifer For the next post in this quilt along, click here.

Scrappy Swoon: Fabric and Cutting


Welcome back everyone!  It’s time to talk about fabric requirements for your Scrappy Swoon quilt.   But before we do that, I want to share a few thoughts about fabric selection.


This is a large patchwork quilt, and the fun of it is having all sorts of values and tones in your choices.  As you can see above, I used a large variety of greens.  Some of them are very warm toned, while some are cool.  I have dark greens, olive greens, and the brightest of them is the elephant print.   A variety of large and small scale prints will also add interest to your quilt.  I really believe that in a quilt like this, the more the better!  Because this was a Christmas print, I limited my greens to just green on green or green and white prints with the exception of the stripey ornament print which I added.  That little stripe of red, sprinkled throughout my greens, is fun, and it coordinated with the quilt as a whole.   I didn’t use that fabric with a red stripe in it on any of the half square triangles, however, because I wanted the lines between the colors to stay clear and strong so I didn’t lose the Swoon pattern at all.   So, when choosing your fabrics, you may find that some of them will work best in the center of a section and not as a “border” print.

Something I realized as I started pulling pink fabrics for the quilt along was how many of my pinks are floral prints, meaning that they actually have a lot of colors in them.  I’m going to use those prints very sparingly because I want the pink areas to read as pink, not a rainbow.  That said, I’d love to see someone interpret this quilt with a rainbow of colors; I’m sure it would be amazing!  I also think this would be a fun project using all solids, but in a variety of shades.


In my red fabrics, you can see that I used a couple of Christmas prints I had which have green in them and they work well.  You can also fussy cut your fabrics to make them work.   I used Laurie Wisbrun’s chair print but cut the orange chairs out so I only had a red and white print.


As you can see in the picture above, I used some prints that had a lot of red AND white in them.  The holly leaf square above is a good example.  I used this print sparingly and always buried it in the middle of my red sections, but it works and adds a lot of visual interest to the quilt, especially when you’re looking at the quilt as a whole.


Now for the background prints.  There is actually more background fabric in this quilt than there is of either color.  With this in mind, I wanted the entire quilt to be visually interesting so I was pretty liberal with my “whites.”  I don’t know that anyone would call the Annie’s seed packet print “white” but it looks right at home amidst the other prints.   I opted for mostly whites with green or red patterns on them, but I also have a bit of brown, black, blue and other colors in there.  I also chose to include prints with both a true white background as well as creamy backgrounds and anything in between.  When you’re choosing your background fabrics, remember that if everything is pretty much the same, there won’t be as much to look at when you’re finished.  Make this a quilt full of your favorite prints, no matter how different they may seem.  I have old fabrics that were left over from quilts I made years ago mingled with new, much more modern prints in this quilt.  Remember that the finished product will be all the more impressive if you have a lot of variety.

FABRIC REQUIREMENTS AND CUTTING:


For your background fabrics, you’ll need  42 – 3 7/8 inch squares and 192 – 3.5 inch squares
For your primary color (the center star color) you’ll need 36 – 3 7/8 inch squares and 132 – 3.5 inch squares For your secondary color (the outer ring) you’ll need 30 – 3 7/8 inch squares and 168 – 3.5 inch squares The quilt will finish at 72 inches square How to cut:

If you’re cutting strips of fabric, assuming a 42 inch width of fabric, here’s what to do.  Cut a strip of fabric 3 7/8 inches wide.  Trim selvedge and then cut 2 – 3 7/8 inch squares.  If you then trim the remaining part of the strip to 3.5 inches wide, you can cut another 9 or 10 3.5 inch squares from that strip.  So, a strip of fabric will yield 2 – 3 7/8 inch squares and 9 – 3.5 inch squares.  If you cut 3 of the larger squares from a strip, you’ll get 8 – 3.5 inch squares from the rest of the strip.  Once you have all the 3 7/8 inch squares you need for that color, you can cut your remaining strips 3.5 inches wide and one strip will yield 12 – 3.5 inch squares.

If you’re cutting fat quarters, assuming the corners are squared and it’s truly 18 by 21 inches, you can cut it this way:


Note:  cut carefully!  You only have an eighth of an inch wiggle room here, but it isn’t hard to do.  If your fat quarter isn’t square or isn’t really 18 inches wide, then you’ll lose one row of 3.5 inch squares.  But assuming your fat quarters are the size they should be, one fat quarter will yield 5 -3 7/8 inch squares and 24 – 3.5 inch squares.

With these basic guidelines, here’s what you’ll need for each color:

Background fabric:  15 – 3 7/8 inch strips (cut 3 – 3 7/8 inch squares from each strip)  plus another 6 – 3.5 inch strips OR 8 fat quarters plus two additional 3 7/8 inch squares OR some combination of the two. *If you need to just cut an entire strip of 3 7/8 inch squares, you will get 10 squares per strip.

Primary fabric:  16 – 3 7/8 inch strips (cut 4 – 3 7/8 inch squares of 3 fabrics instead of just 2) OR 7 fat quarters (you’ll have extras) OR some combination of the two Secondary fabric:  15- 3 7/8 inch strips plus another 3 – 3.5 inch strips OR 8 fat quarters (you’ll have extras) OR some combination of the two Now, the larger the variety of fabrics you use, the less you’ll need of each.  I won’t end up using an entire strip or fat quarter of any of my prints.

If you want to just cut everything out now, then go ahead and get started.  Know that you will be cutting 600 squares, which is a lot of squares to keep track of.  I prefer to cut mine as I make each section, so if you want to do it that way with me I’ll be posting how many of each square you need at the beginning of each post.

Well, that’s it for today.   Don’t forget to upload a picture of your fabric to the flikr group .  I can’t wait to see your awesome color combinations.   Next Monday we’ll meet back here for instructions on piecing the first two sections of the quilt.  Good luck with your fabrics, and we’ll see you soon!

Jennifer To read the next post in this QAL, click here .

1 5 6 7 8