Prairie Sweets Quilt Top {and a back}
I mentioned my Prairie Sweets applique project when I shared my Aerial Grove quilt top recently. Here it is, a completed quilt top! This was a project that I prepped and then carried around to soccer games, practices, and tournaments as well as carpool lines.
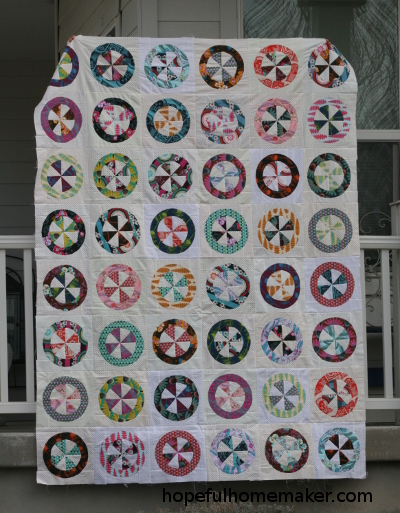
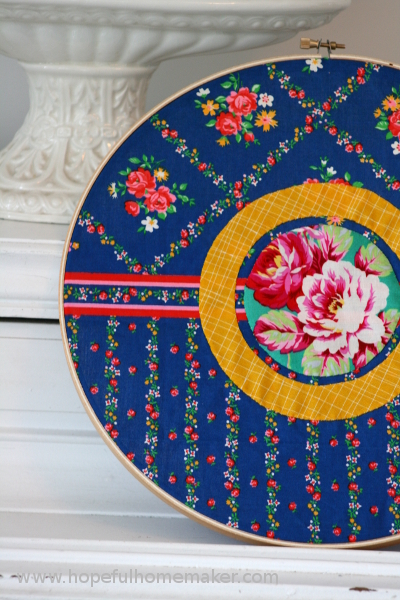
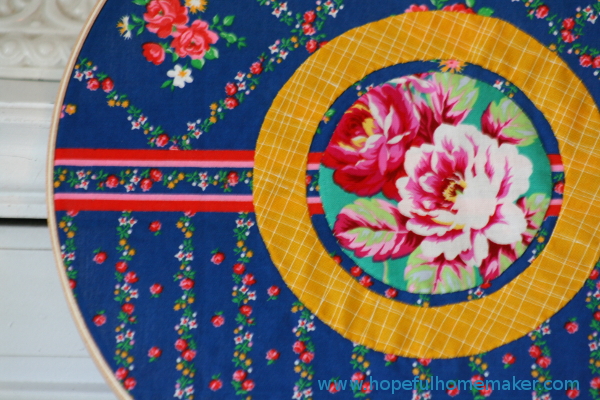
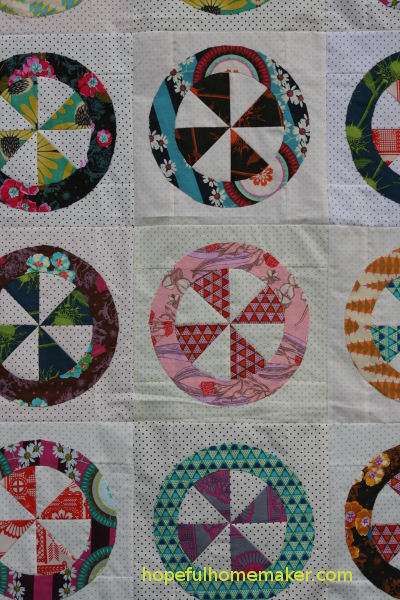
It took a while to hand stitch all those rings around the pinwheels, but it was fun to do. Seeing them together in a finished top brings a smile to my face and reminds me how much you can get done with just a few minutes here and there over time.

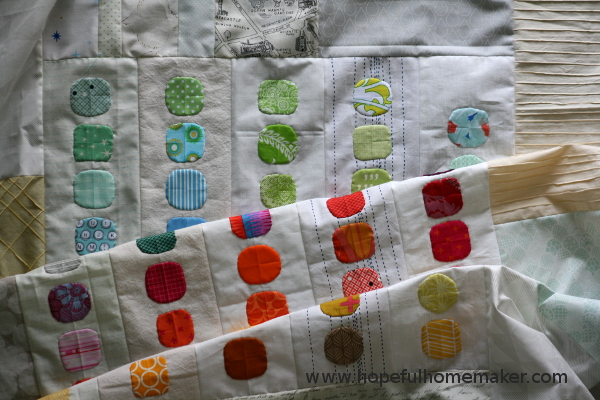
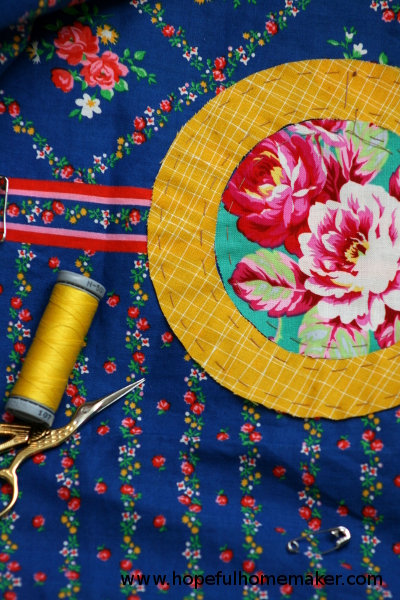
Plus, sewing with Anna Maria Horner’s gorgeous Pretty Potent collection was pretty awesome. Once I finished the blocks I had a bunch of circles left over from the centers of the rings so I decided they needed to be part of the quilt back and that launched me into another applique project.

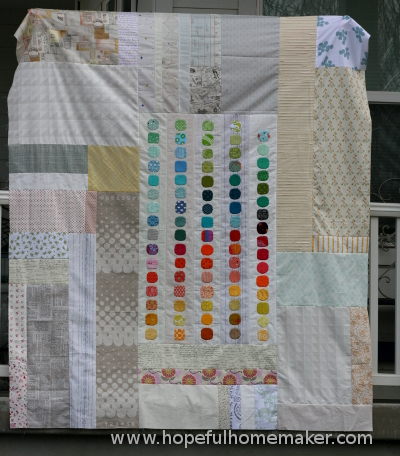
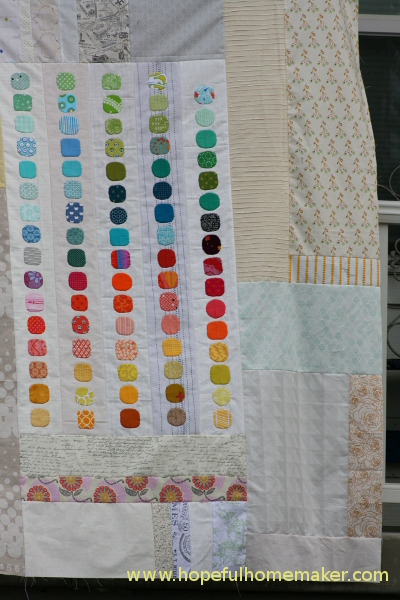
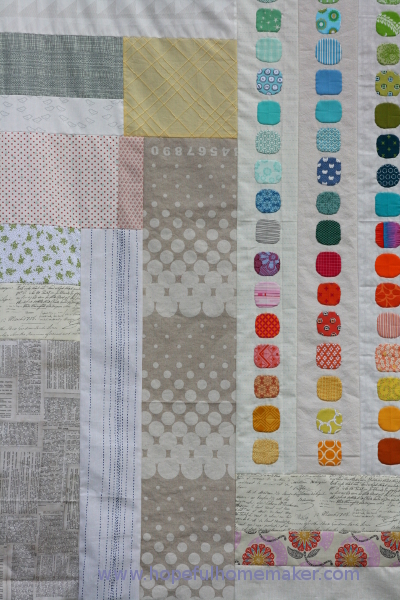
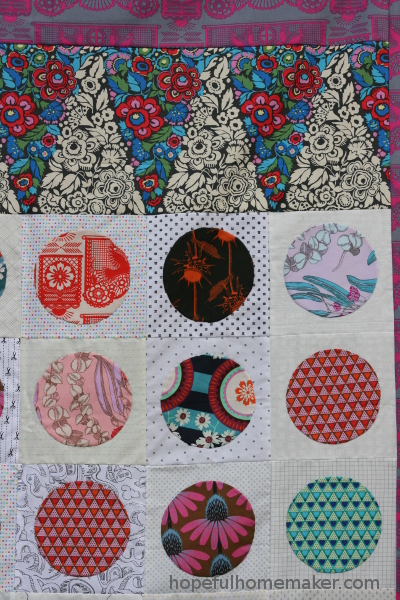
Here is the quilt back, and I love it! I didn’t have enough swiss dots to use for each square so I added a bunch of low volume prints to the mix. Once again, these blocks traveled with me as I stitched the circles to the background. With the rings I glue basted. With these circles I tried needle turn applique and loved it!

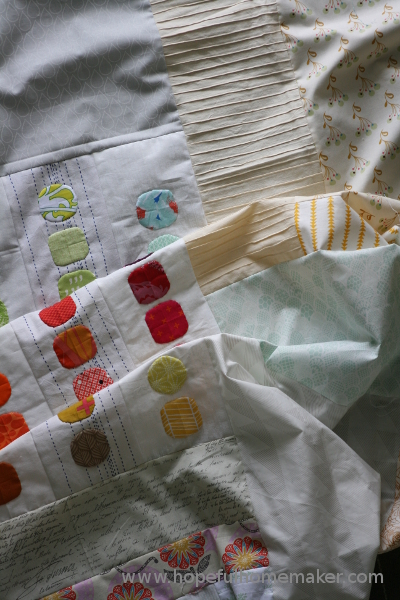
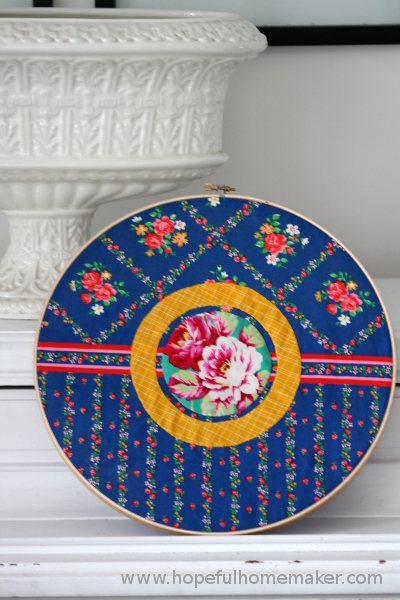
I had saved yardage of the Pretty Potent banner print for the backing but I had to get a little creative when I realized I had less than I thought. I added a strip of this awesome Amy Butler print (from her Hapi collection) that I’ve been saving and couldn’t be happier with the results!
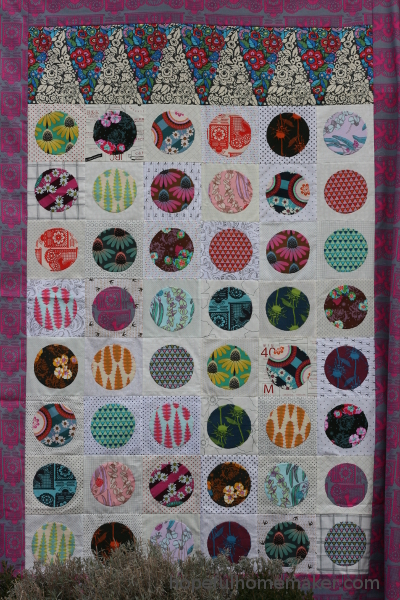
The measurements of the circle blocks perfectly matched the scale and design of the fabric and it all came together beautifully. I feel like this could be a two-sided quilt, and I’m not sure which side would be my favorite! Now I need to decide how to quilt it so that both sides can look good.
I’ve decided I’m going to try to get all my unfinished projects sewn into quilt tops this year, and prepare a backing for each as well. It feels good to have one done!