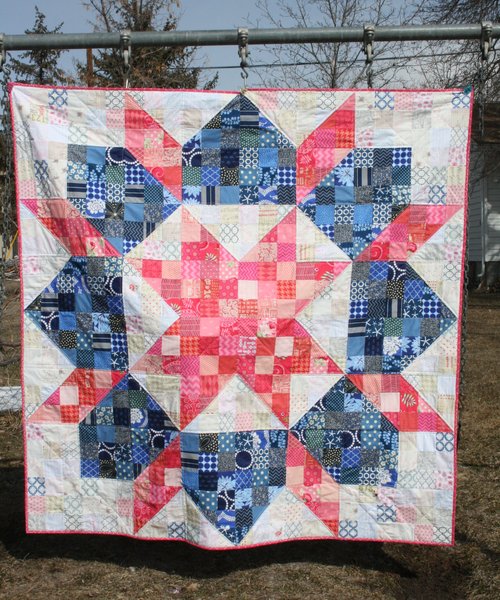
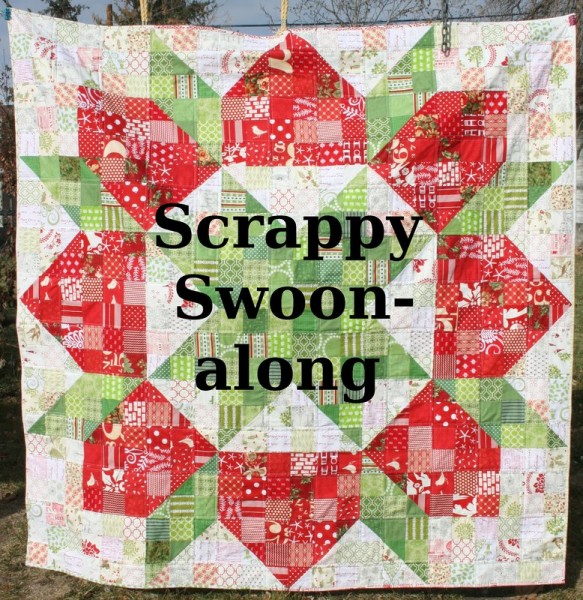
Scrappy Swoon Giveaway Winner


scrappyswoon

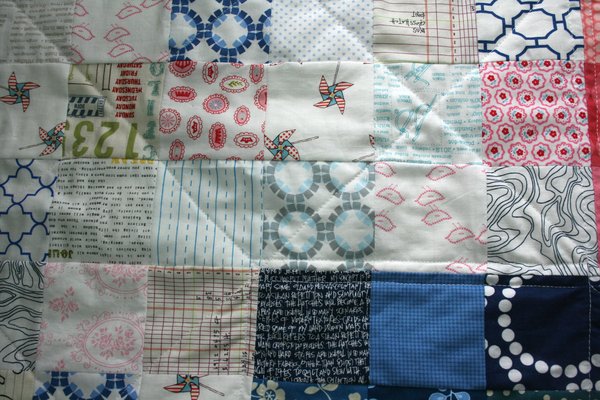
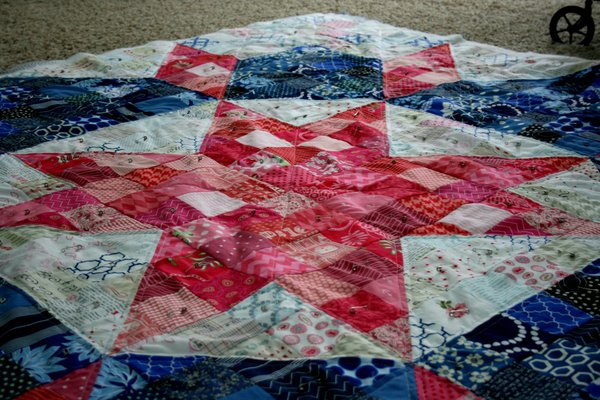
Well, I’ve had one unusual week, and while I was busy living it, seven of you finished your quilts.  I know there are more quilt tops awaiting quilting, and I hope you’ll share them in the Scrappy Swoon Flikr pool when you finish.  I’ll be checking it!  Six of you linked up, and one of you doesn’t have a blog (that’s you, kprzy), so the picture in the Flikr pool I counted as entry number seven.

ColorMeRetro-Bundle-450

If you follow my blog regularly, you know I’m working on mastering technology more this year as one of my 2013 goals.  Well, I tried to figure out how to get the little image of the random number pick to show here, but apparently I’m doing something wrong!  Sorry!  (Another thing to learn.)

According to Random.org, the winner is entry #7, kprzy’s photo on Flikr.

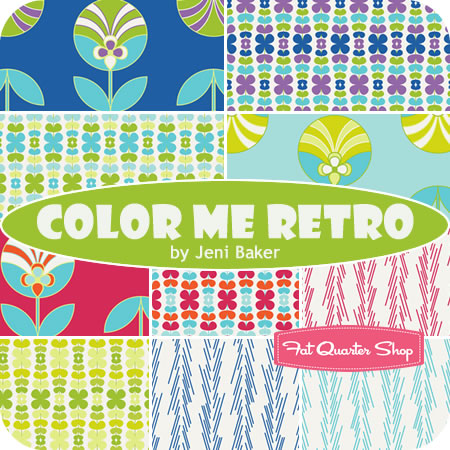
Congratulations!  Kprzy, shoot me an email and we’ll take care of the details!  A big thank you goes to The Fat Quarter Shop for sponsoring this giveaway by offering a fat quarter bundle of Jeni Baker’s Color Me Retro fabrics!  Thanks so much!

Thank you all so much for supporting my first effort at contributing to the many awesome quilt ideas and designs available online.  Thanks for sewing along, and for your kind comments and feedback.  It has been a lot of fun for me to visit your blogs and see your photos.  I have come to admire your talents in the past several weeks.  Thanks to Camille Roskelley who kindly supported my idea.  And a very special thanks to my two awesome sisters , who also participated in this quilt along, and without whose support I might not have found the courage to do the quilt along at all.

Thank you, thank you, thank you everyone!

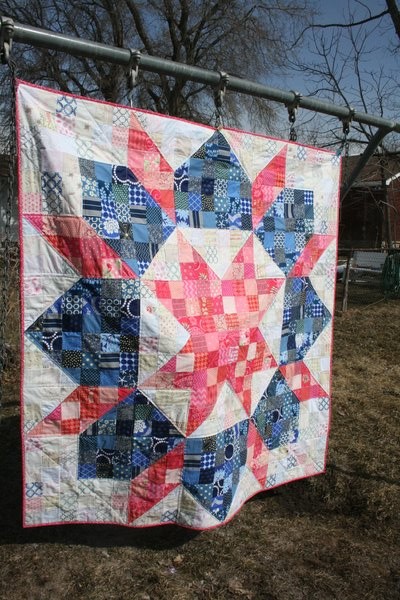
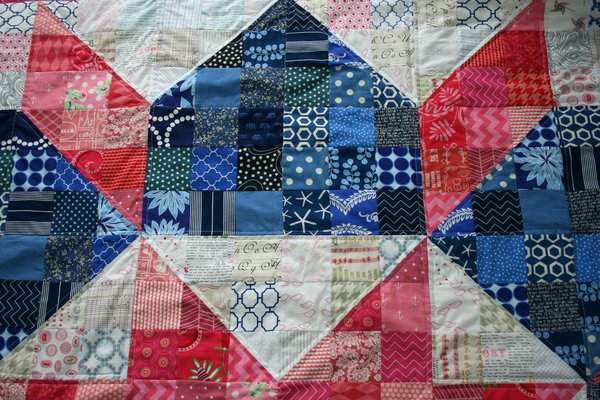
Enjoy your quilts, and happy sewing!

Jennifer

Scrappy Swoon Quilt Along: binding


scrappyswoon

Welcome back to the last week of the Scrappy Swoon Quilt Along!  I have had so much fun sharing this quilt and seeing all the different color choices you’ve made.  So beautiful!

Now, without further ado, here is my finished quilt:

finishedqual

For this version of my Scrappy Swoon I chose a bright pink Lecien print for the binding.

IMG_7396

I like the way it adds a thin pink line around the quilt, helping the pink in the quilt to stand out.  And the back:

finishedqalback

Very simple, but again, I like the pink.

On my original Scrappy Swoon I used low volume whites for my binding, cutting a strip from 8 different fabrics.  I really loved that look as well.

scrappy binding

To bind this quilt you will need 8 – width of fabric strips.  If you use a 2.5 inch binding, you will need 5/8 yard fabric.  Or just make it scrappy, using what you have on hand.   I love binding quilts.  It’s the last step before they get to be loved and used and admired.

IMG_7398

So, if you haven’t already, finish up your quilt this week.  Next week we’ll have a link party here to share your finished quilt, which is your entry to win a bundle of Color Me Retro by Jeni Baker.  Many thanks to the Fat Quarter Shop for generously donating a prize!  The link party begins next Monday, March 11.

ColorMeRetro-Bundle-450

Have a great week, and happy sewing!

Jennifer IMG_7459

Scrappy Swoon Quilt Along: quilting


scrappyswoon

Welcome back everyone!  It’s hard to believe we’re in the last two weeks of the Scrappy Swoon Quilt Along.  I’ve been admiring everyone’s color choices for weeks, and there are a few finished quilt tops in the Flikr group, but I also know that there are some finishes out there and they’re beautiful!  For those of us that aren’t done yet, let’s get started.  Now that our quilt tops are finished and backings are pieced, it’s time to quilt!

On my first Scrappy Swoon quilt, I decided to keep the quilting very simple by quilting in a grid on every other row of squares.  I quilted on both sides of the seam and am happy with the results.  I felt like the quilt was so busy on it’s own with dozens of different fabrics in it that the quilting is hardly noticed.

low volume whites

On the Scrappy Swoon I’ve made for the quilt along, I was strongly tempted more than once to practice my free motion skills by quilting a different pattern on each color; one pattern for background, one for primary colored blocks, and one for the secondary colors.  The more I looked at it, though, the less I wanted to draw attention away from the fabrics.  Since I didn’t want to do the same thing on this quilt, I settled on using the quilting lines to outline the sections of the quilt and see if I could make the pattern stand out even more.

quiltedcenter

I started with the center star, outlining it on the inside of the star seams and went from there, working with each section to decide how I wanted to quilt it.

scrappy swoonquilting

I ended up using a combination of approaches.  Each section of color was outlined, and within many sections I also quilted in the ditch to stabilize the quilt but have the lines be as un- noticeable as possible.

quiltingcorners

In the corner background sections I ended up quilting a cross hatch pattern.  I did this a little bit in the center star, as well.

quiltedswoon

And then it was done!  I really enjoyed quilting this quilt because I made a lot of decisions along the way instead of having a set plan when I began.  What I did was ultra simple, but I like it.  The plan was to take a good picture outside, but as it was snowing most of the weekend with strong winds, I didn’t bother trying.  I’ll share a better picture next week!

So, have fun quilting and we’ll talk binding next week.   The link party for your finished quilt will start on March 11th.

Happy sewing, Jennifer

1 2 3 4