Scrappy Swoon-Along: Sections 5 & 6
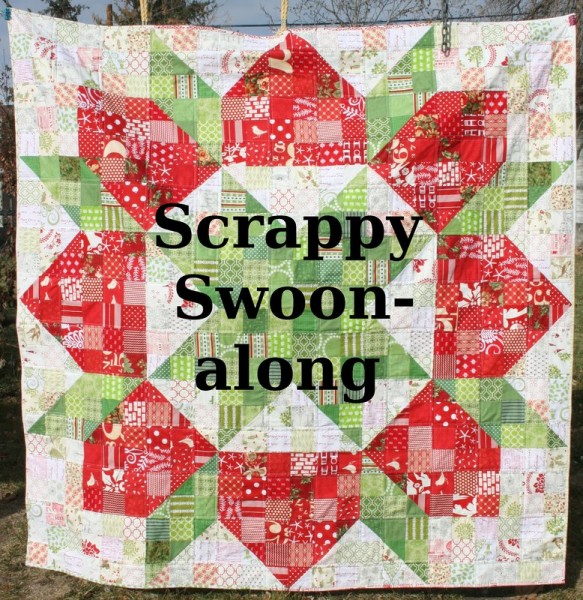
Welcome back to the Scrappy Swoon-along! Today we’ll tackle sections 5 and 6.
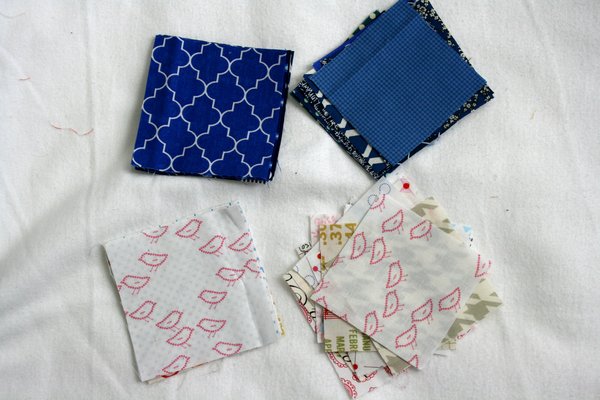
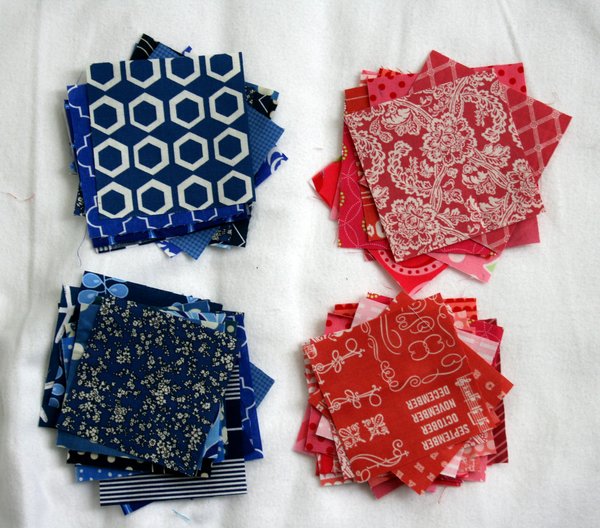
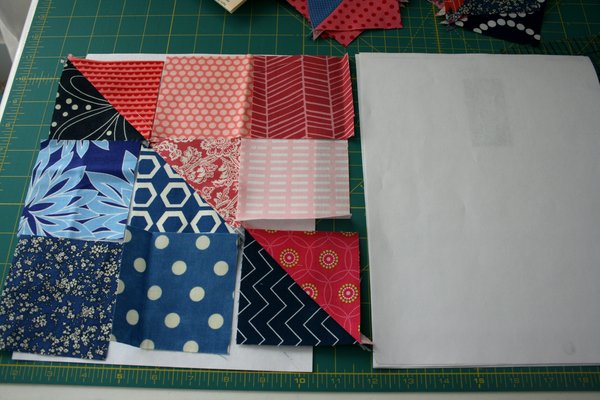
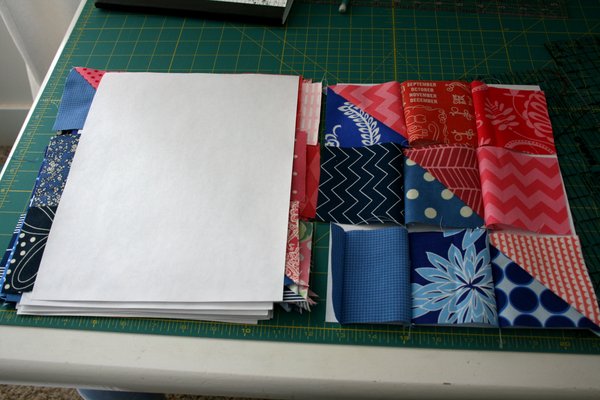
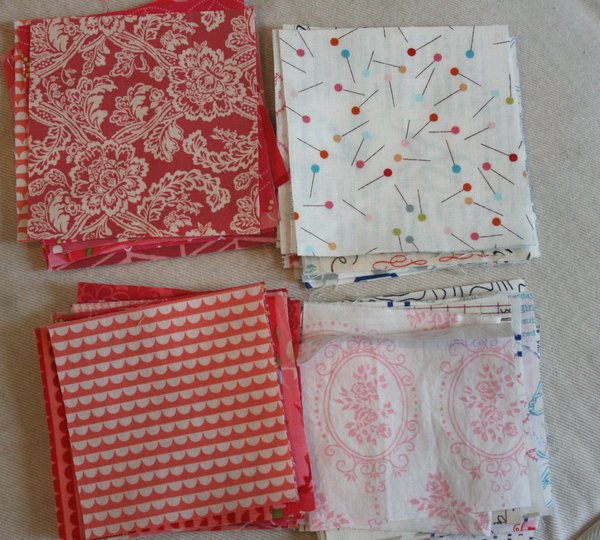
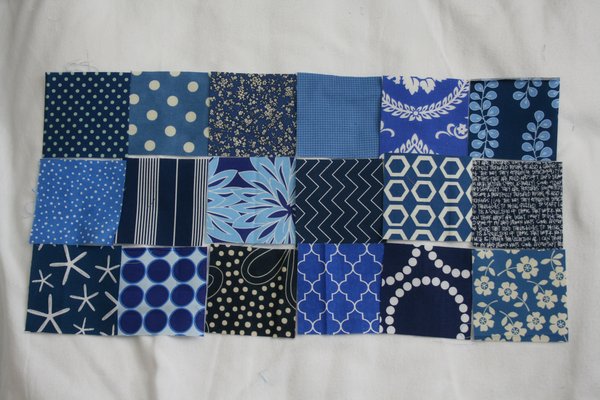
Section 5 This is a simple patchwork section which will come together quickly. For section 5 you’ll need 72 – 3.5 inch squares of your secondary color.
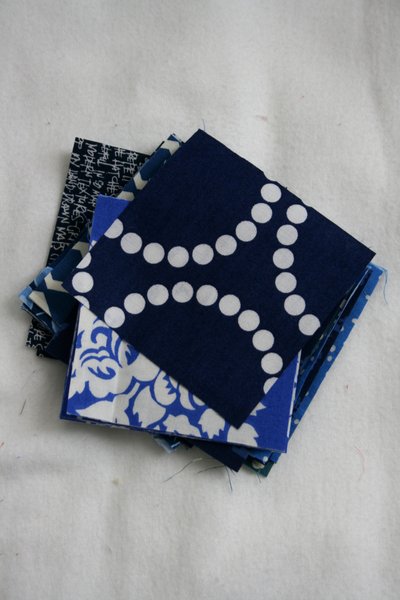
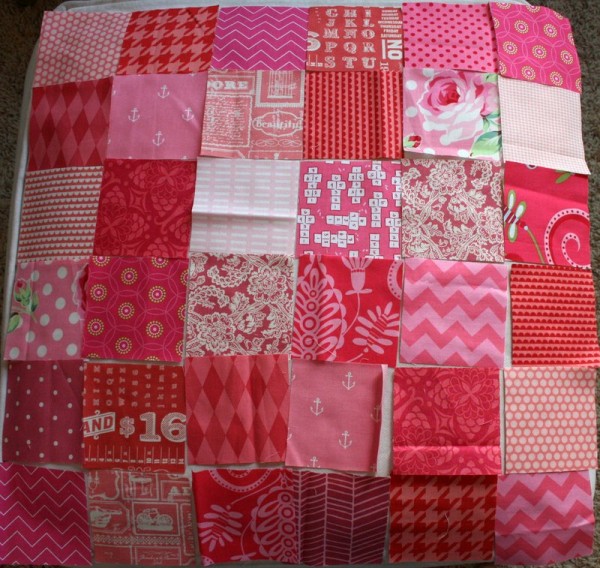
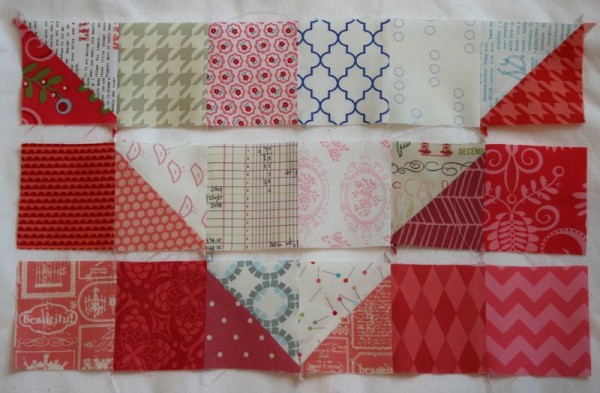
Each block will require 18 squares, laid out in three rows of six squares each as seen below:
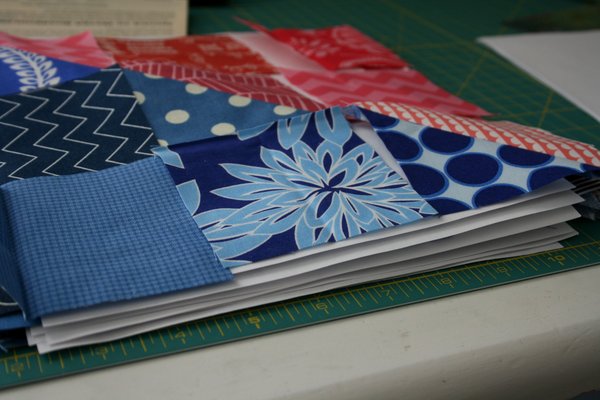
Piece the blocks together in to three strips.
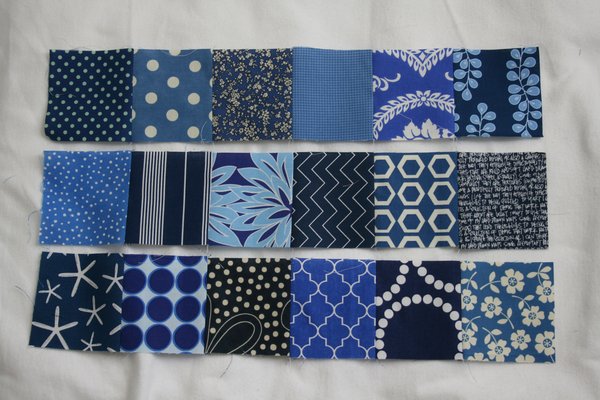
Then piece the three rows together to make a block that is 18.5 inches long and 9.5 inches tall.
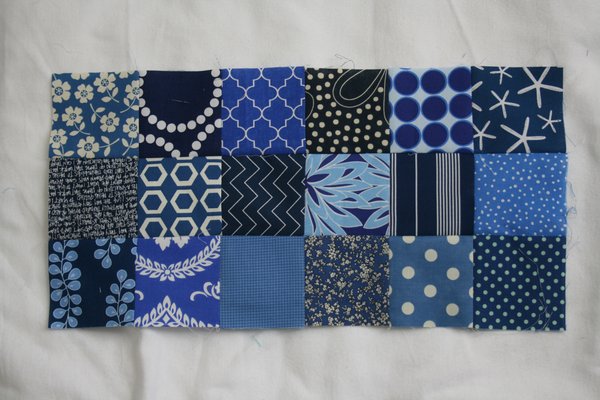
Make four of these blocks.
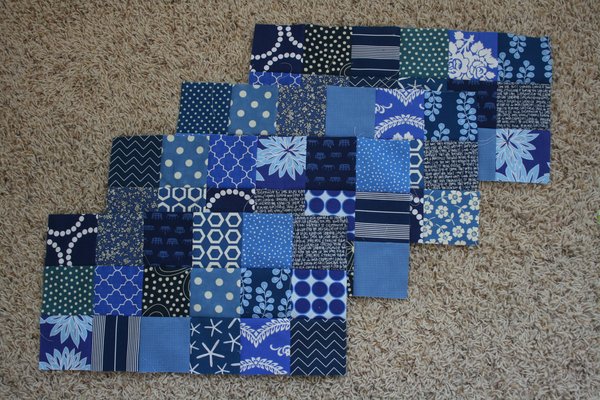
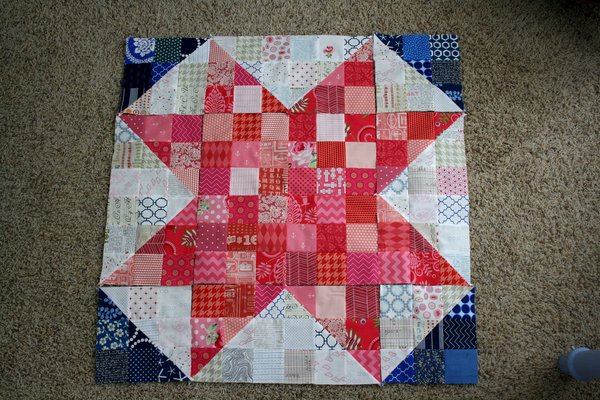
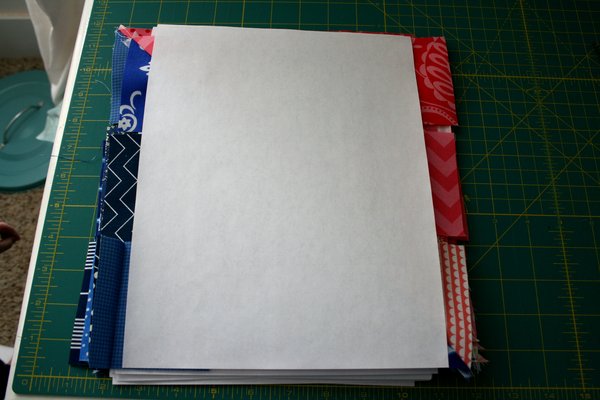
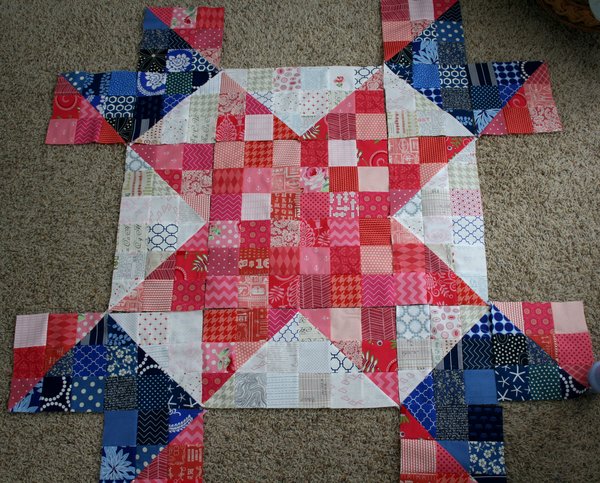
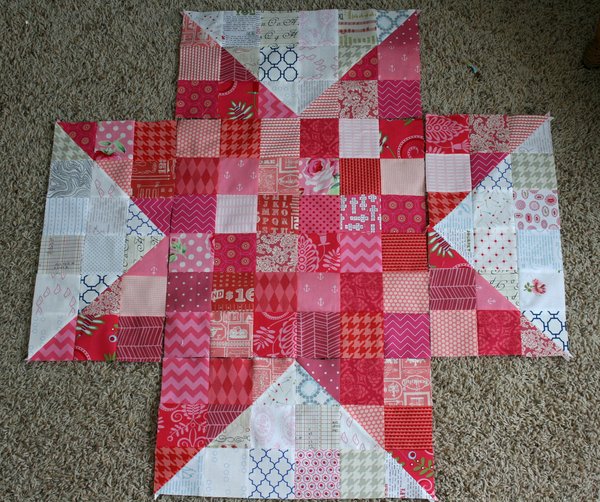
The section 5 blocks will sit on each side of the star between the section 4 blocks you made last week.
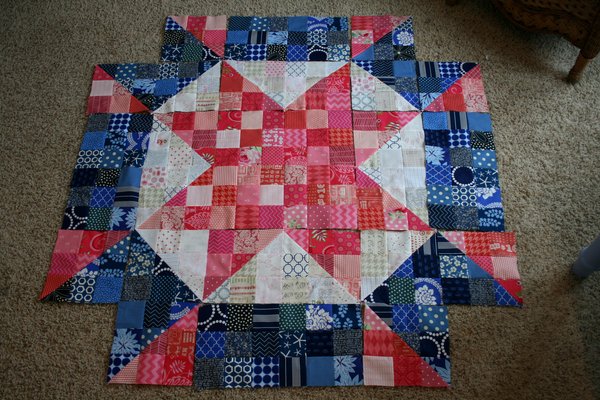
I love the way the center star really pops when it’s completely surrounded by the secondary color. So pretty! Let’s start the next section…
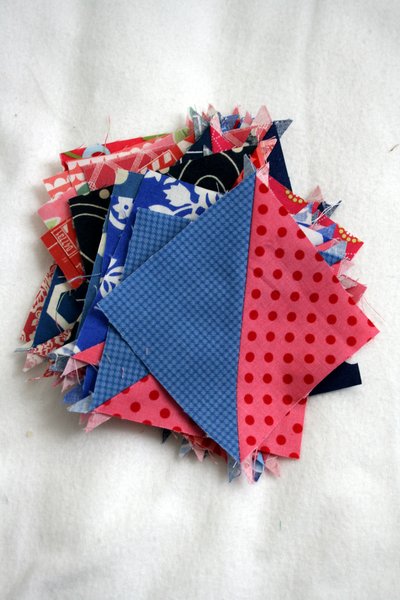
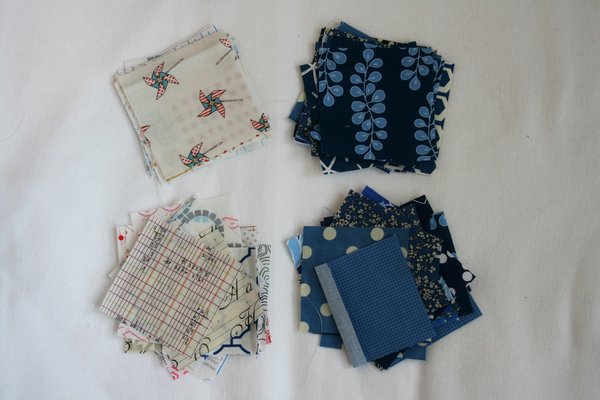
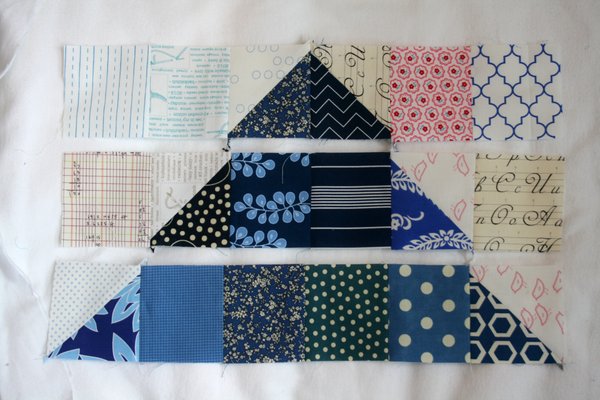
Section 6 Section six will require 12 – 3 7/8 inch squares of both your background fabric AND your secondary fabric. You’ll also need 24 – 3.5 inch squares of both background and secondary fabrics.
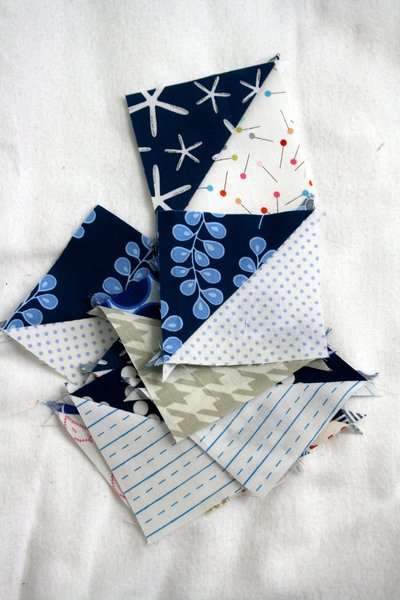
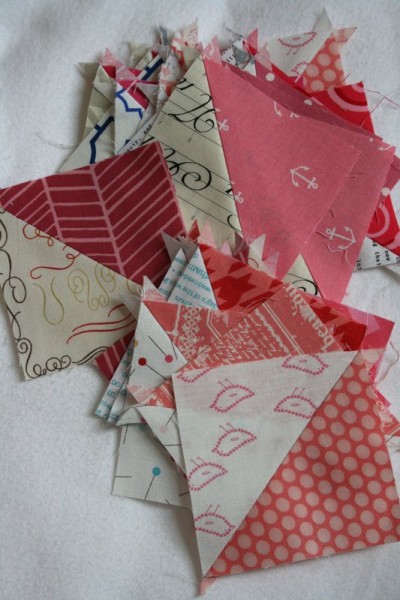
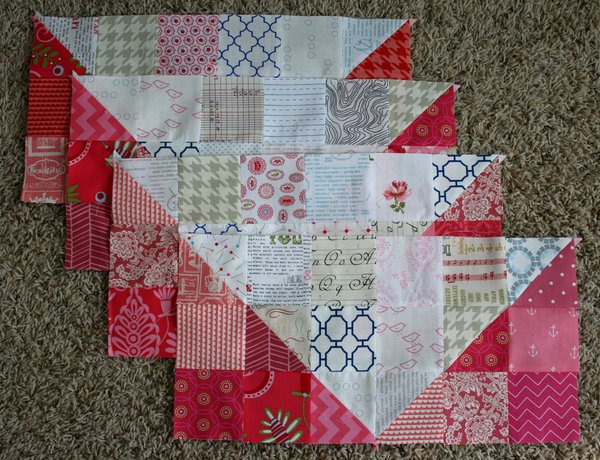
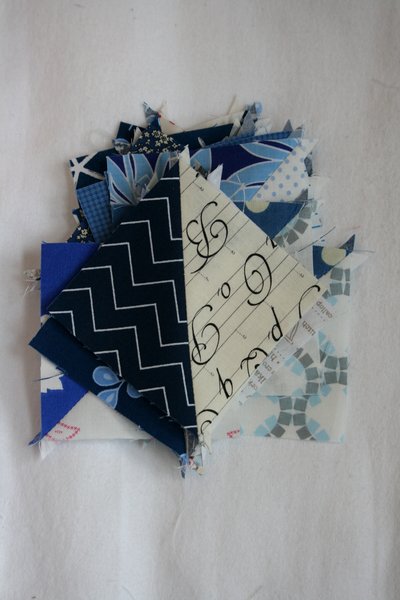
Again, pair up each 3 7/8 inch background square with a 3 7/8 inch secondary color square to make 24 half square triangles.
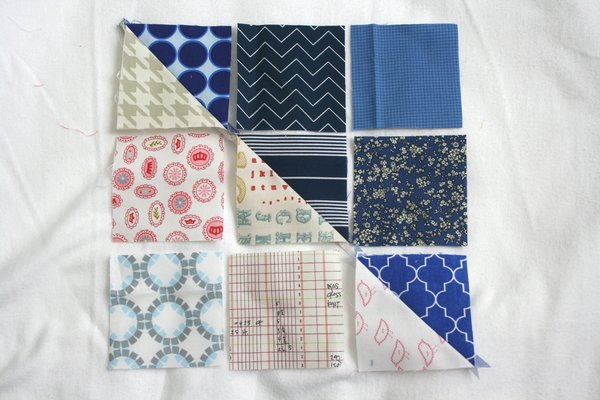
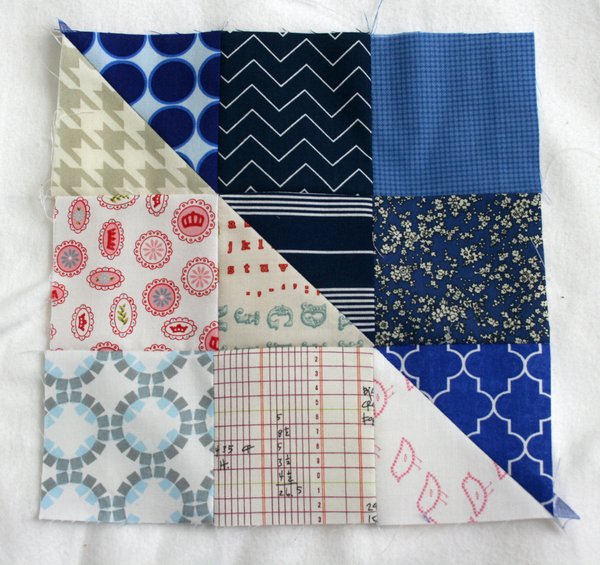
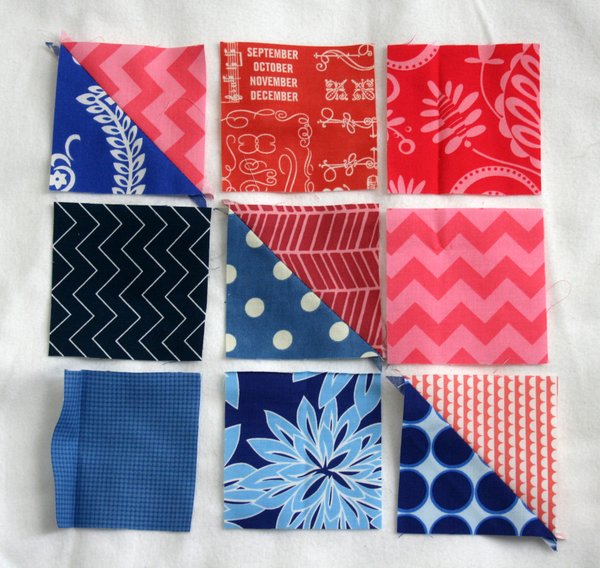
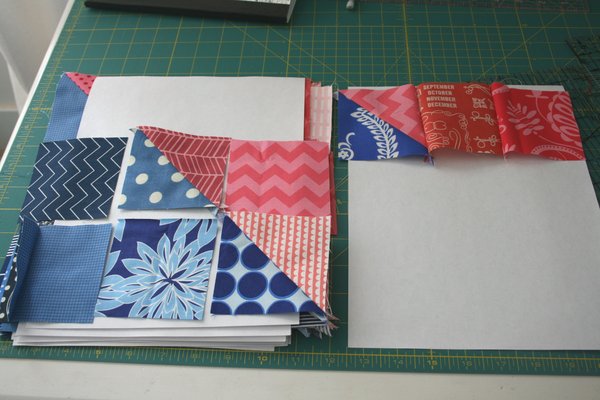
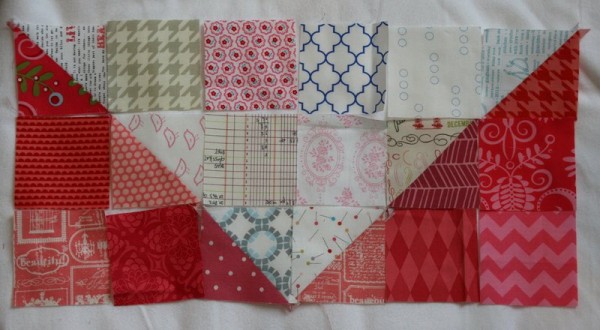
Each block will require 6 half square triangles, 6 – 3.5 inch background squares and 6 – 3.5 inch secondary color squares. The layout of this block is the same as section two, except you’re using the secondary color instead of your primary color. Once more we’re making three rows of six squares with the half square triangles forming the “v” for a patchwork flying geese block.
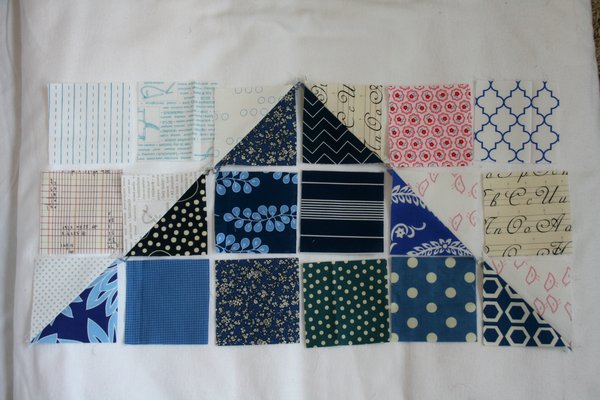
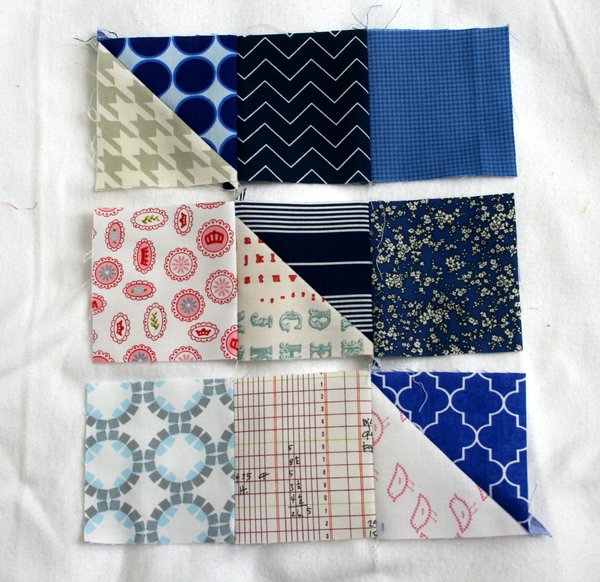
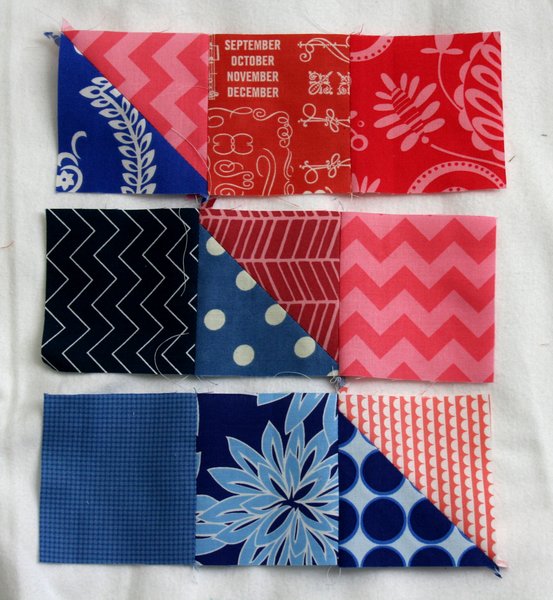
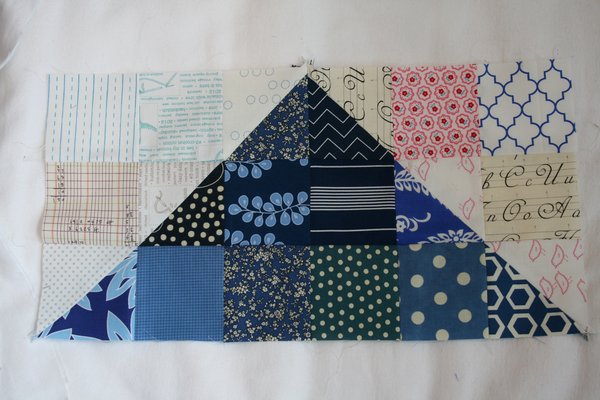
Again, sew the squares into three strips of six squares, then press.
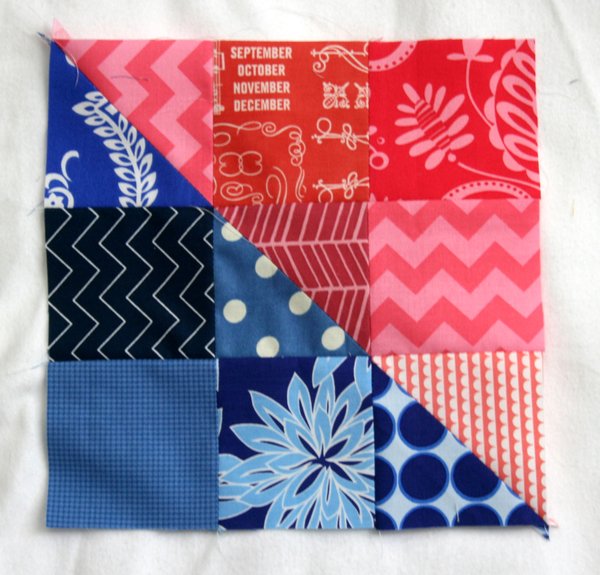
Piece the three rows together to make an 18.5 inch by 9.5 inch block.
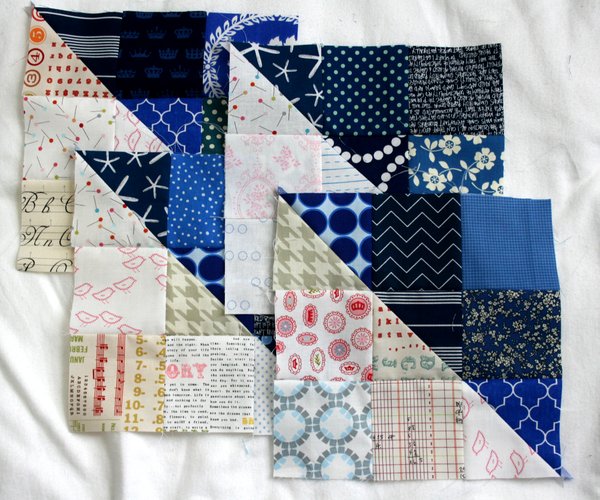
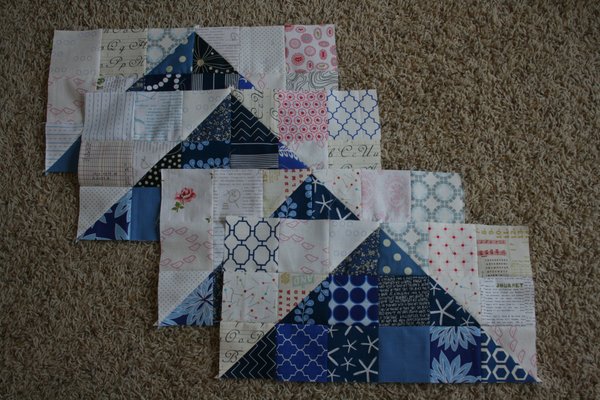
Make 4 of these blocks.
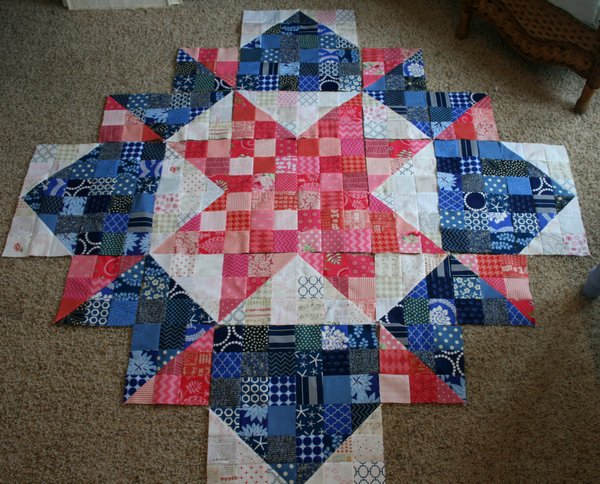
Section six forms the outer block in the center of each side of the quilt. It’s getting big! Now we just have to fill in the corners.
Hooray! We’re more than half way finished with this quilt top. Only two more weeks of piecing to go and then we’ll put it all together. It’s been great to see your beautiful quilts taking shape in the flikr group . So many fantastic color combinations and fabric choices. I hope these sections come together quickly for you and that you enjoy making them. See you next Monday!
Happy Sewing, Jennifer