HOME Christmas Ornament
After making my HOME Christmas bunting with my fun little Christmas light adorned house blocks, I decided to make an ornament as well. My daughter and her husband recently moved to a new apartment, and I have a son who was married earlier this year. It’s their first Christmas together, so a little HOME Christmas ornament felt right.
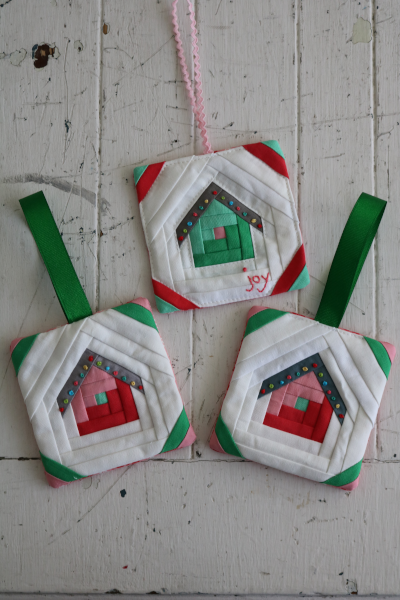
Technically, I made three. Obviously one wasn’t enough, right? I know I’ve said it several times recently, but I am especially enjoying my HOME quilt block this year. Every time I finish one, I want to make another.
Here’s how I made my HOME Christmas ornament:
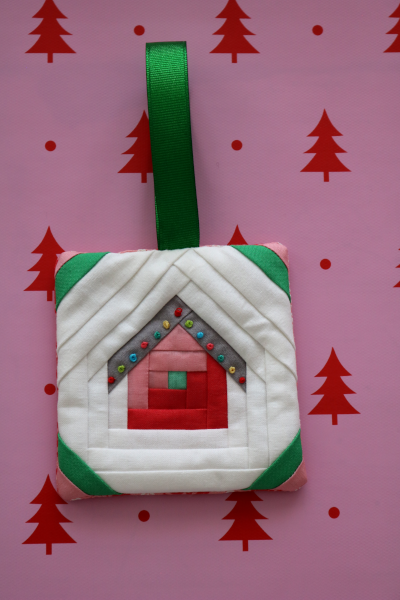
I started with the same 4″ blocks, foundation paper pieced, and embellished with Christmas lights.
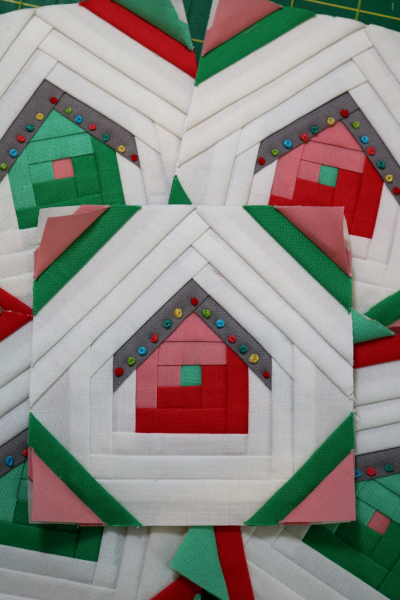
Once your blocks are sewn, cut a piece of batting and a backing fabric square to match the size of your block. Mine are all 4.5″ square.
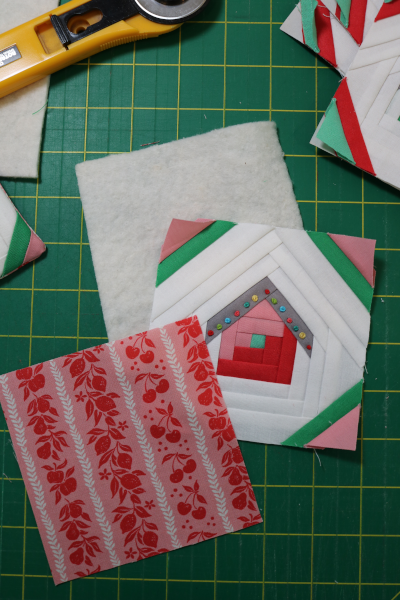
Stack them with the batting on the bottom. Add the HOUSE block second, facing right side up. And finally, place the backing square wrong side up, on top.
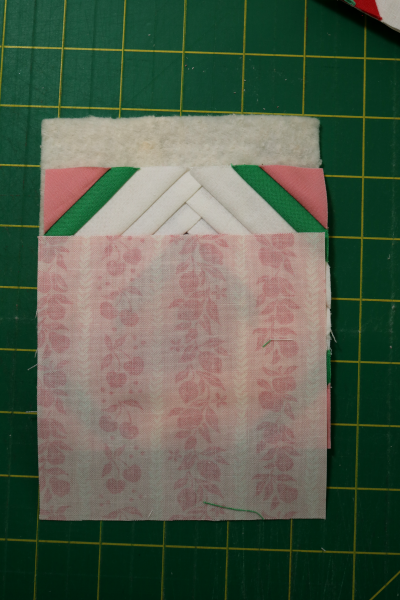
I stitched them a bit differently than I did the bunting squares. For the ornament, I started stitching on the top edge, about 1″ in from the right side. You can see a small “x” in pencil at the points where I started and stopped. Stitch around the sides and bottom of the block, maintaining a 1/4″ seam allowance. Finish stitching and back stitch about 1 inch in from the left side on the top.
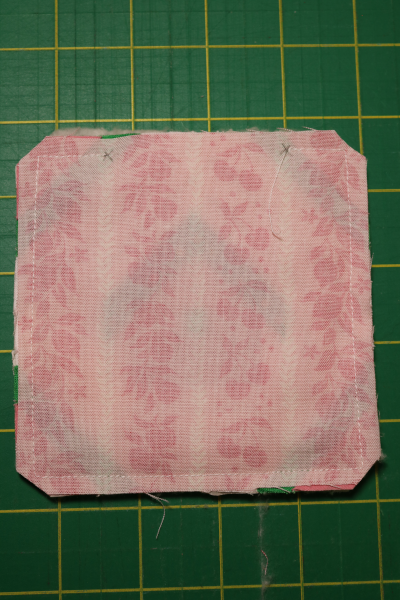
Carefully trim all four corners, and make certain you don’t clip the seam. Carefully turn the block right side out. At this point, it only needs a loop for hanging, tucked into that final open seam.
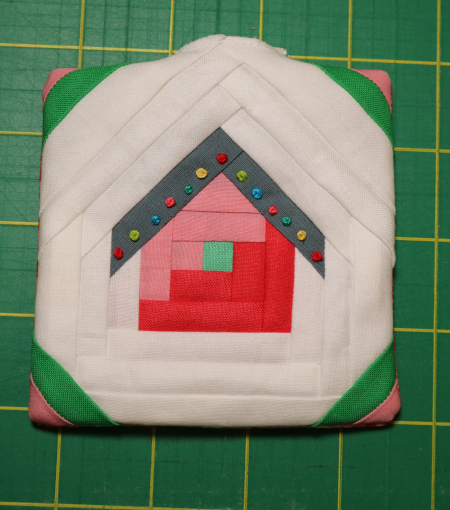
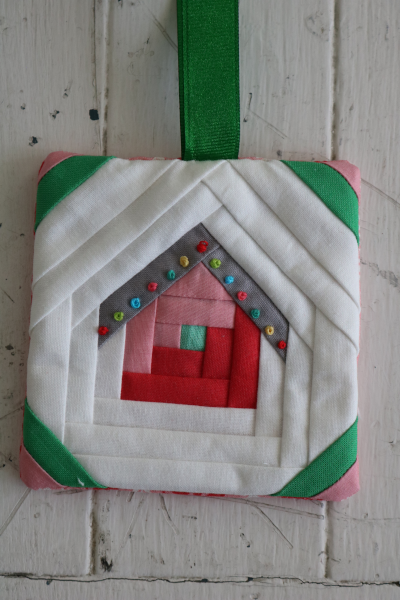
This is where I did a little bit of experimenting. For my first block, I cut a piece of ribbon about 8 inches long and turned the raw edges of the block in. Next I inserted the two raw ends of the ribbon into the seam and pinned it in place. For this ornament I stitched the closure by hand.
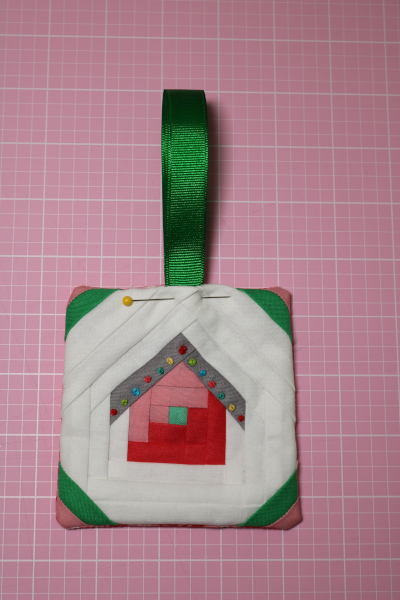
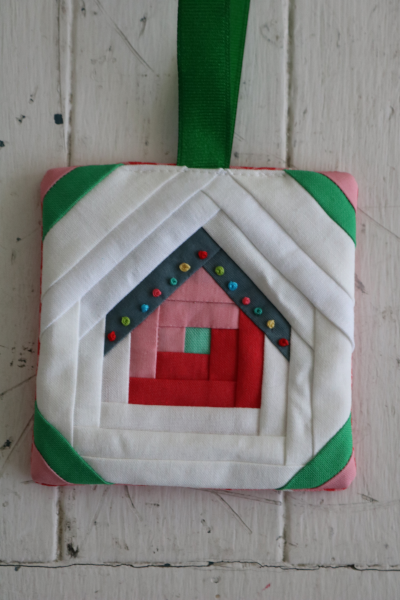
On the second block, I decided to see how it might look if I topstitched the opening closed by machine. To my surprise AND satisfaction, I liked the way it looked. The seam at the top didn’t feel distracting to me.
As I finished the first two HOME Christmas ornaments, I wondered how difficult it would be to embroider a small word on the ornament. Perhaps their names, or the year, or “first Christmas”? In the end, I settled on “joy.”
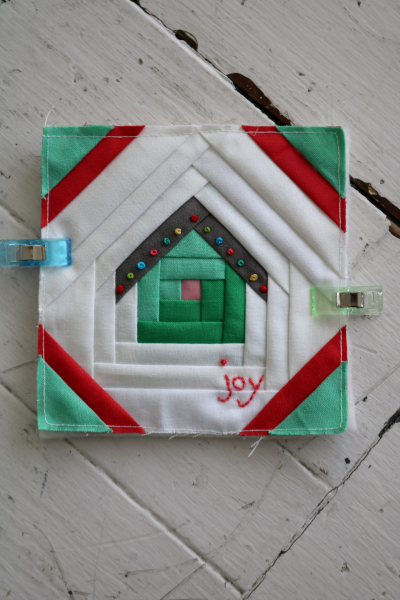
I carefully penciled the word on, then clipped my batting square to the block before embroidering. This prevents the threads on the back of the block from showing through, since I stitched through both the batting and the block. So cute!
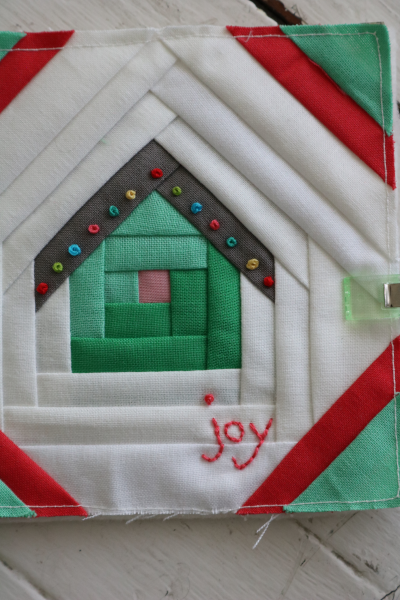
I’m going to have a busy holiday season, and I’m trying now to set my mindset for it all. I settled on this sentiment: welcome to the house of joy!
For this last ornament, I settled on a third option to finish it. This one I did a little quilting on.
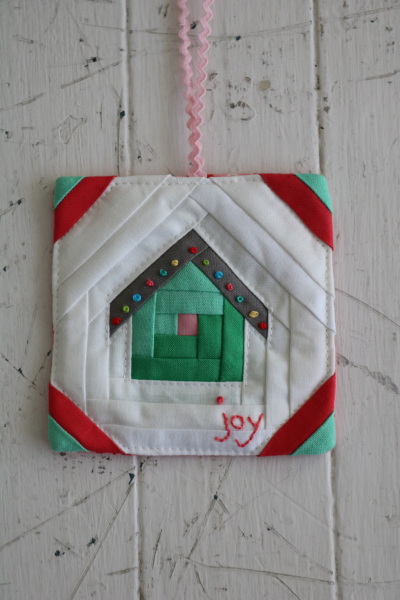
Like the second ornament, I stitched the top closed by machine, but kept going and sewed around the outer edge of all the white space. I wasn’t sure how it would look to sew into the colored corners, and I know there are a lot of layers of fabric there. This is why I kept to the white. Next I stitched around the outer edge of the little green house. You can see the quilting lines on the back:
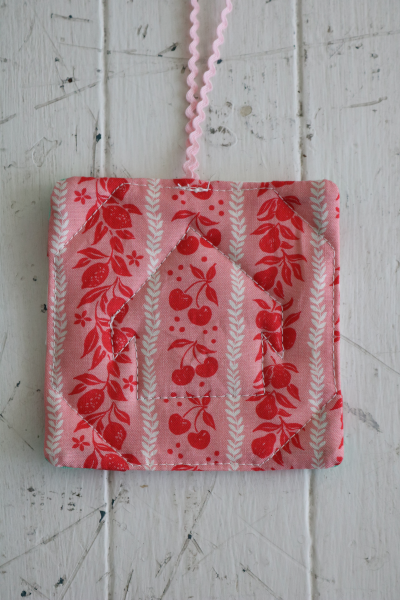
This last ornament lays more flat than the other two. I suppose I could have stuffed one like a pincushion to give it more substance, but I didn’t think of it at the time. (Note to self: this block could also make a fun pincushion.) Either way, it was fun to experiment with three slightly different methods of finishing the ornament.
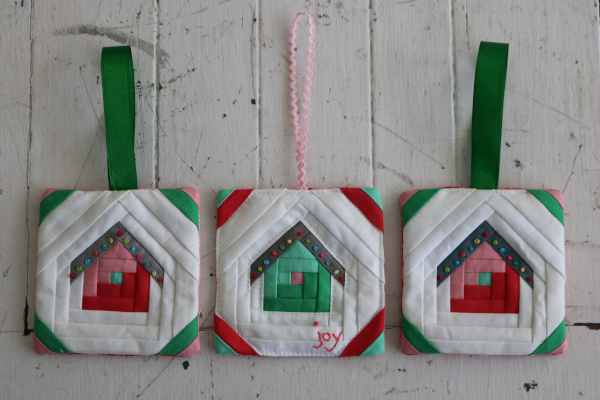
Do you have a preference? I’m happy with all three. And there is one more HOME Christmas project still to come: a stocking.
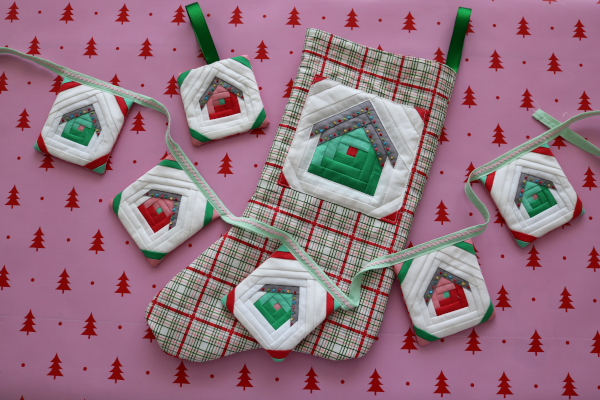
I have had years where the holidays came and went and I didn’t do a bit of holiday themed sewing. It made me a little sad. I am grateful this year to have squeezed it in with plenty of time to enjoy these little projects. I hope you’re able to do the same!
