Author: jennifer
No Bake Pumpkin Cheesecake
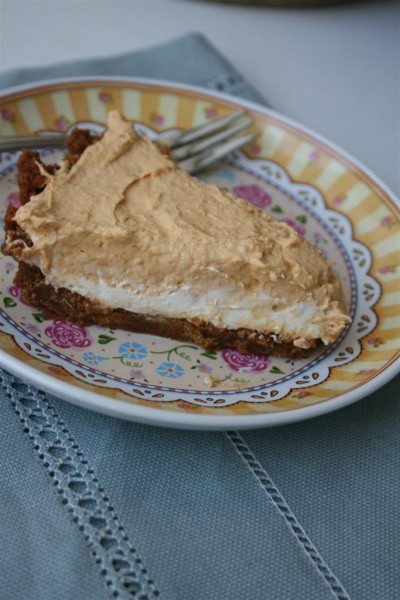
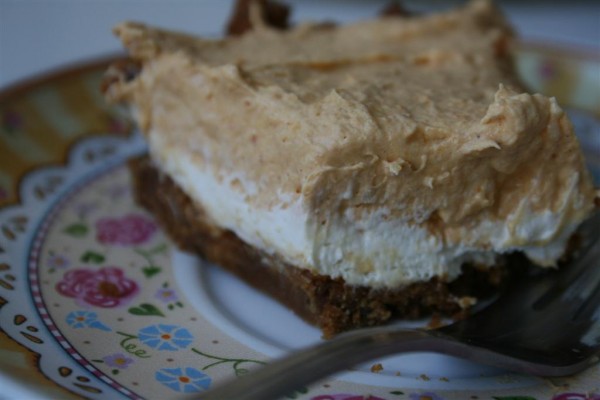
This dessert is a hybrid of three different recipes. Gratefully, it came together as I hoped it would. It’s a no-bake cheesecake with gingersnap crust, cheesecake layer, and pumpkin layer. It looks pretty and tastes rich and delicious.
If you don’t want to bake at all, pick up a graham cracker crust from the store. I think it would also taste good, but I prefer the way the dark brown crust looks with the pumpkin color, and the gingersnap taste adds the perfect touch.
Here we go.
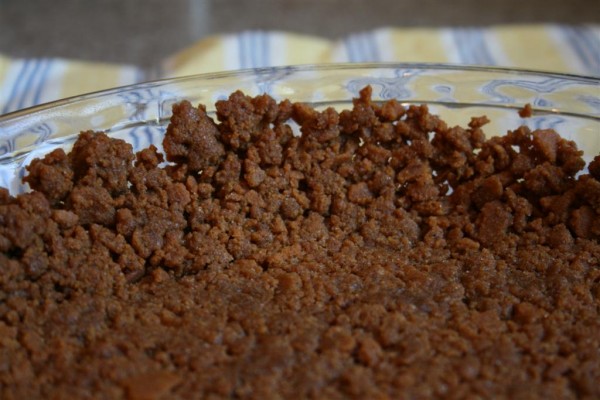
For the crust you’ll need:
1.5 cups gingersnap cookie crumbs 3 Tb. sugar 1 tsp. ground ginger 6 Tb. melted butter In a small bowl, combine cookie crumbs, sugar and ginger. Add melted butter and stir to combine. Press into 9 inch pie pan and bake at 350 for 10-12 minutes. Remove from oven and cool completely.
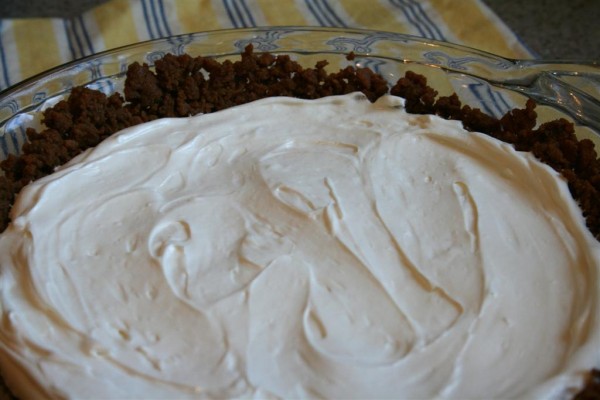
Next comes the cheesecake layer. You will need:
4 oz. cream cheese, softened 1 Tb. lemon juice 1/4 cup sweetened condensed milk 3/4 cup cool whip In a small mixing bowl, beat cream cheese until smooth. Add lemon juice and sweetened condensed milk and mix until combined. Fold in cool whip. Spread over cooled gingersnap crust.
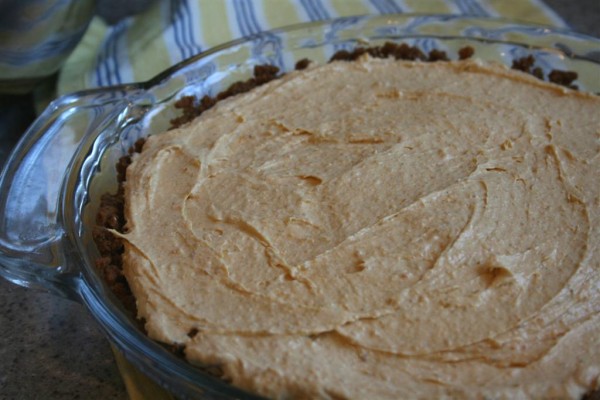
Last comes the pumpkin layer which is basically an adaptation of this pumpkin dip recipe .
Ingredients:
1 can (15 oz) pumpkin 1 (5 oz) package instant vanilla pudding 1 tsp. cinnamon 1/4 tsp. ginger 1/4 tsp. nutmeg 1/4 tsp. allspice 1/3 cup raw sugar 8 oz. cool whip Mix together pumpkin and pudding. Add spices. Fold in cool whip and then stir in raw sugar. Spread over cheesecake layer. Refrigerate 2 hours. Slice and serve.
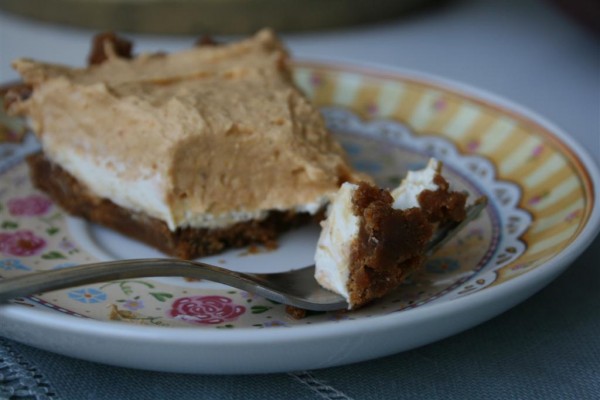
YUM. It’s fun to experiment. We loved the way the layers look together, and the combination of flavors in each bite.
Hope you love it!
Hopeful Homemaker 
One Step Report #45
The temperature has dropped significantly. It’s dark at 6 pm. We’re snuggling in our blankets with new appreciation for their warmth. I’m afraid winter has made its entrance. Much as I dread it, it brings its own blessings. My favorite constellations belong to the winter sky. I love having more family time in the evenings. I hope and pray that we can fill that time with worthwhile things.
The week has been a full one, but I needed it to hold much more than it did. My baby had a particularly tough week, needing lots of attention and time in my arms, which motivated my two and four year-olds to seek the same. More than once during the week I looked down at three people standing at my knees, arms up, crying “hold me!” And I thought to myself, “Seriously? All three of you?!?” Much as I love motherhood, sharing one lap between three crying children gets old quickly. It’s good for me to remind myself that although I have only three at home during the day, life is intense with three little ones, no matter how many more come spilling through the door after school.
At the end of one long day this week when my husband had left for an appointment I hadn’t known about, I sat wearily at the dinner table with my 8 children. I confess I didn’t really want to be there. I wanted them to be in bed, I wanted to be done being needed for the day. I looked around the table in the soft glow of the lights and told myself, “Someday I will miss this.” I didn’t think it because my heart was tugging at me. I didn’t think it because I was trying to enjoy the moment. It came on blind faith, faith in the words of the hundreds of mothers who have gone before me who say, “Someday you will miss it.” That promise is perhaps the most universal one offered by every mother I know whose children have grown and gone. And because they are women I know, respect, love and want to be like, I believe them.
So I paused. I looked around the table, listened to snatches of the little conversations they were having with the sibling nearest them. I looked at the sizes of their bodies, the way they sat in their chairs, some of them filling the seat and others almost being swallowed by them. I watched the way they held their forks, some with expertise and others with minimal control. I tried to memorize them. I tried to memorize the curve of their cheeks, the color of their hair, their eyelashes almost touching chubby little cheeks. I tried to memorize their voices, the way they sound right now, the things they did or didn’t like on their plates. I watched the way they looked at each other, the way they talked to each other, the way the older ones helped the baby as she sat so proudly in her little chair at the table. I tried to memorize all of this and for a moment I felt like I was standing just outside the room watching a re-run of an old movie with dim lights and faded colors, observing a traditional family gathered around a traditional table for a traditional meal.
It soon passed, they finished eating, my husband came home, we moved on with the evening and put them to bed. It’s funny. I didn’t have any kind of emotional reaction at the time I paused to observe all these things but as I type it tears stream down my cheeks. I hope that time will not rob me of that picture I still see, of my eight young children scattered around my kitchen table on a random night eating a simple meal. And in a sense, those few minutes might be the most important thing I did this week.
My report for the week: 100 steps.
Highlights:
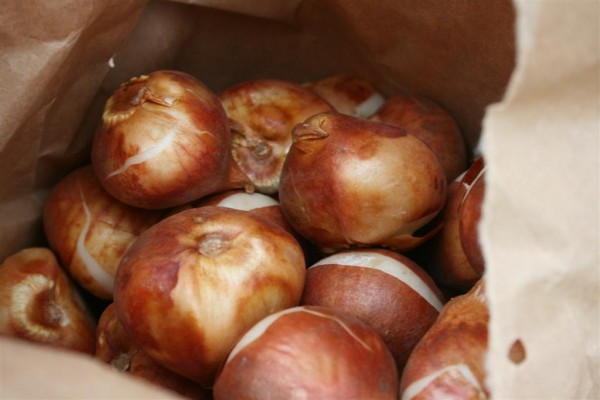
1. My tulip bulbs arrived in the mail.
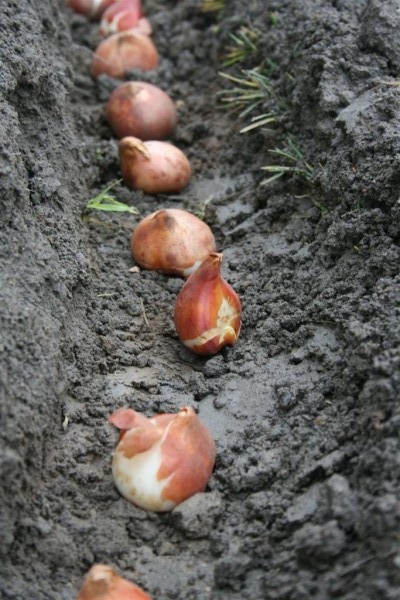
2. We woke up to gray skies and rain on Monday morning. I was tempted to wait for better weather but instead went out in the rain and dug trenches along the edges of my flower beds. I planted those bulbs, all 250 of them. It felt good to be doing yard work in the lousy weather, and as the week wore on I was so glad that I got them in the ground when I did. As the temperatures dropped I felt like gloating at the winter weather, daring it to do whatever it wanted because I have already won. I’ll have flowers in the spring.
3. I got my hair cut.
4. On Thursday morning I had a friend over and we worked on a Fall project together. It was so much fun to let the little ones play while we talked and worked. Friends are one of life’s good things, wouldn’t you say?
5. Late Thursday night as I was driving home from something I saw the moon and it took my breath away. It hung low and large over the west horizon, a waning gibbous that looked as if it had slipped from it’s spot just a bit, almost laying on its back. It looked like the color of golden wheat, and as I drove I realized I was seeing the very sight that has caused illustrators for generations to depict the moon with a nose, cheekbones, and a slight smile. The sight was so magical that I felt I could almost see those details, the moon smiling down on a peaceful night as I smiled up at a most beautiful sight.
6. Thanks to my sister, I looked at the Happiness Project blog and saw this list of happiness mistakes . It was thought provoking to consider how many of them I make at different times, and healthy to consider ways to grow and change.
7. I had a lucky bit of time when my three little ones all fell asleep at the same time. I had a million things to do but I sat down in a comfortable spot and read a good book.
8. I discovered my baby had cut her first molar. (that explains some crying) 9. I discovered my baby had cut her first canine. (that explains more crying) 10. I discovered my baby has two other molars on their way in. (that explains the rest of her crying, but none of it explains the crying of the two or four year-olds) 11. My two oldest daughters went with me to the baptism of my cousin’s daughter on Saturday night. It was wonderful, and I had a lot of fun talking with my cousins, my aunt and uncle, and others. We were so grateful to be invited.
12. This morning I got up 2.5 hours earlier than everyone else and enjoyed a most pleasant, quiet , morning. I had dinner made and in the refrigerator before 7 a.m. I wish I could do this every day!
13. Tonight we attended a fireside as a family and listened to our 9 year-old son speak. He did an outstanding job and we felt so proud of him. He is a great young man.
I am stunned that November is already half over. Like everyone else, there is so much to do and so little time. It’s sobering, and I hope that I’m careful and making good choices with what time I have. I’ve got two birthday parties to pull off before I can worry about Thanksgiving, so I’m praying for a happy baby this week. I can say this about raising children: I’m pretty sure there’s no danger of a boring life in my future.
Something will always be going on.
Have a great week!
Jennifer

