Best Brownies Ever. I Promise.
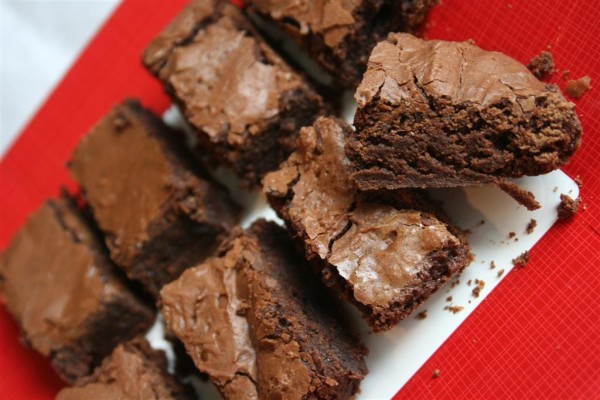
Shiny, almost flaky top crust. Moist and fudgy but not gooey. Cakey rise. Chewy edges. Perfect texture. Fabulous taste.
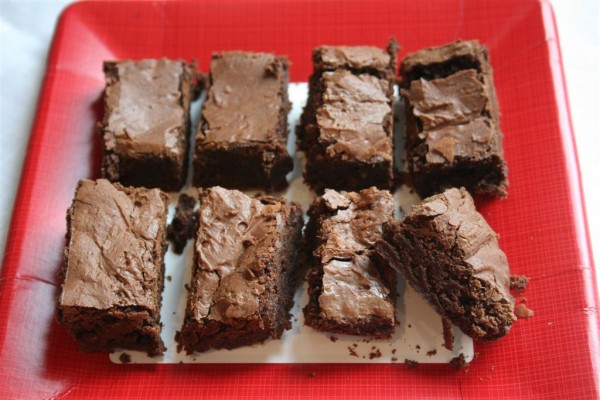
These brownies have got it all. I promise. Every time I’ve made them for someone they come back for the recipe, telling me they’re the best brownies they’ve ever tasted. It’s time to share them here.
When I started this blog almost two years ago I really liked the Pioneer Woman style, step-by-step recipe posts. The beauty of process appealed to me. I dropped that approach rather quickly in favor of feeding my family in a more timely manner, but for this recipe I’m going to give you the play by play. Why? Because the way you mix up ingredients is unlike any brownie recipe I’ve ever had before, and it might help to have some pictures.
Ingredients 1 cup butter, no substitutions 2 cups sugar 4 large eggs 1 cup cocoa 1 tsp. salt 1 tsp. baking powder 1 Tb. vanilla 2 cups chocolate chips (I usually use semi-sweet) 1 1/2 cups flour To begin, crack your eggs into a medium sized mixing bowl. I like to use an old flat-bottomed metal bowl because it’s easy to mix in and because it retains some heat, which will make sense in a few minutes.
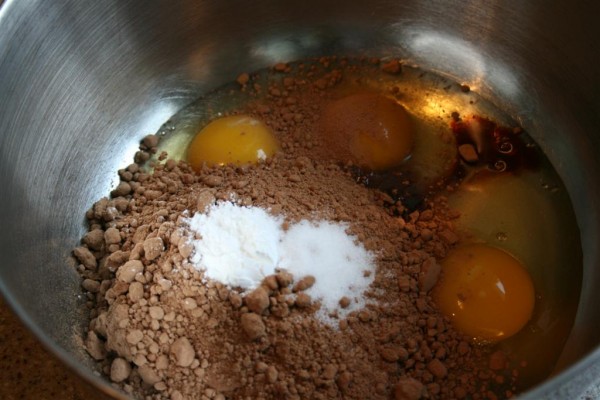
Add the cocoa, salt, baking powder and vanilla to the eggs. Using an electric hand mixer, start mixing.
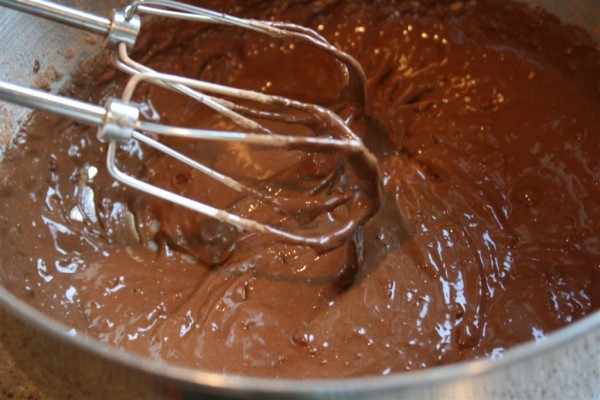
At first you’re going to feel like the only thing happening is a nice little cocoa cloud that gathers atop your bowl, but after a few minutes you’ll see that the eggs are beaten and slowly the cocoa is being incorporated into the mixture. It should end up looking like this:
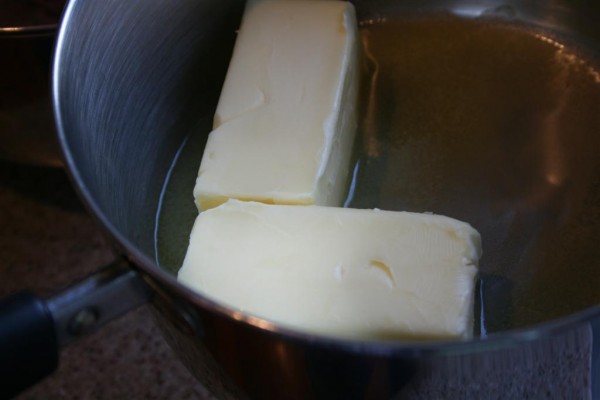
In a small saucepan over medium-low heat, melt your butter.
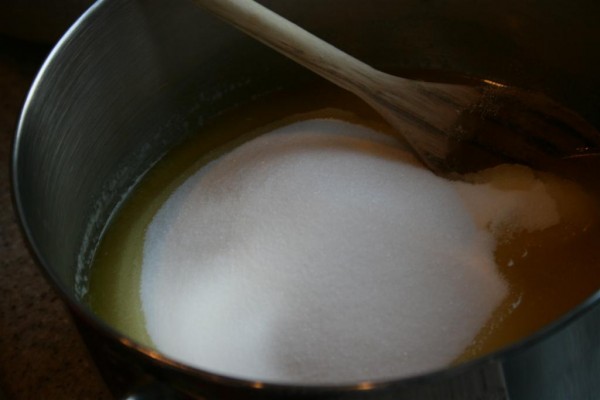
When it’s melted, add two cups of sugar to the pan.
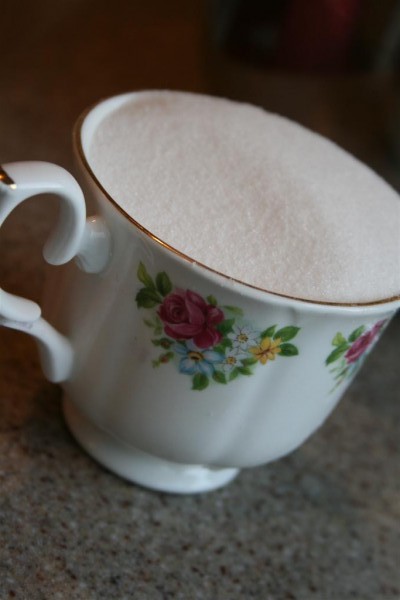
Have you ever used a teacup to measure sugar? A few years ago I swapped out my flour and sugar measuring cups in favor of teacups. It’s funny how something so small can make baking so pleasant. Everything is more fun if you’re scooping with a teacup. Trust me.
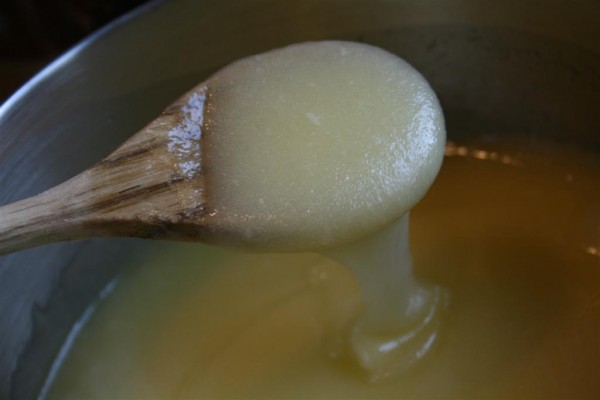
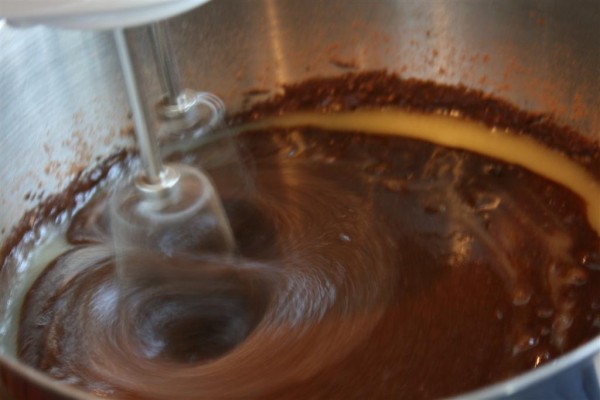
Ok, now the next part is an important one. Stir together the butter and sugar and return them to the stovetop. Heat it, stirring constantly, until it’s hot but not bubbling. At first you’ll see a layer of melted butter sitting atop the mixture, but as the sugar begins to dissolve the two ingredients will fully incorporate with each other. Dissolving the sugar a little bit is what yields that shiny, flaky crust. Watch for the mixture to become shiny looking as you stir it.
Pour the butter mixture into the mixing bowl holding the eggs and other ingredients. Mix until smooth.
Add two cups of chocolate chips.
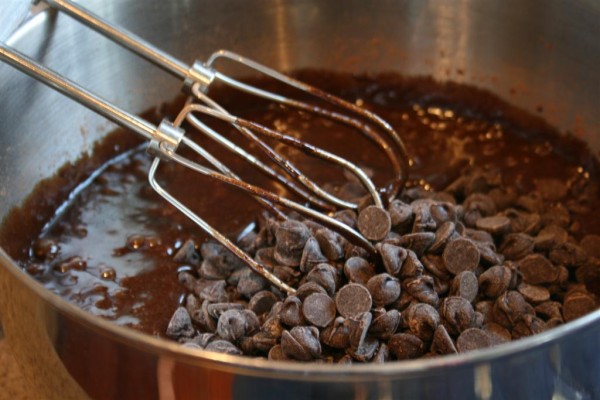
This is why I use a metal bowl. The heat from the butter helps to melt the chocolate chips. I’ve found that I love it best when the chips are almost fully melted, leaving just a hint of chunk. If you want to have a more pronounced chocolate chunk taste, you’ll need to let the mixture cool for a while before adding the chocolate chips.
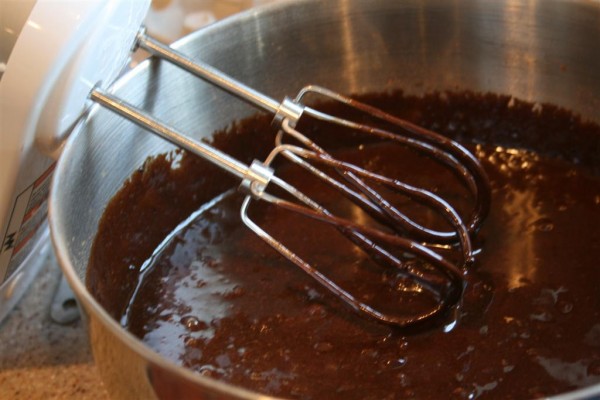
Mix them in.
Now add the flour.
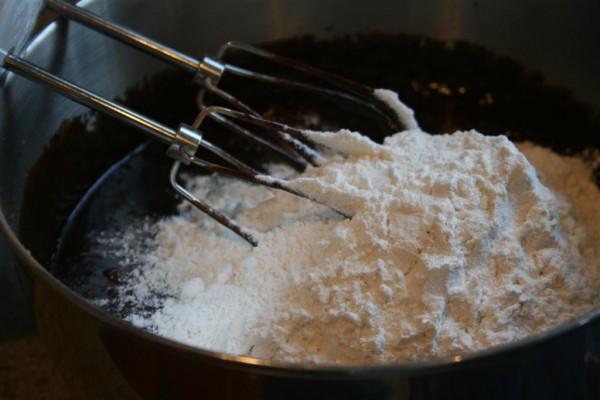
Mix one last time, and you’re done. The batter will be very thick.
Lightly grease a 9×13 inch pan and spoon the batter in, spreading it out with a plastic spatula.
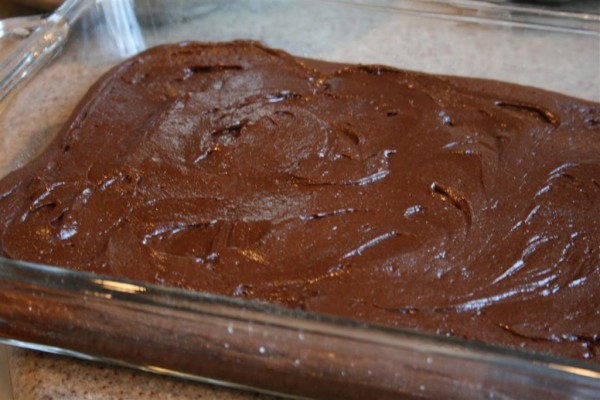
Bake at 350 for 30-35 minutes. Mine usually take closer to 35 minutes. Your edges should look set and the center should still look a little bit moist but NOT uncooked. Go ahead and test for doneness by inserting a toothpick or sharp knife in the center to make sure there’s no uncooked batter. You want them to be cooked, but not overdone.
I love how shiny the top looks.
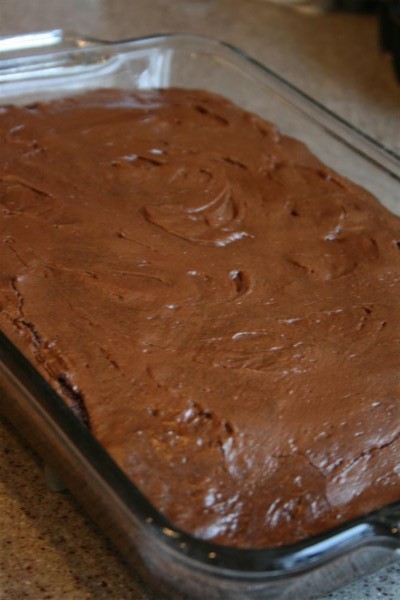
Cool before serving, then watch them disappear!
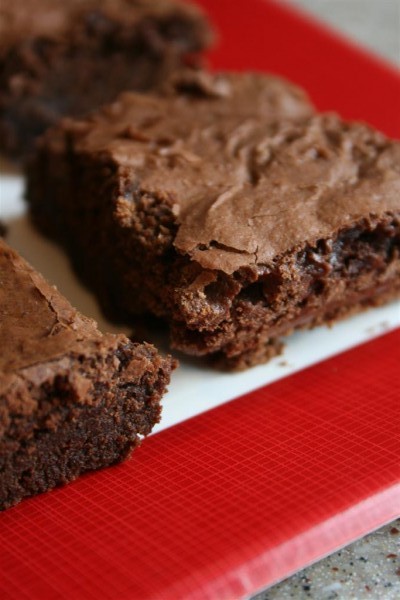
Mmmm. Thick, fudgy, cakey, moist, flaky. You’ll love the texture of these treats.
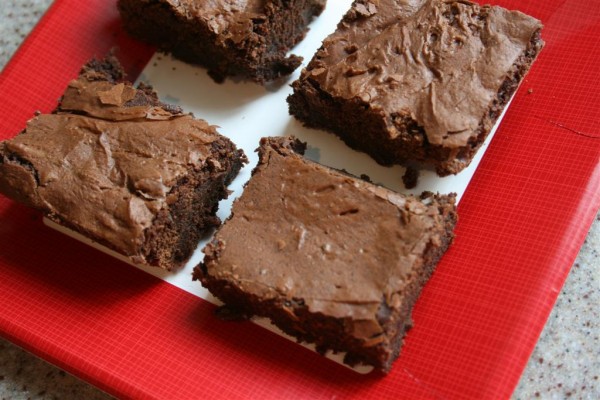
Enjoy!
Hopeful Homemaker

