Felt Napkin Holder DIY

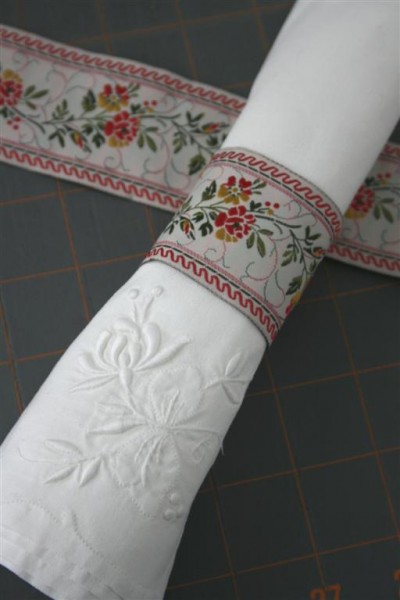
About a year and a half ago I had an “aha” moment and made some ribbon napkin rings .  I made more a couple of weeks later for my brother’s graduation party .  Last week I remembered them and thought that it would be so easy to make some for the holidays.  It’s such a quick and inexpensive way to do something new.  This embroidered ribbon would be so beautiful for Christmas, I think:
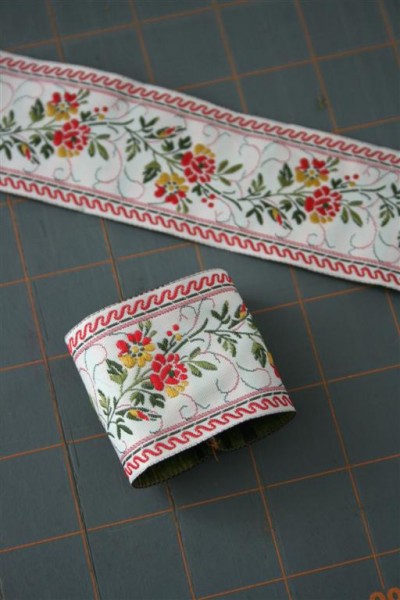


I was about to make a whole bunch of them when another idea struck.  I have a bunch of felt laying around from other projects… why not put it to use?  And so I went to work, and soon this was what I had:
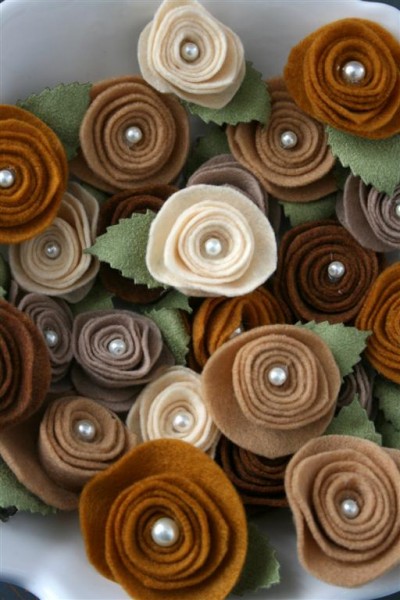

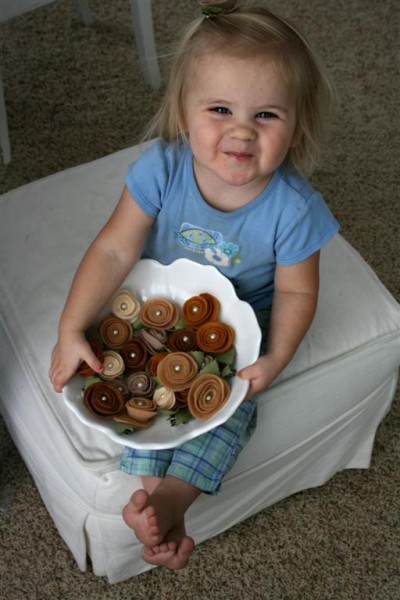
Lots of brown felt flowers!  And on the backs:
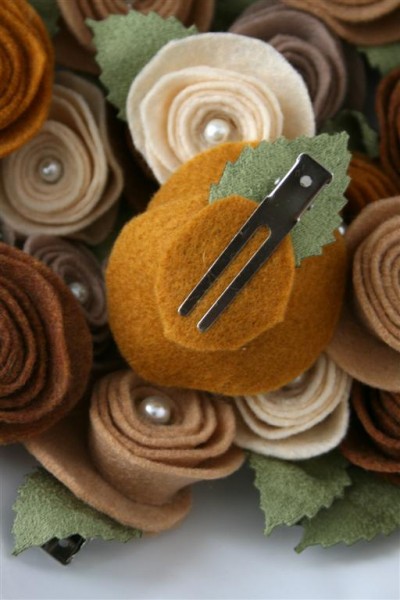

To make the flowers you can find a felt rosette tutorial here .

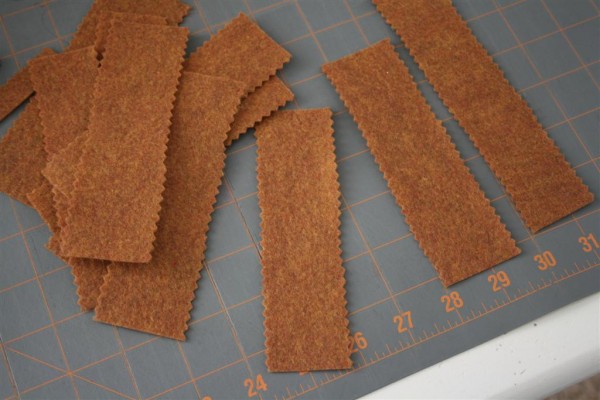
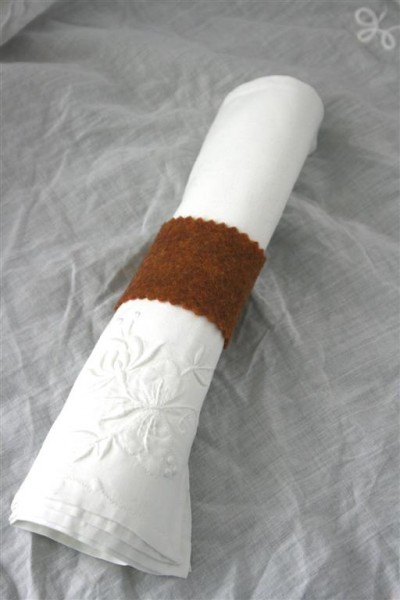
After I’d made the flowers I whipped up some simple napkin rings using more brown felt.  I cut strips about 5 1/2 inches long and used pinking shears to cut the sides.  They’re about 1 1/2 inches wide.

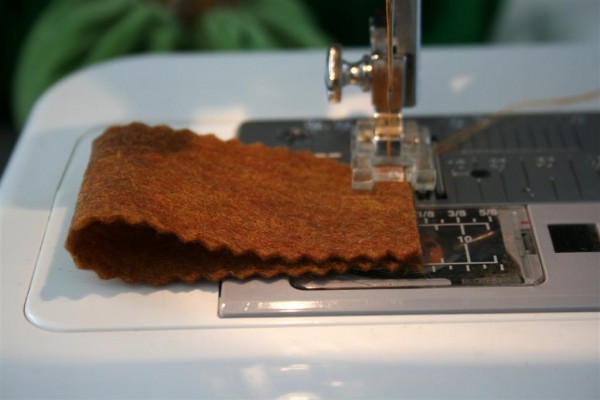
Simply fold them in half lengthwise and sew the ends together (right sides together, of course):

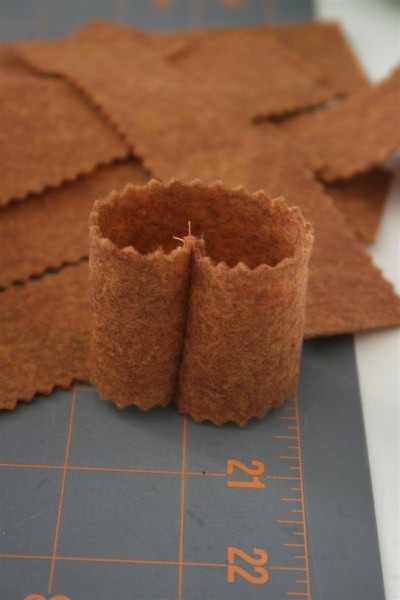
After sewing, trip threads and turn right side out.  It should look something like this:

Insert a napkin in the ring…

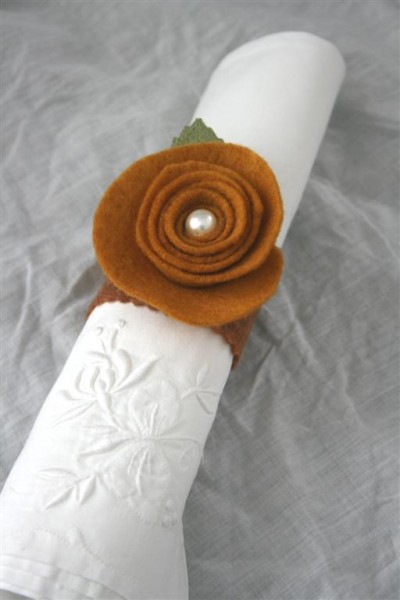
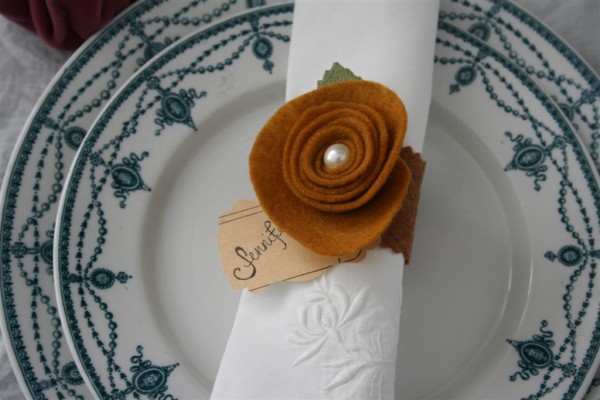
Then you just clip the flower onto the napkin ring and you’re done!

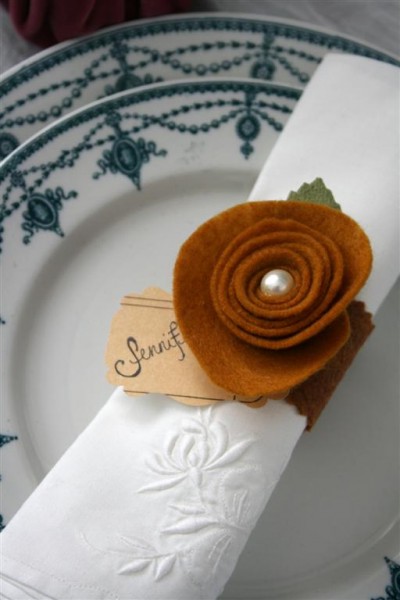
It’s also easy to add a tag to the clip.  You can assign seats this way or simply express a sentiment.

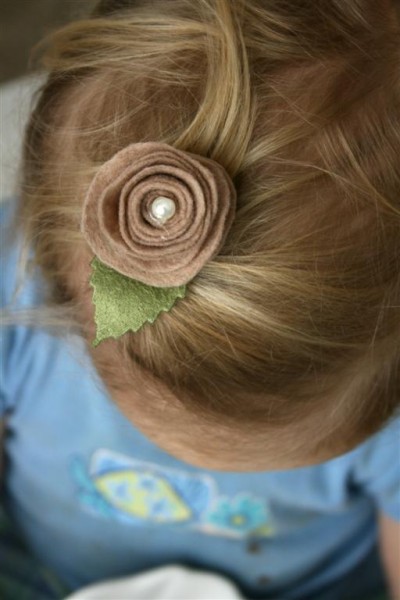
Why did I put the felt flowers on a clip instead of gluing them to the napkin ring?  I’m not sure, exactly, except that I thought it would be fun.  I guess it sounded like a fun surprise to be able to re-use the flowers, or send them home with our Thanksgiving guests as a little favor.  Doing it this way certainly got the attention of my girls, and one little helper in particular!

I love the way the various shades of brown work together and am excited to see them on our Thanksgiving table.  I also wouldn’t mind it if I see some of this after our meal:

And so, using materials I had on hand I was able to make two dozen new napkin rings for Thanksgiving dinner.  I’m enjoying the less-traditional shape (a flower) with more traditional fall colors.  I hope our guests enjoy them, and I particularly hope my nieces are happy with them.

Can you believe Thanksgiving is tomorrow?  Where did November go?  I’ve still got SO MUCH work to do… I’m crossing my fingers I’ll get it all done.

Jennifer

Spice Drop Turkeys: Build your own


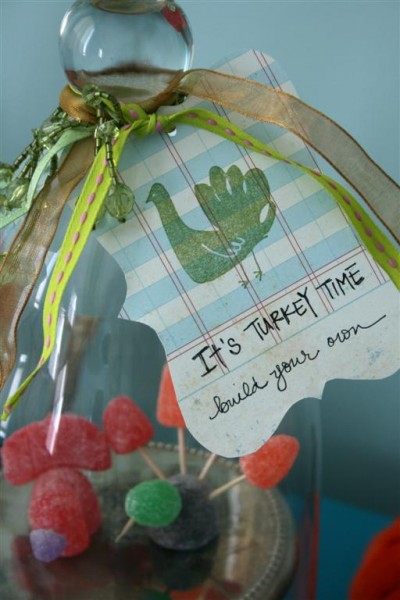
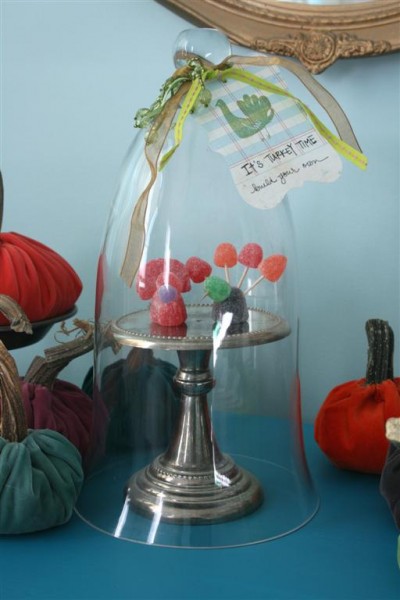
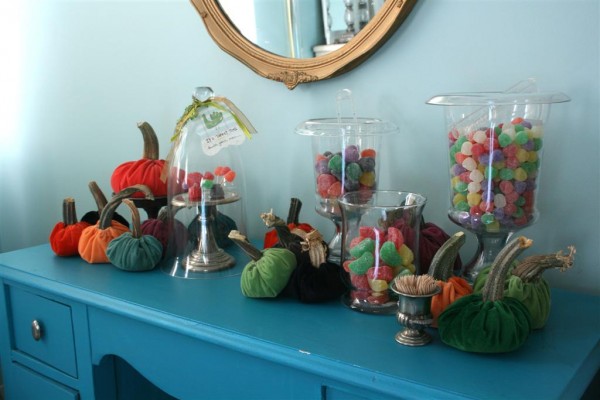
For as long as I can remember we’ve made spice drop turkeys on Thanksgiving day.  It’s a tradition I’ve continued with my family.  Usually we place a small bowl on each plate filled with toothpicks and spice drops but this year I decided to try something different.  I created a build your own turkey table.


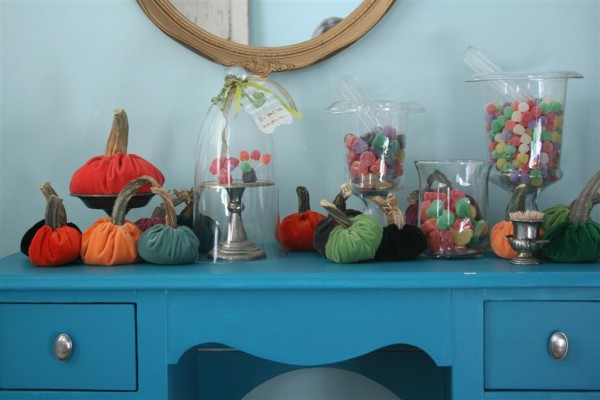
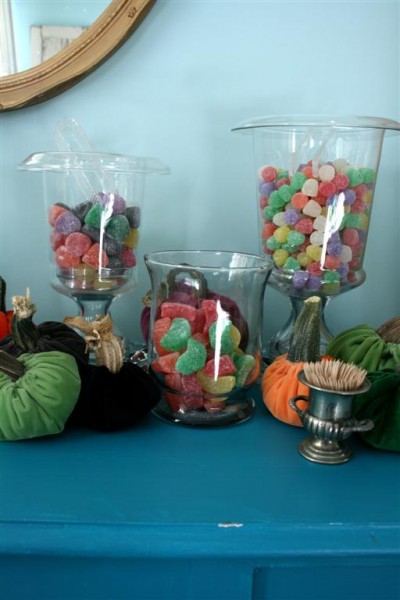
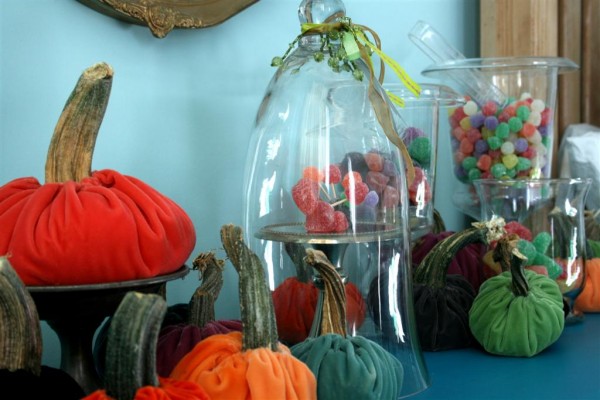
I borrowed my vintage desk from my bedroom to use in the dining room and put the candy in glass vases.


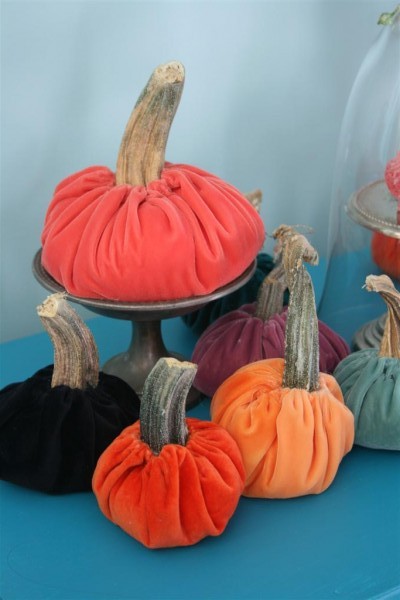
The candy and the turquoise desk was so colorful that I opted to run with the color instead of sticking with a traditional Thanksgiving palate.  I gathered my velvet pumpkins from around the house and made a couple of turkeys to put on display.


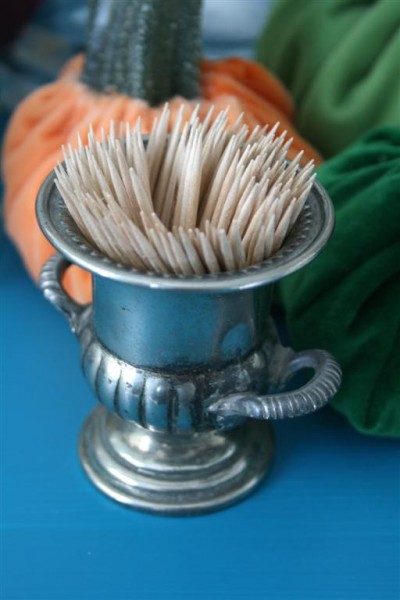
Finally, a tiny silver urn for holding toothpicks.


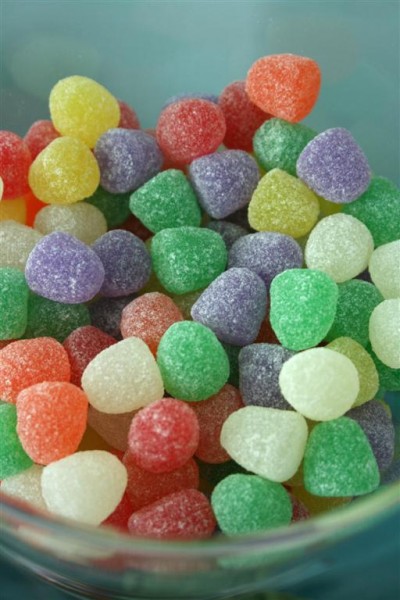
Maybe it’s our gray skies, but I’m loving the colors of these candies:


It takes only a few dollars to provide spice drops in two sizes, some fruit slice candy and toothpicks.  It’s a great way to keep the children occupied while the final dinner preparations are made and some adults really get into it as well.


I’m hoping this format will be fun for everyone on Thursday.  It’s nice to know I’ve got something ready to go!


Do you have a fun Thanksgiving craft or activity you do every year?  Please share!
Jennifer

Pumpkin Lavender Cake

One thing that resulted from the lavender books I purchased and read this year is a curiosity about experimenting with pumpkin and lavender together.  I happen to love both of them independently and I was pretty sure they’d make a nice combination.


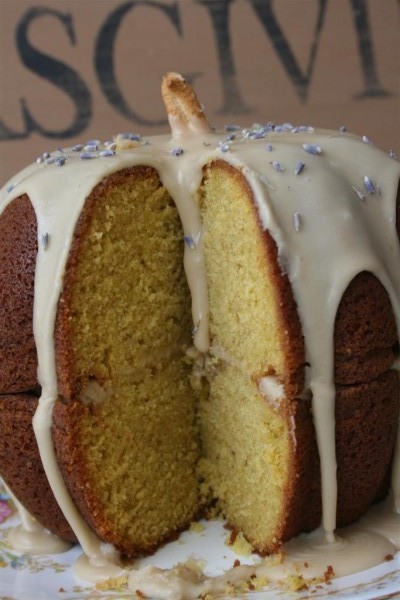
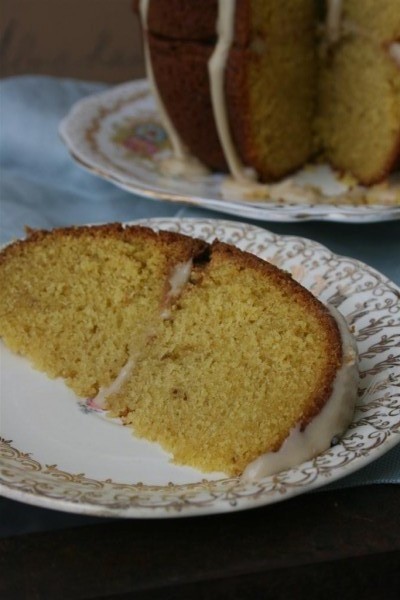
At last I did it.  I fiddled with another recipe and came up with this one for a pumpkin lavender cake.  It did not disappoint.


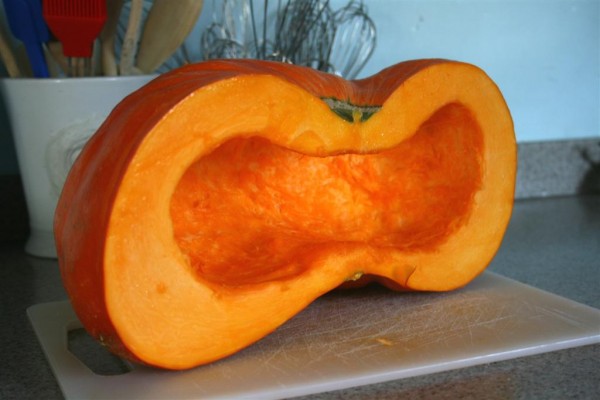
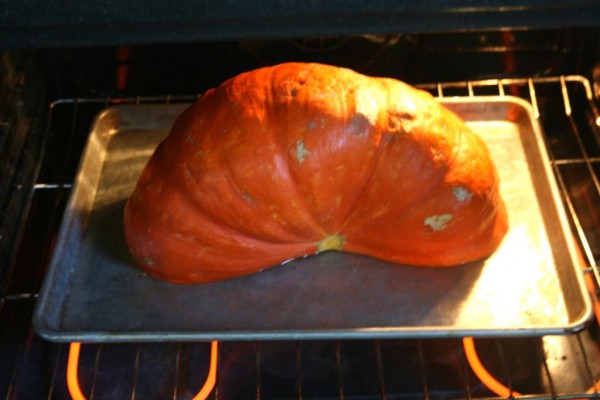
This cake is doubly special to me because I also did some research on pumpkins and learned more about the Rouge Vif d’Etampes pumpkin.  It’s a French heirloom pumpkin which was first brought to the U.S. in the late 1800s and is now often referred to as a Cinderella pumpkin.  I learned that the flesh of this pumpkin is very thick, yielding much more pumpkin than most and that it also makes the most delicious pumpkin pies.  So, naturally, I bought one.  On Sunday I cut it in half, scraped out the seeds (which I’ve saved to plant next year) and baked it.  Can you believe how beautiful this pumpkin is?  The color is breathtaking, and the walls are very thick.


I could only fit one half on a baking sheet at a time and it yielded a huge bowl of pumpkin, probably enough for all my pumpkin baking this year.  (Yay for me!  I learned something new!)


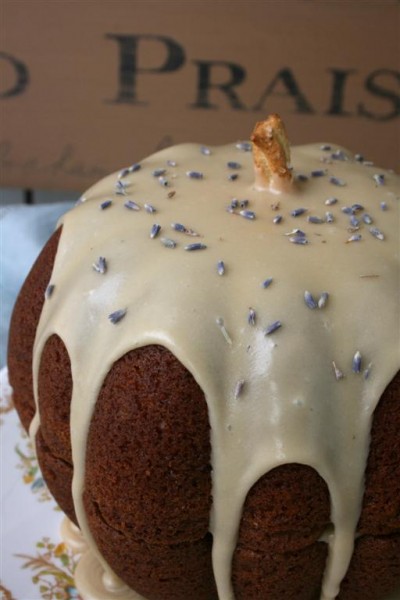
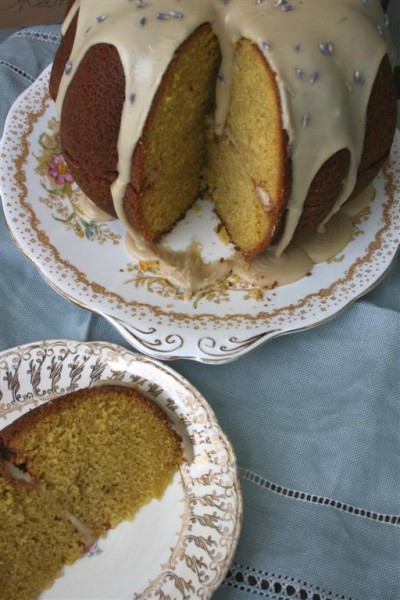
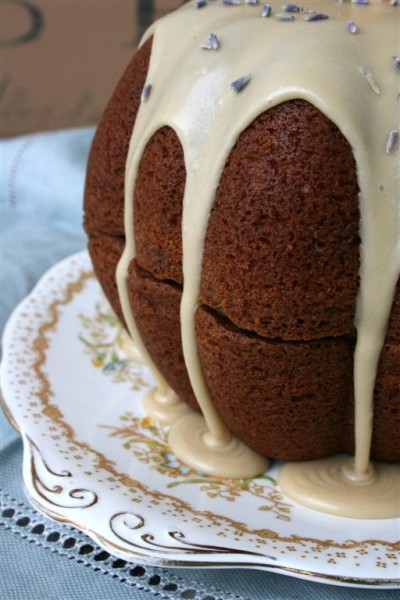
And thus my pumpkin lavender cake was born, baked with homemade pumpkin puree.  I baked it in my pumpkin cake pan, but it would be especially pretty in a bundt cake pan as well.  {And if I’m honest, I’d say this cake pan makes it look more like a candied apple than a pumpkin, so maybe next year I should try a caramel apple cake in this pan!}  What really matters with this cake is its flavor.


Here’s the recipe:

Pumpkin Lavender Cake

Ingredients:

2 cups sugar 1 Tablespoon dried lavender buds 1 cup butter 4 eggs 2 teaspoons vanilla 1 cup pumpkin puree 1/4 cup heavy cream (or half and half will work, too) 2 1/2 cups flour 1/2 teaspoon baking soda 1/2 teaspoon salt Preparation:

Place the sugar and lavender in a blender or food processor and process until lavender is chopped and incorporated into sugar (*if you’d like to smell something divine, just savor this for a few minutes!).  Set aside.

In a large mixing bowl cream butter until light and fluffy.  Add 1/3 sugar mixture and beat.  Continue this until all sugar is added and mixture is creamy.  Add eggs, one at a time and beat well after each egg.  Add vanilla and beat well.

In a small bowl, combine pumpkin and cream and mix together.  In another bowl, combine flour, baking soda and salt.  Add 1/3 pumpkin mixture to batter and mix well.  Add 1/3 flour mixture and beat again.  Continue adding both the pumpkin and flour mixtures (alternating between the two) until all ingredients are combined.

Grease a bundt pan and spoon batter into pan.  Bake at 350 for 50-60 minutes or until toothpick inserted in center comes out clean.  Remove from oven and cool in pan for 10 minutes.  Invert onto cooling rack to remove cake from pan and allow to cool completely.


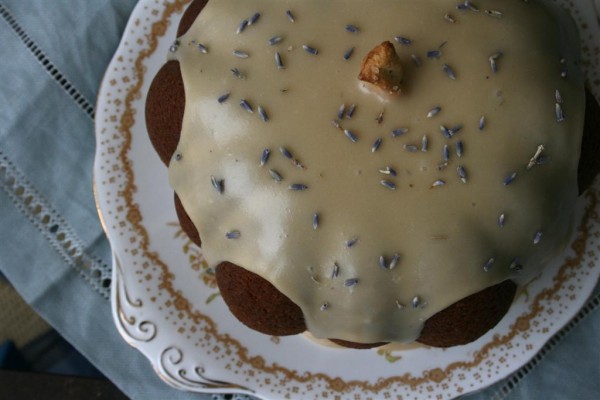
My first impression of the cake was that the lavender flavor was the tiniest bit stronger than the pumpkin.  Because of this I opted to frost it with my Brown Sugar Frosting to balance the lavender and increase the traditional pumpkin taste.  I sprinkled the top with lavender buds for a finishing touch.


My family loved it. They all liked different things more.  Some liked the frosting best, some liked the cake, some liked the pumpkin, some loved the lavender.  It was gone in an afternoon.  I loved savoring each bite, tasting the lavender and the pumpkin both.  I’ll definitely make this cake again, and it was a fun first effort at pairing pumpkin and lavender.


If you ever try it, let me know.  I’d love to get more opinions on the two flavors together!

Jennifer

1 26 27 28 29 30 64