Gratitude Tree

Every November I try to provide a place for our family to write down the blessings we’re thankful for.  This year’s version is definitely the biggest one yet.
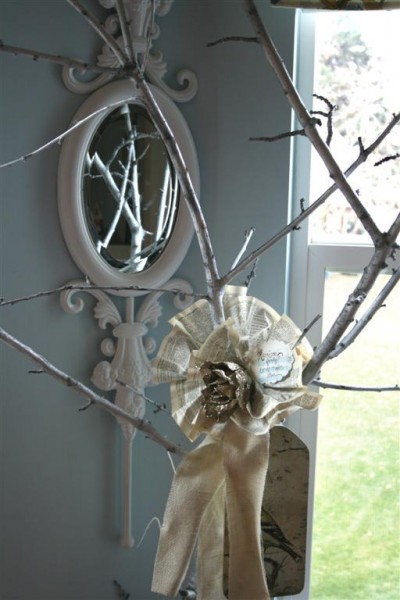

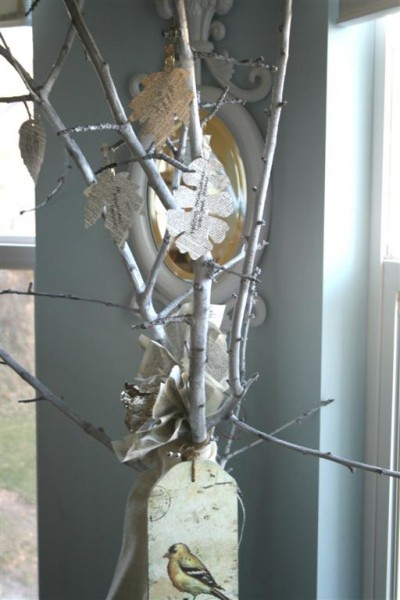
Using branches from one of our cherry trees (which is dying), I built a mini-tree in the kitchen.  It sits between the two windows near our table.  {This also makes it difficult to photograph because of all the lighting behind it.  Sorry!}
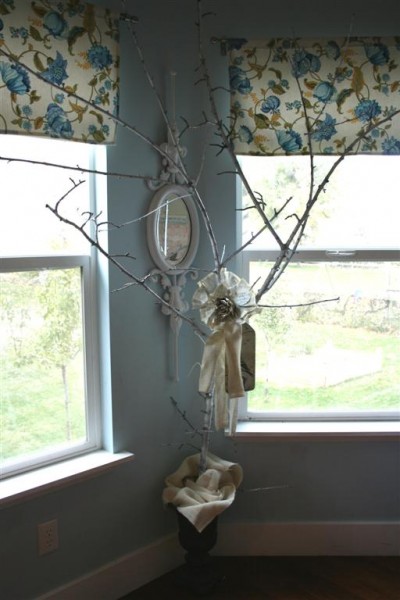

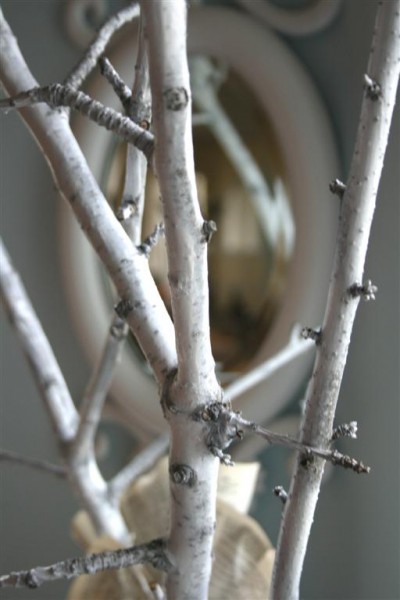
Standing over eight feet tall, our gratitude tree is actually one really big branch with two smaller branches attached.  I spray painted them all white, but didn’t go for total coverage.  They almost look like aspen branches now.

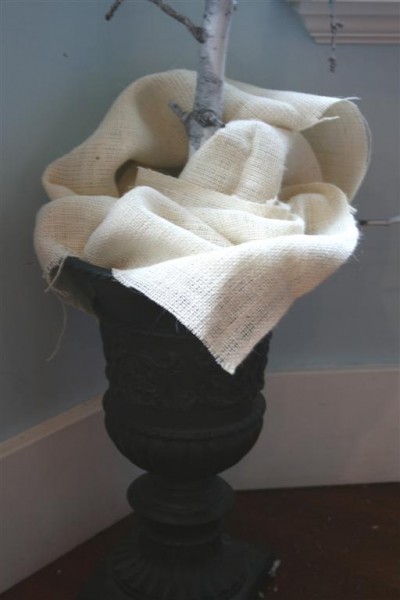
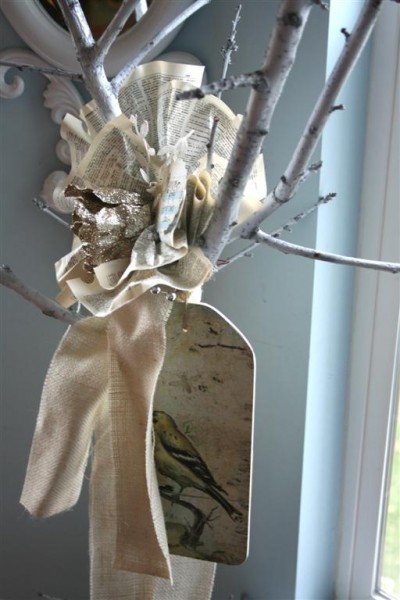
I placed the tree in an urn, weighted it with rocks, and wrapped it in some creamy burlap I had in my stash.

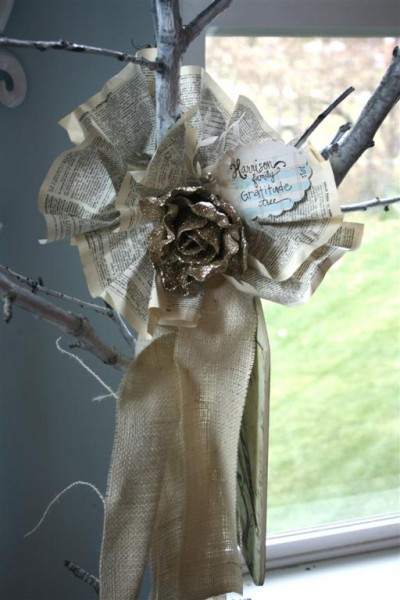
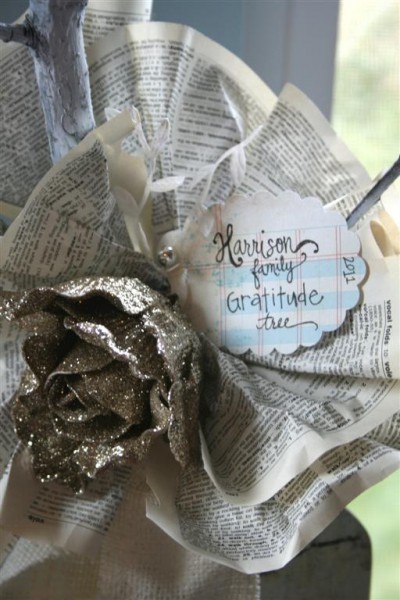
I wanted to hide the spot where I attached all the branches to each other, so a burlap ribbon and vintage dictionary page “flower” was added.  In its center I attached a glitter-covered rose I had sitting around and a tag declaring this our “Harrison family gratitude tree.”


When I started this project I intended to take down the white mirror that hangs between the windows, but once it was up I loved the reflection of the branches so much that I left it in place.  It adds more dimension to the tree.
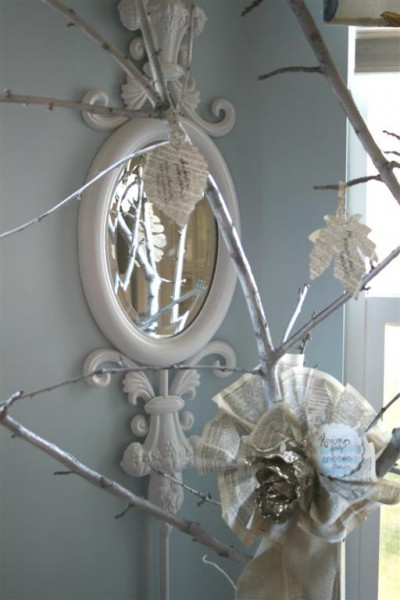

In keeping with the color scheme I chose to cut our leaves out of the same dictionary pages.  I cut them in a variety of shapes ( found here ) and I love the way they look.  Because they lack color their shape is emphasized.
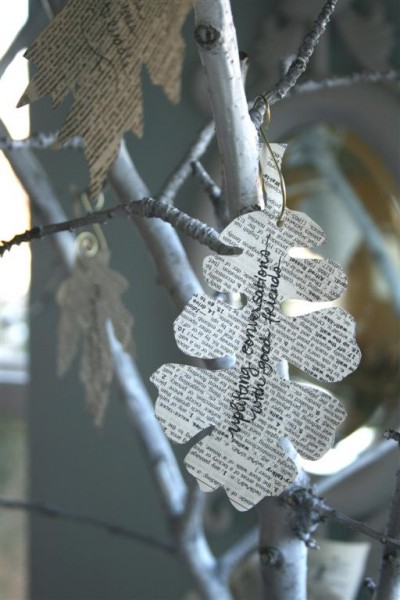

To hang each leaf we simply punch a tiny hole and use a wire ornament hanger (purchased at the dollar store) which is then hung on a branch.  We’ve also started using a Sharpie to write on the leaves which makes it easier to read with all the dictionary text.

Last night we had a family discussion about gratitude in which my older children shared thoughts and insights that were very encouraging.   I am grateful for brief moments when I discover that we just might be getting through to them, after all.  We also talked about how Thanksgiving is the perfect prelude to the Christmas season.  I have also been pleased with the enthusiasm with which they’ve welcomed the tree to our kitchen.  It’s big enough that we can’t help but notice it and I’m excited to have it for the holidays.

So there you have it:  our 2011 gratitude tree, created entirely with materials on hand and not a single penny spent.    And for the record, I am grateful for it because it provided me with a creative outlet on a busy day, which motivated me to get my work done and which brings me joy each time I see it.  It is beautiful to me.

What do you think?  Do you do something to record your blessings and grateful thoughts during this wonderful season?  I’d love to hear.  If you’d like a peek at another adorable gratitude tree, check this out!
Jennifer *Don’t forget:  today is the last day to enter my 2nd giveaway for some velvet pumpkins in non-traditional colors!

Leave a comment here to enter.

Thanksgiving Porch 2011


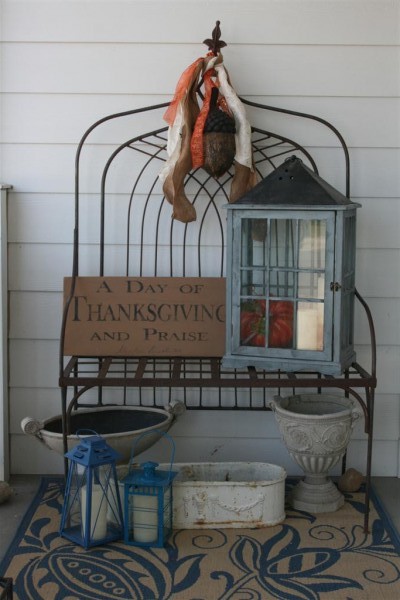
An old metal bench.  An oversized acorn hanging from burlap and embroidered ribbon.  A simple wood plank declaring “A Day of Thanksgiving and Praise”.  A lantern with a pumpkin and some battery operated candles enclosed.  A couple more candles on the ground in blue lanterns.

Simple.  It makes me happy.

And over by the front door, the wood sign I’ve had for many years:


Welcome to our home.  And welcome, Thanksgiving!

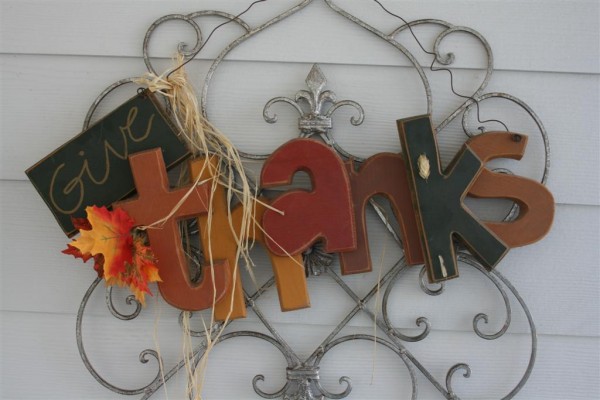
Jennifer *Love Thanksgiving?  Dont’ forget to tell me how you celebrate and enter to win a “give thanks” banner here .

Halloween

The kindergarten Halloween party is over, and two of the children are playing upstairs while my three year old naps on the couch.  The party must have worn her out.  I listen to her quiet breathing, combined with the muffled sounds of the other two talking and marvel at these moments of quiet that occasionally drop into my life.


The sun is shining and I’m about to head outside for the last of my weeding and bulb planting before the temperatures plummet tomorrow.  This gorgeous day is supposed to hold through tonight, which will mean plenty of happy children come dark.  We’ve got kids scheming to meet up with friends to trick-or-treat and little ones still vacillating between this or that costume.

Before the day is over, I thought I’d share a few pictures of the Halloween decorating I managed to do this year.  It was minimal, but fun.


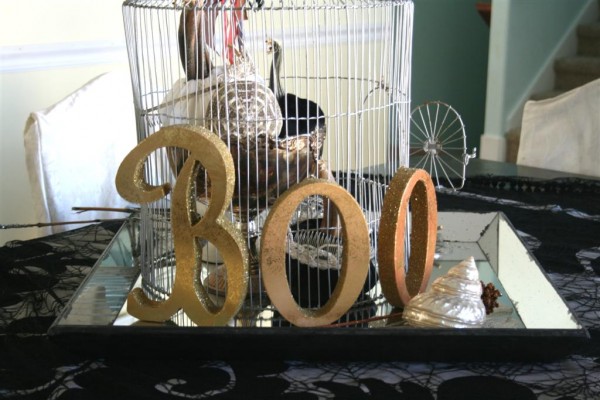
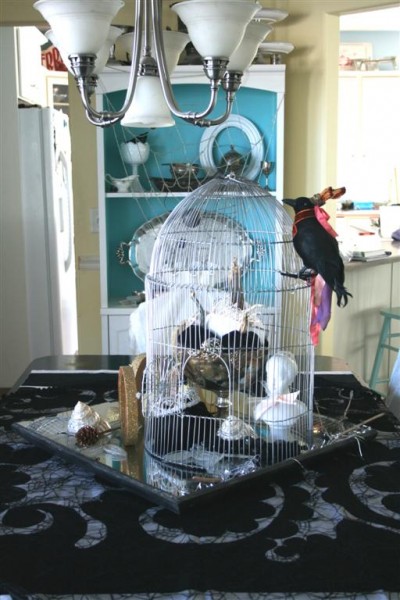
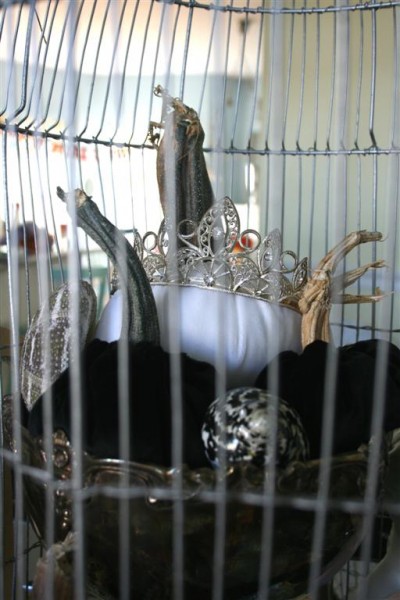
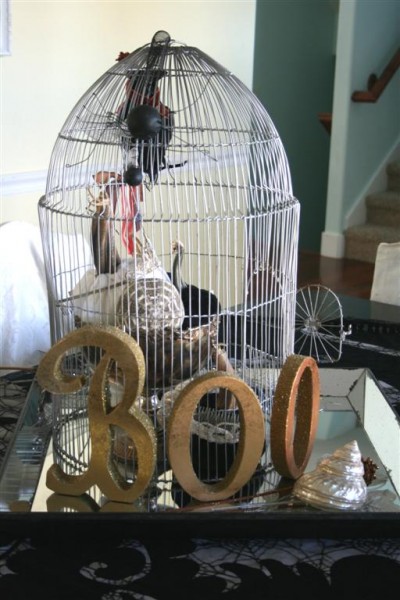
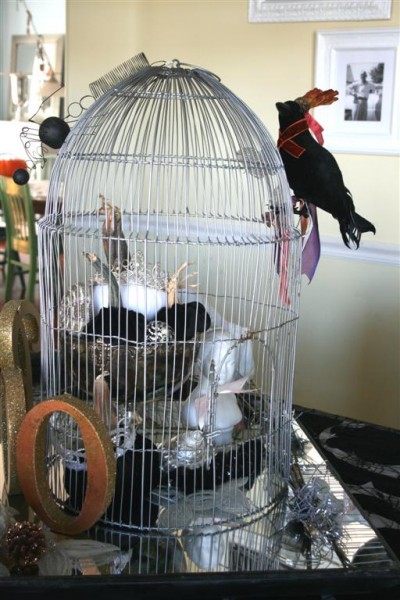
This year I put a bird cage on a mirrored tray and used that as my starting point.  I was in the mood for simple black and white, so I made a few black and white velvet pumpkins and put my favorite vintage crowns on them.  Yes, I still like crowns on pumpkins.  Most of them sit in a footed silver bowl.


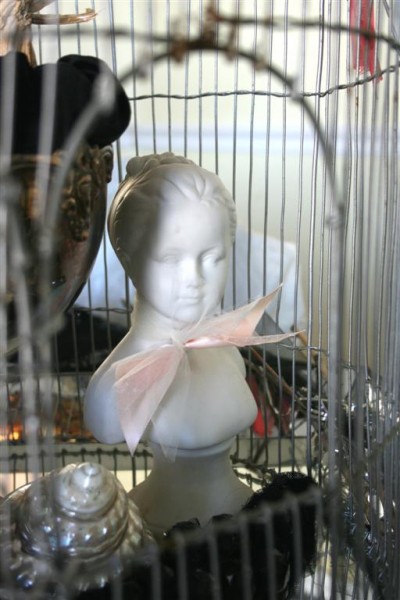
A little vintage bust fit nicely inside the cage as well, along with some beaded leaves and a small collection of black and white seashells for pattern and scale.


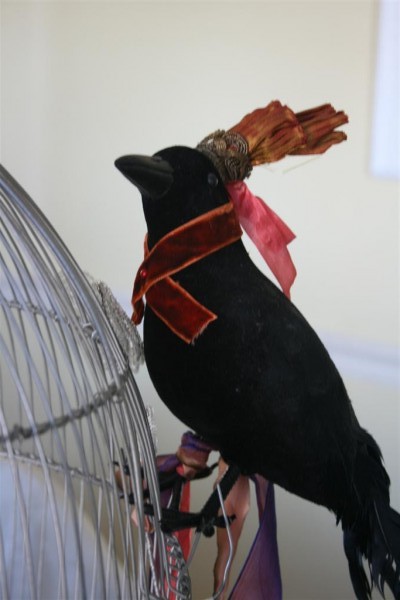
I added my favorite velvet crow to the outside of the cage for fun.  I like having him perched up there.


On the back side of the cage I used my gold glittered “Boo” letters and added a wire spider hanging from the top.


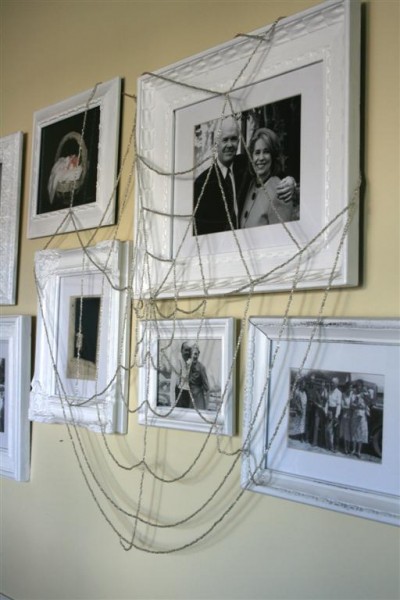
While I like to challenge myself and use things differently each year,  I do love to hang my beaded spider web across the picture frames every year.  It looks great there and the children love it.


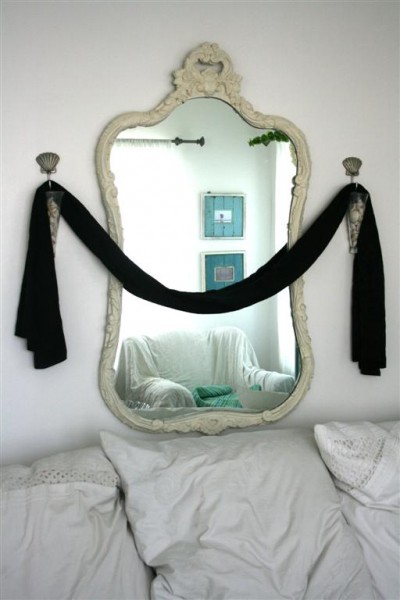
Lastly, I hung a vintage black scarf across my favorite mirror in the living room.  In a mostly white room, I like the dramatic effect of the black hanging there.  If I’d done this all sooner and had more time, I would have really gone for it with a black and white theme in this room.  Maybe next year.


And there you have it.  I used some of my traditional orange things in the kitchen as well.  Tomorrow it will be time to take it down and prepare for Thanksgiving, one of my favorite holidays.  For now, I’m going to take my little one (now the only child not asleep) out with me to pull a few more weeds in what may be the last sunshine we have this week.


I hope your Halloween is a lot of fun!

Jennifer

1 3 4 5 6 7 29