The Swoon-Along… I’m in!

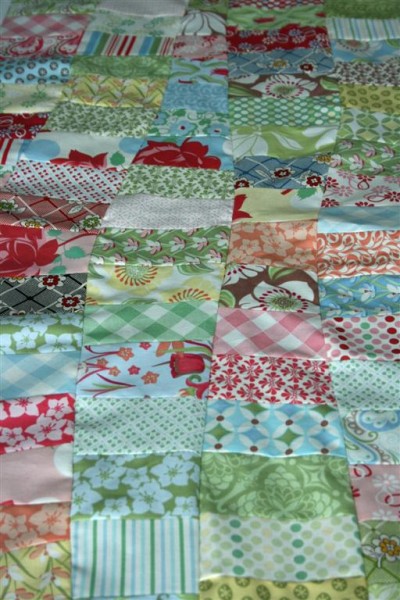
Sometime mid-January I saw the news that there was going to be a “Swoon-along” and then all of a sudden there were 600+ people doing it.  I bought the pattern when it first came out and seeing all these quilts motivated me to go through my fabric stash and choose some fabrics.

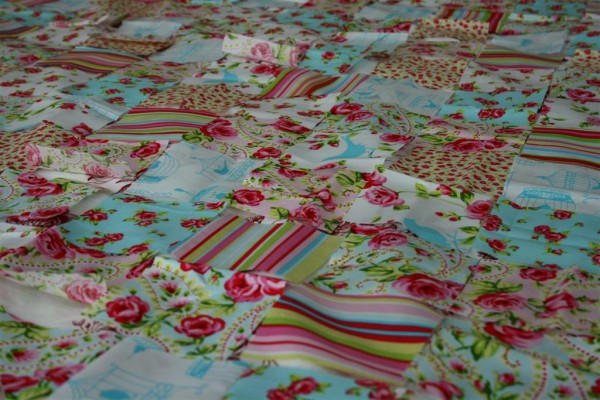
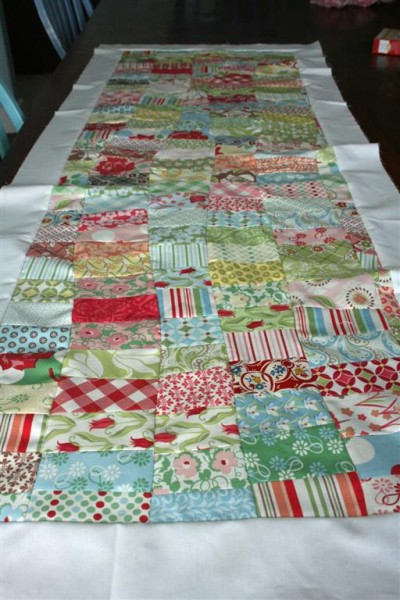
I ended up with Tanya Whelan’s Ava Rose for most of the quilt, with a few other fat quarters thrown in.  I’ve now made two blocks, so I guess although I’m a late starter, I’m in!


I made these blocks and thought to myself that this quilt is perfectly named.  I was swooning over how fabulous they are!  They’re huge blocks, 24.5 inches square, and the entire quilt is just 9 blocks.  I love how neatly it came together, all the points matching up just right, and I’m generally in love with the fact that two fat quarters can make something so pretty!  So I have 7 more blocks to go.

Katy
is already done with hers, so I’m really behind.  I know I probably shouldn’t have started another project, but I like the pace that she is pushing and I’m hoping it helps me to get a lot more done than I would on my own.  In fact, she’s already talking about starting another quilt along with another of Camille’s patterns mid-March.  As both of those patterns are quilts I’m already interested in, it would be great if I could catch up and keep up and get a lot done!

While scrolling through Katy’s blog I also saw this:


It’s from another quilt along, which means there’s another quilt that I think I MUST make .  Breathtaking.

Ok, so this might be a sickness.  I love all these quilts.

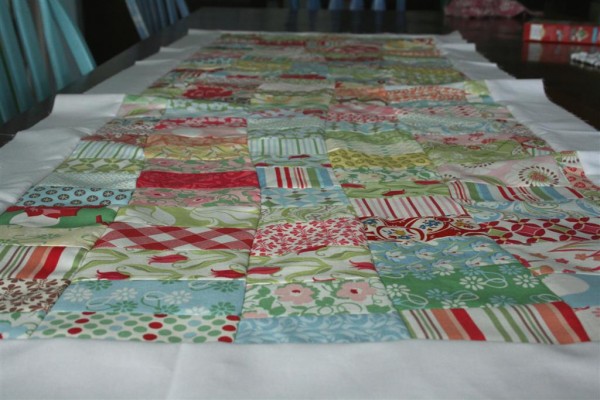
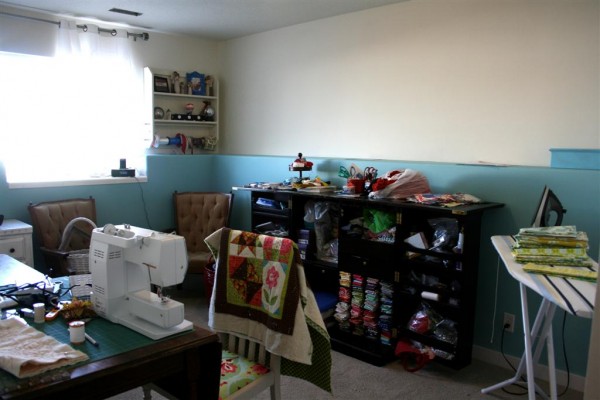
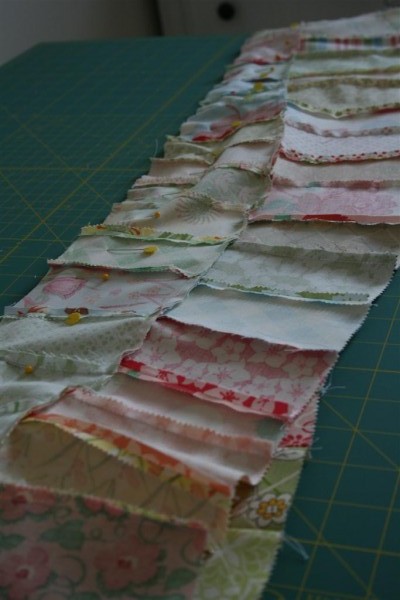
Back on my own sewing table, I’m working at the baby quilt you all gave me opinions on a couple of weeks ago.  It’s a simple pattern, from the Sparkle Punch quilt along over at Oh Fransson , and although it’s easy I’m finding it to be slow going.  Lots of trimming is the reason.  Still, I really hope it will be cute and worth it in the end, if the baby isn’t too old by then, that is.  This is my first experiment with “wonky” sewing.  It’s not too hard, and I think it will be really cute.


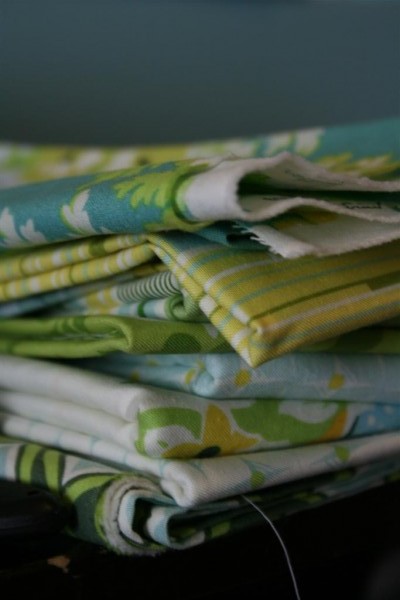
I’m still working through my cute little stack of fabric.


Now there’s just one problem:  where on earth to find the time?  I suppose that’s a much better problem than having time and nothing to do.

Jennifer

Cupid’s Arrow Game – Valentines Day Party Game

Looking for ideas for your Valentines Day class party games?  We played the BEST game at my daughter’s 2nd grade Valentines Day Party, and I just have to share it.  It’s simple, easy to prep, inexpensive, easy to clean up and lots of fun for both girls and boys.

It’s called Cupid’s Arrow and here’s what you need:

q-tips and straws for cupid's arrow valentines day party game

Q-tips and straws.  I went to my local dollar store and found q-tips in different colors.  Score!  We used two boxes, or 800 q-tips for our class (I took twice that many with me, you never know how fast they will shoot their q-tips!).  You also need straws, but I found that all the straws for sale at local stores, including the adorable paper straws we all love, were too narrow to fit q-tips inside them.  I ended up going to a local fast food chain and buying some milkshake straws for a quarter.

You also need a large bowl and a large blanket or tablecloth that you don’t mind having kids walk on,  because they will.  Oh, and I recommend a trash bag as well.  I’ve learned that taking an extra trash bag to any class party is always helpful, just like bringing your own dish towels to any church kitchen.

bowl and blanket for cupids arrow valentines day party game

To play the game, simply lay the blanket out on the floor and place the bowl on one end.  You may need to move desks to make room, or even use the hallway if needed.  Line the children up on the other end and give them all a straw and a fistful of q-tips.

kids playing cupid's arrow game

When you say “go” they start putting q-tips into one end of the straw and blowing through the straw to “shoot” their arrow.  The goal is to get q-tips into the bowl.  We had two teams, represented by the two q-tip colors.  Stand back and let them shoot.  Seriously, you will end up with q-tips all over the place but they will have fun learning how to aim and get them in.  I found that the girls enjoyed this activity as much as the boys did.


The blanket on the floor is intended to help the kids stay back an equal distance from the bowl.  I found that their excitement caused them to get closer and closer.  I let them.  The point is to have fun, after all.  We didn’t end up counting which team won at the end anyway, because they just wanted to shoot the whole time.  At the end of each rotation we collected the q-tips from around the floor and dumped them in the bowl, which I dumped in the trash.


Sometimes planning activities for classroom parties feels intimidating or overwhelming.  Playing Cupid’s Arrow reminded me that Valentines Day party games can a lot of fun without being expensive or over-planned.

Before they went to the next station, we also did a quick Jello Slurping contest.  They kept their straws, sat on my blanket (to protect the classroom carpet), got a cup of jello and waited for “go”.  It was fun to watch them.


My daughter and her cute friend…they make me smile.


Cupid’s Arrow was a really fun Valentines Day party game!  I wanted to play it later as a family but the night was just too crazy.  Instead, we’re going to have a q-tip war sometime soon.  I can just picture it:  ten people blowing hundreds of q-tips around my family room.  It’s going to be great!

Hopeful Homemaker

A Crown and Scalloped Bunting


I believe I mentioned that my sister and I are taking an online sewing class to learn how to sew curves.  Well, it’s underway and has been for two weeks.  So far six projects have been taught and I’ve managed to find time for one of them (the fastest, easiest one).  Yup, I’m running behind.  Again.

Still, this first project was a lot of fun and really easy, and is something I’m sure I’ll make again.  One thing I learned that I wouldn’t have thought of in advance is that using a pinking blade on my rotary cutter saves me the need to notch the curved seam before turning it.  I like saving time, so I bought a pinking blade and I think I’ll be really glad I have it.  Another interesting thing is learning to use my rotary cutter without a ruler.  I’m getting the feel of cutting freehand with it.


I used a couple of coordinating fabrics from my stash for these two projects and think they make a cheery bunting.  I also added some little pink pom pom trim when I finished it.  It adds a touch of whimsy and texture to the bunting.


The second project I made is a fabric crown.  I’ve had this pattern sitting on my table for a few months but have been intimidated by it.  It just looked tedious, I guess, but while I had these two prints out I decided to make a birthday crown for my niece.  (Incidentally, if you’re interested in the pattern, there are a few of them in stock here at a discounted price.)


Honestly, it was simpler than I anticipated and didn’t take me as long as I worried it might.  I think it turned out great, especially for my first try!  My girls were certainly excited about it.  I didn’t have much time for embellishments, so I opted for a simple felt flower.  Next time I’ll try something different.  There are several options in the pattern and instructions for making them.


Honestly, the crown is bigger than I pictured.  Next time I make it I might adjust the size a little.  The pattern says it will fit anyone because you use ribbons to adjust the size, but at it’s smallest it was still a bit big on my girls, who are the ones who want crowns anyway.  Here is what the crown looks like from the back:


The pattern tells you to sew the ruffle to the front, then later fold the back up over the ruffle, iron the heat’n’bond in place, and use glue to secure any spots that need it.  Instead of using glue I opted to carefully go back over my stitch line from the ruffle and sew the back to the front.  I like that the whole thing is sewn together, and I think my seam looks fine because I was very careful with it.


The crown was a step out of my comfort zone and I’m so happy to discover that I can do it.  I plan to make several of these throughout the year for little girls I know.


Although my silly little model would have liked to keep it, we sent the crown and bunting to Denver for my niece.  I hope that she enjoys playing with them.  I enjoyed sewing them for her.


My list of sewing goals for 2012 includes sewing smaller items other than quilts.  I hope to complete one small project each month.  I didn’t get that done in January, but these two projects satisfy February’s goal.  Now let’s see if I can find time for some quilting!

Jennifer

1 141 142 143 144 145 213