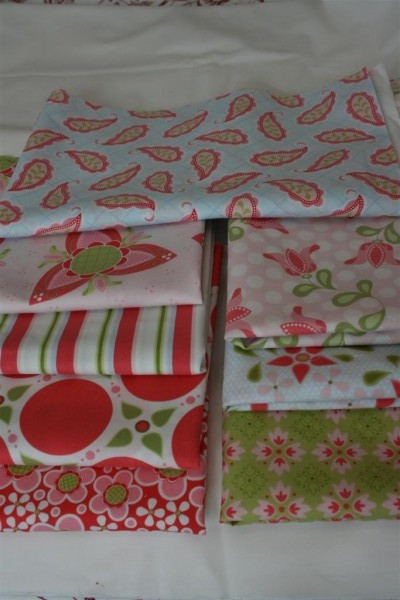
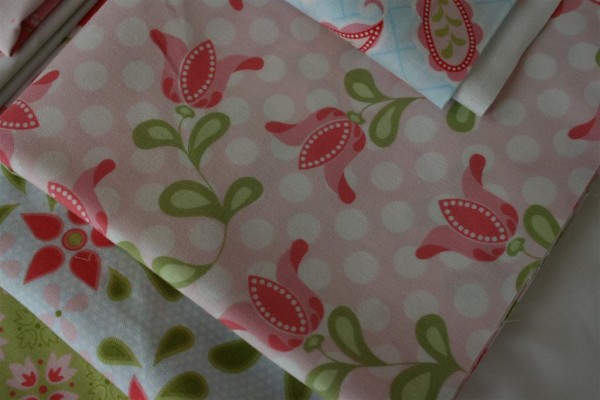
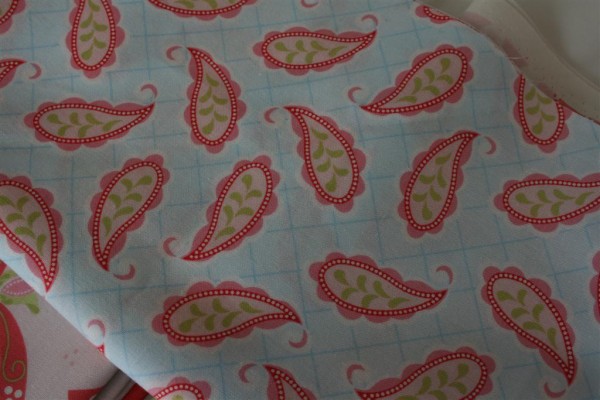
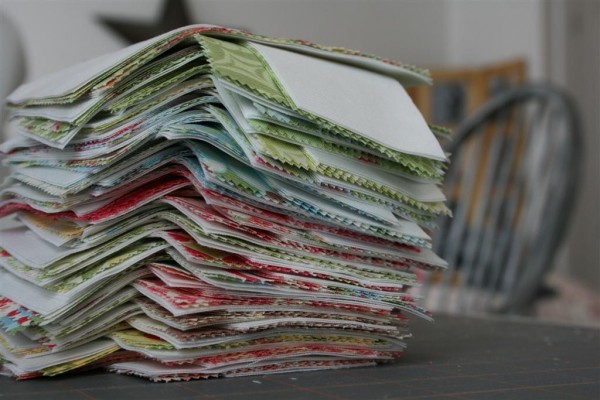
Rouenneries Quilt… finished!

At last, my quilt is done!

Rouenneries quilt

I’ve pieced many quilt tops, but rarely quilt them myself.  This one was a learning experience for me because I opted to quilt it myself.  It seemed to take forever, but it is finished at last.  It is fairly large, about 65 by 90 inches.

The top looks like this:

Rouenneries quilt top

This quilt is incredibly simple in design, but for some reason I preferred this for the Rouenneries line over a busier pattern.  I pieced the back to look like this:

Rouenneries quilt back

I quilted this in a diamond pattern, and as I expected, ended up with some puckers on the back.  After washing it, however, the fabric looks nice and soft and broken in.  Broken in seems perfect for fabrics that were inspired by vintage french pieces.  I love it.

rouenneries quilting

Wishing for a Nursery

I have given birth to 8 babies.  I’ve never had a nursery.
Oh, I’ve drooled over plenty of pictures of fabulous rooms designated solely for baby, but I’ve never had one.  Our family has always grown faster than our space, thus no nursery has ever materialized.

The truth is that babies don’t need nurseries.  They’ll never remember them, anyway.  And while mothers may LIKE nurseries, all that mothers really need is sleep.  This means that mothers need their babies to sleep.  At night.  When the rest of the family sleeps.

My #8 was the best sleeper I’d ever had, up until a month ago.  Suddenly she was waking up every hour or two.  First it was constipation and then teething.  Earlier this week, at 3 a.m., in a moment of desperation we moved her bed into our closet.  Ta Da!  She slept!

Well, it appears that she has found her new bedroom, because for the past 3 nights I’ve had 5 hours of solid sleep.  I’m still exhausted, but it’s a start.  The problem is that her little pack and play bed was in the middle of our closet, with about 8 inches on either side for maneuvering.  Today’s project was to organize the closet WITH the baby’s bed in it, so that I can do laundry and we can find our clothes.

This is what I came up with.  Please remember that the lighting in these photos is horrible because this is, well, a CLOSET.  It never has and never will see the light of day.  I did my best (which I readily admit isn’t great.  I haven’t the courage to learn how to edit photos yet, but when I finally do, I’m sure I’ll regret not doing it sooner).

closet nursery

This view is looking into the closet through the doorway in my bathroom.  On the right hand side of the picture you can see the doorway leading from the other corner of the closet into my laundry room.  The wall that has now become my “nursery” looked like this when I started:


I’ve always tried to keep that wall open so that I can keep my ironing board there.  Today the ironing board moved out so that the baby crib can sit against that wall.  I hung a huge vintage tablecloth on the far left to cover my clothes and define the space a bit.  Then a plant stand came in from the front porch to hold the baby monitor, and a lamp came up from the basement.  I hung her blessing gown on the wall, and propped a long, thin mirror on the plant stand.


The mirror I added because we all know that every room needs a mirror.  Just kidding.  I made that up.  But I think I believe it.  Have you ever seen a space that wasn’t made more beautiful by adding a mirror somewhere?  They add so much light and beauty to a room.  I guess I put it in because if this is going to be baby’s room, then I might as well have a little fun!

On the other side of the crib I hung a baby themed embroidery that I completed a few years ago.  Nice light switch, huh!  Hey, it’s a CLOSET!


I grabbed a very old artificial hydrangea garland that’s been kicked around by my kids for 3 years now, dusted it off, and wrapped it around the hanging bar to make the bar a little less obvious.  Then I hung a canopy (also from the basement) from the bar to cover my iron holder on the wall and to sort of enclose the bed a bit.


Finished.  30 minutes.  Not a penny spent.  Not too bad!

You see, sometimes decorating is glamorous and gorgeous, but most of the time it’s just figuring out how to make real life work and then adding in a bit of beauty.  I’ll never get that nursery I’ve always wanted, but now I have 6 feet of wall in my closet that resembles one.  I’m making do with what I’ve got, and turning it into something I like.  And that, my friends, is the whole point of  “making home.”

Now for the laundry!  (Ugh.)
Have a great weekend.

Ribbon Organizer

After more time spent winding ribbon than I expected it to take, I have this to show:

ribbon closeup

Much as I love ribbon, for years I’ve done a lousy job of storing those leftover pieces or strips of lovely ribbon off of packages of some sort.  Tired of sorting through this:

disorganized ribbon

I went on a walk through my house to see if I could find something better to keep it in.  I saw an awesome ribbon organizer back at Christmas time in a local craft store, but I didn’t want to spend any money and I don’t have room in my studio for some big thing.  Then I remembered this:

vintage 7-up crate

This old 7-up crate hung on the wall in my kitchen at our old house.  I kept little jars in each compartment and it served as my spice rack.  It didn’t work in my new kitchen when we moved, so it’s been waiting in the basement for a new use.  Well, it just found it.

I measured the size of the compartments and cut several pieces of aqua cardstock to fit.  Then, using a bit of masking tape to secure the ends, I started wrapping.

And I kept wrapping.

Did I mention that I spent some time wrapping?

Little matter.  It took many more 5 minute segments of stolen time than I anticipated, but it’s finally done and I’m happy with it.

wood crate ribbon organizer

Wide ribbons were given a card to themselves, and narrow ones were grouped together on a card.  Organized by color (somewhat), I can now see at a glace what I’ve got, which means that I’ll actually use it!  I’m a big fan of being able to see what’s available, which is also why I opted to prop my new organizer on a little shelf in my studio.

ribbon organizer on shelf

The shelf is a vintage piece for holding handkerchiefs.  It belonged to my great grandmother.  My parents gave it to me for my birthday a couple of years ago, and it’s been hanging in a corner of my studio ever since.  It means a lot to me to have it.  I had another decoration on it which I removed to make room for the ribbon.  Below it I have framed another piece of linen from my Marghab collection, which is a post for another day.

I added my wish, hug and kiss tickets to the top and a little bird on the corner and we’re set.  I like how this corner of my studio is now bright with color.

ribbon organizer corner

I have to say that the current trend for re-purposing is fabulous to me.  It’s become a little contest I have with myself all the time, walking around my house in search of something I can use differently to meet a new need.   It costs nothing, but forces me to think more creatively, to focus on line, size, shape and color in new ways.  It saves money, helps us use what we have more efficiently, and the challenge brings me joy.  As it has become more mainstream, I’ve really enjoyed seeing pictures of what others are doing.

So here’s my question for you:  What have you re-purposed lately?

And if you feel like you haven’t done it at all, my challenge is to take a walk around your house and find some small way in which you can use something differently, in a new way that makes you happy.

And please, tell me about it!
Jennifer

1 196 197 198 199 200 215