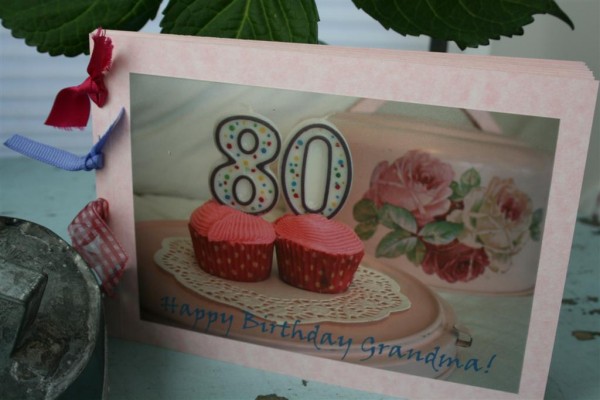
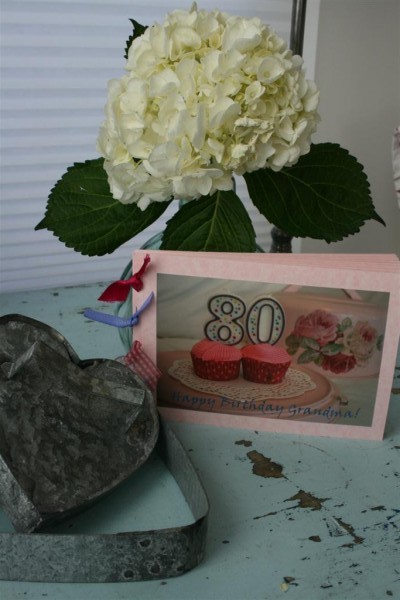
Grandma’s birthday card

My grandma turned 80 years old this week.  I had a hard time thinking of a simple, inexpensive, but thoughtful thing to do for her until I thought of the numbers.  Then it hit me:  8 children, 80 candles.  So we went to work.

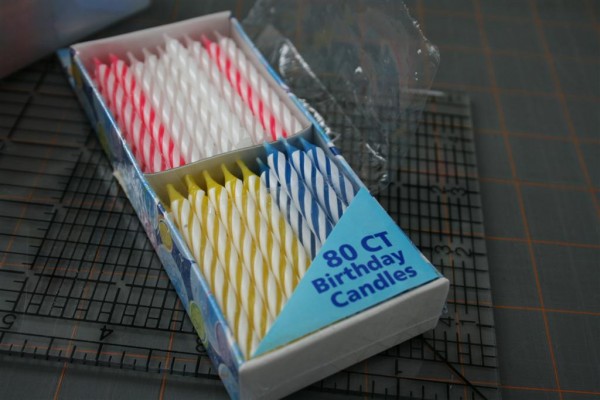
I grabbed my pack of 80 candles I’d purchased months ago at the dollar store (Relief!  We hadn’t broken into them yet!)

birthday candles

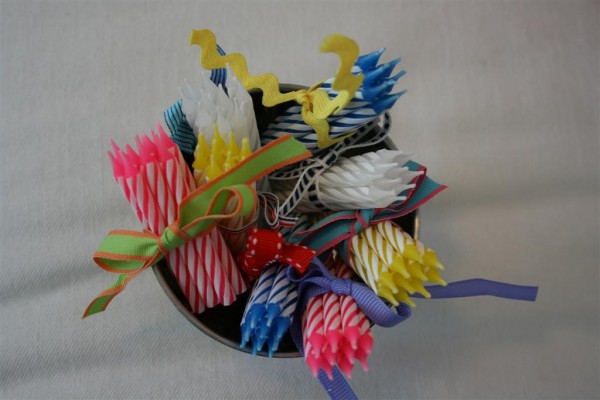
I divided them into sets of ten candles, keeping like colors together, and tied each bundle with a different colored ribbon.

ribbon wrapped candles

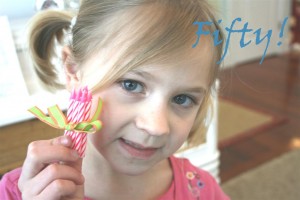
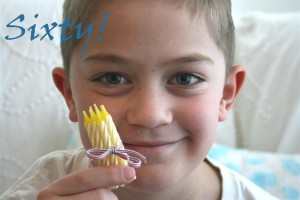
Then I took a picture of each of my children holding one bundle and added text to the photos, counting from twenty (my youngest) up to eighty (my oldest.)


I printed the pictures and mounted each one on a piece of pink cardstock.  On the front I added a picture of the cupcakes we baked in her honor.  I scored each piece of cardstock along the left edge so the little booklet will easily bend for her to turn the pages and stapled them together with pieces of ribbon to tie over the staples.


There were a million things I would have liked to add to this project, like notes from my kids for sentimental value and embellishments for the sake of making it prettier.  The problem was that I thought of the idea late, and now her birthday has already passed, and I knew that if I didn’t mail it the moment I finished I might lose the courage to get to the post office at all.  So this is where the project ended.  I thought it was a fun idea, though, that could be used for other birthdays.  Now it’s en route to her, and I hope she likes it!

The BEST Valentine Idea EVER!

I saw this on Nannygoat and knew it was the solution to all my Valentine woes!  It took only minutes to pull together, and I feel like it’s the best Valentine I’ll ever send to school with my children:

photo valentine

Adorable!  It’s personalized, and best of all, I don’t have to sit there while they write their names over and over and over again!

This project was so simple.  I took a picture of my daughters holding one fist out, making sure that the focus was on their faces and not on their hands.  Then I simply added text and had the pictures printed.

photo valentine


After printing the photos, simply punch a hole at the top and bottom of the outstretched fist and insert a dum-dum into the holes.  Done!

paper valentine

So I ask all of you moms out there with children in elementary school:  Is this not the cutest, easiest, fastest valentine ever?  My poor kids… they may never get to take a different one to school from now on!  Hurry, make some!  You’ve got plenty of time.

Hopeful Homemaker

Burlap Wreath DIY

My sister came to town unexpectedly last weekend, so I decided a quick craft project was in order.
After bumping into this post recently, I decided to try making my own burlap wreath.

burlap wreath

I bought a yard of burlap and found an old wire hanger, and we were set to go.  (sorry about the lighting, we made these late at night.)

burlap and hanger

Open the hanger and shape it into a circle.


Next we cut the burlap into 4 inch strips.

strips of burlap

Then we just started folding the burlap back and forth….


and poking one end of the hanger through the middle.


Continue doing this until you’ve used every strip of burlap.


Your last step is to twist the ends of the hanger to close the wreath.

burlap wreath 2

Lessons learned:
I probably should have made the wreath even smaller, because when I picked it up the burlap seemed to slide down and make the wreath seem bottom heavy.  Either that, or more than 1 yard of burlap should have been used.

We got around this by simply taking small pieces of scotch tape and taping them around the hanger at intervals to prevent the burlap from sliding.  This allowed the burlap to stay evenly spread around the entire wreath.

Finished product:

burlap wreath 3

Total cost:  $2.47 for one yard of burlap at Wal Mart.  Total time:  about 30 minutes.

1 200 201 202 203 204 217