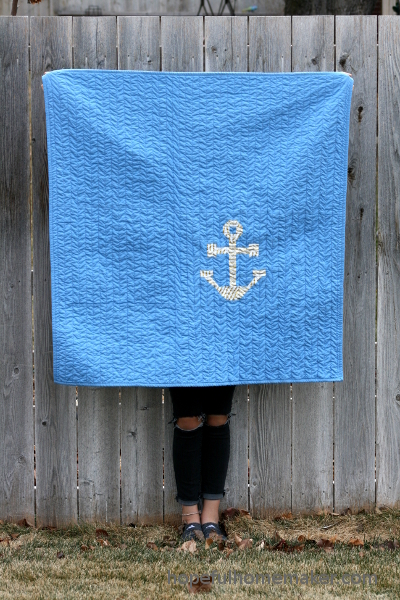
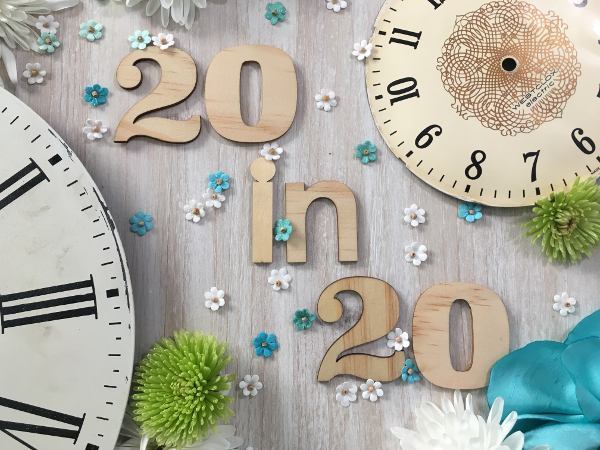
20 in 20 Challenge
.Here it is, the first full week of 2020, and I’m officially starting my big sewing goal for the year. I want to see how much I can accomplish if I sew for 20 minutes every day in 2020. I’m calling it my 20 in 20 Challenge.
I’ve been brainstorming about this for a while, and I hope to learn a lot from this challenge. First of all, I’m excited to work on being consistent all year long, especially in the really busy times when I typically don’t touch my sewing machine. I believe time constraints are the biggest obstacle to lots of goals, especially creative ones that are more optional than necessary. Sometimes I’m inclined to discount what I can do with small pieces of time. I don’t even start because I don’t have a window large enough to accomplish what I want. So I’m really curious to see how effective I can be in just 20 minutes.
I also hope to develop good transition practices. I want to sit down at my machine and go for it, not waste any time. Are there things I can do to get in a groove more quickly? I’m researching and will be paying careful attention to my creative habits and transitions.
I am sure there will be days when I can sew for more than 20 minutes, and days when I don’t reach my goal. My plan is to do it Monday – Saturday. For me, Sunday is the Sabbath and I reserve it for worship, time with my family, and spiritual development. So if I can sew for twenty minutes, six days a week, that’s 120 minutes of sewing every week! Two hours a week, means 8 hours each month, and you can see how it will add up. Especially if I am effective.
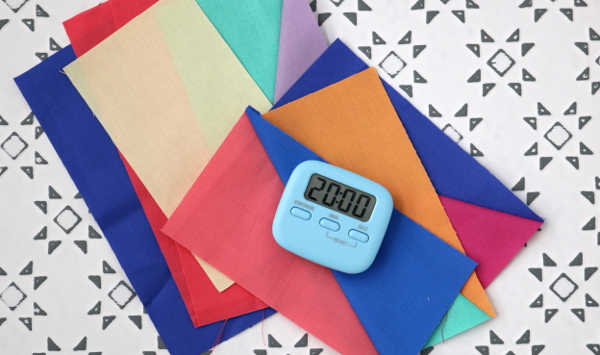
Just for fun, I picked up a simple timer that I’ll set every day to keep track of my minutes.
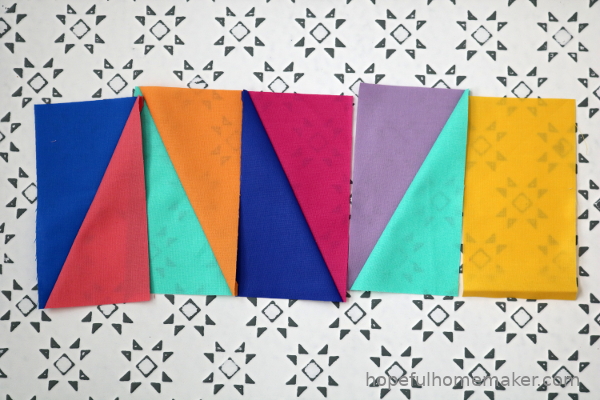
I also decided to add a project as part of my accountability. I’m going to sew a half rectangle triangle block every day. It will be my last seam of the sewing session, and the colors I use will depend on what I did with my time. One color in the block will represent greater than (aqua), less than (green), or exactly 20 minutes of sewing (blue). The other color will represent if I was sewing from a pattern (red), or creating my own designs (pink), hand sewing because I couldn’t get to my machine (orange), or working on an old unfinished project (purple). Sundays will be yellow rectangles. If I don’t sew at all Monday-Saturday I’ll add a neutral rectangle to represent that day. These are my blocks for January 1-5, below:
The key to this will be keeping myself stocked on pre-cut solid rectangles to choose from, but I do think it will be a lot of fun to have a running record of how I’m doing with my goal. I hope it helps me use up solid scraps as well!
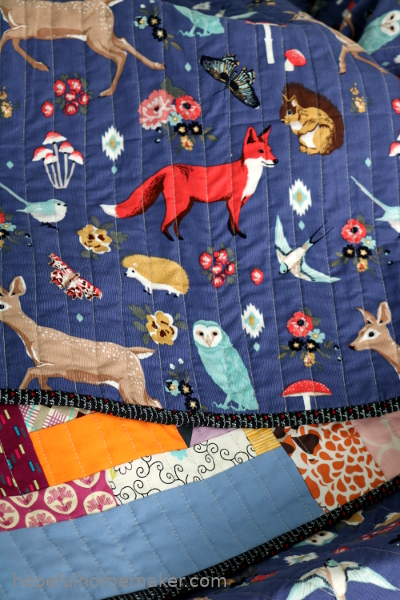
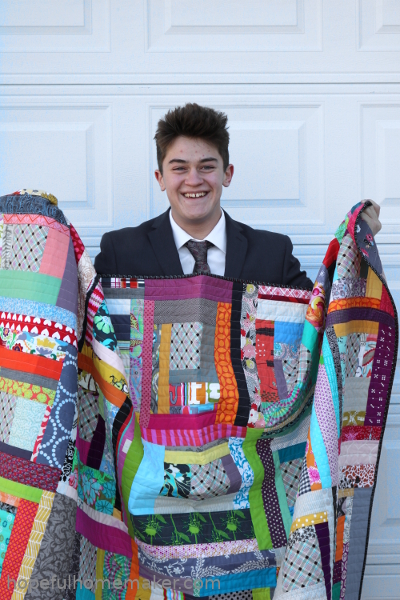
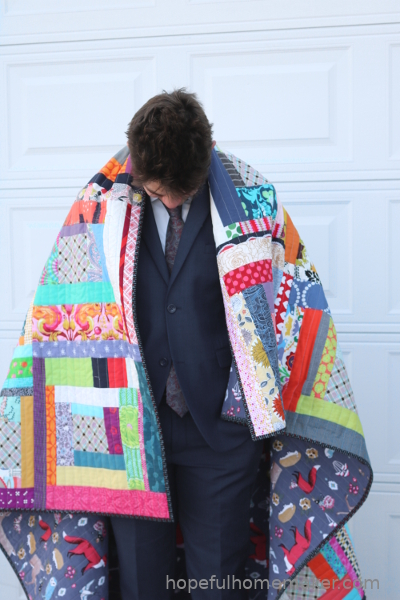
Finally, I’m going to report back on what I’m learning through the year. The last Monday of every month will feature a 20 in 20 Monthly Report, where I’ll share what I’m learning about my creative process and sewing for just a few minutes every day. Don’t worry, every post won’t be about my 20 in 20 challenge. I have quilts and quilt tops I finished last year that I haven’t yet shared. It’s going to be a great year!