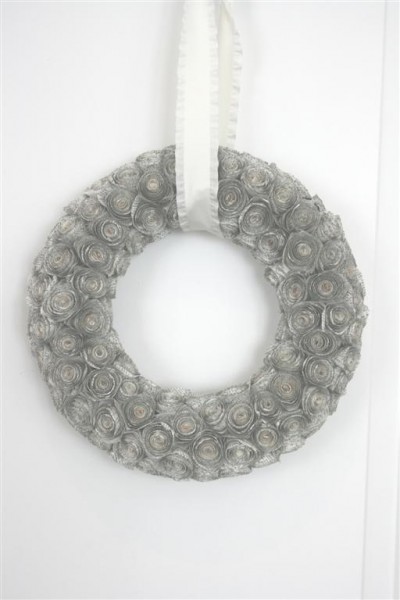
Heart Decor

While making this fun little craft, I cut out a second, smaller heart to experiment with.

Using this technique (again!) I made a rolled paper heart.  You can see the other things I’ve made with these flowers here , here and here .
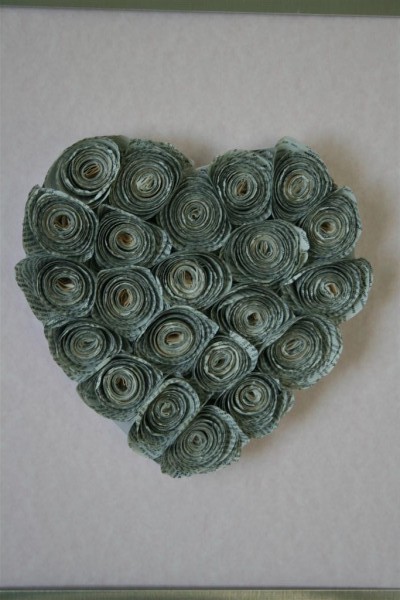

Unlike the wreath, this project took just a little while to complete.  I still really like the look and feel of this technique.
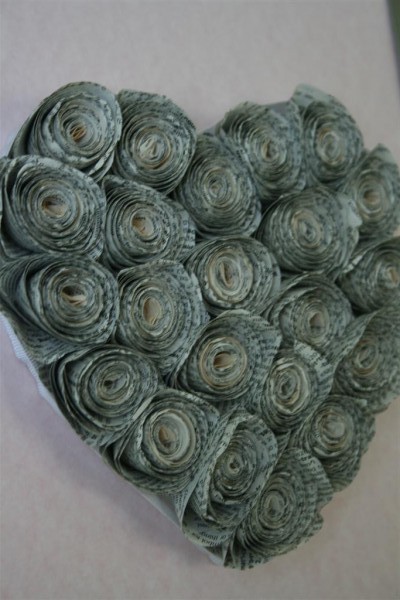

Once it was done, I taped the back of the heart to a piece of pink cardstock paper that I’d cut to 8×10 inches.  I removed the glass from a large silver frame and put the heart in.
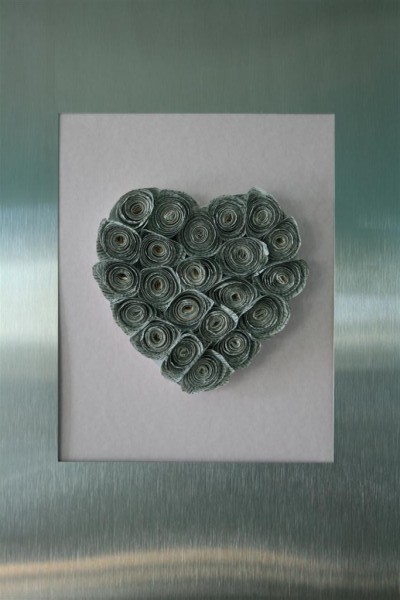

Right now it’s functioning as a simple piece of art above our bed.
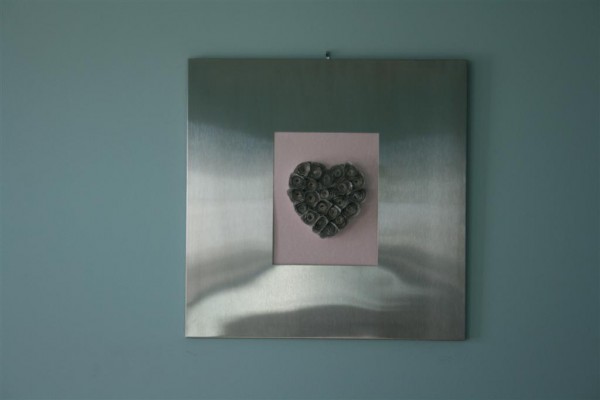

It’s a nice twist on Valentine decor.  Neutral in color, understated, not too feminine, but still fun.  I like the three dimensional quality it has while not being too obvious.  And unique.  I’m big on unique.
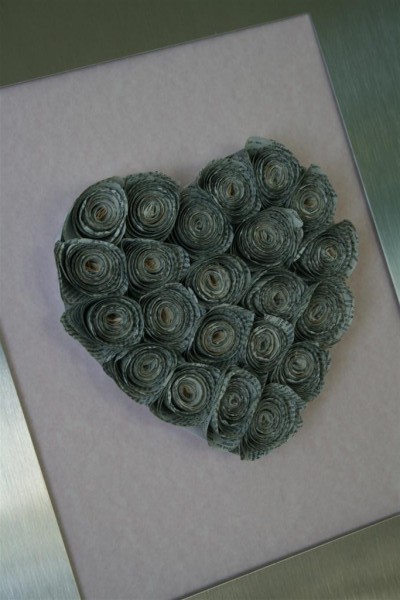

I love projects like this.
Hope you’re having a great day!

HH

Paper Rosette Gift Tag

I mailed a special package last week, and at the last minute had an idea.


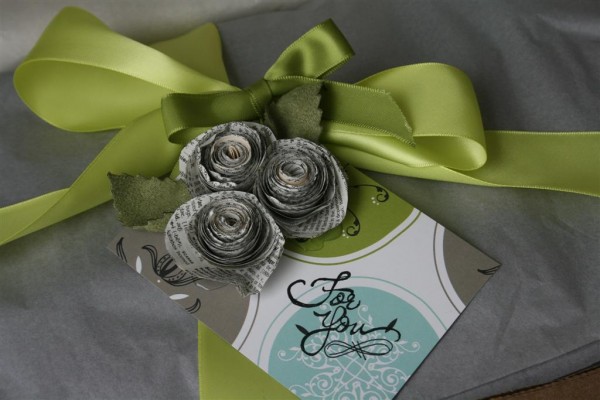
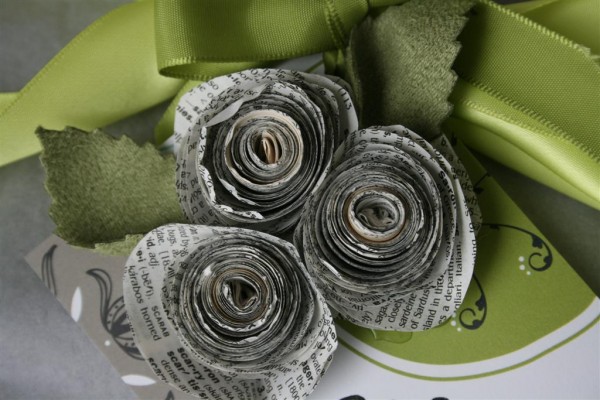
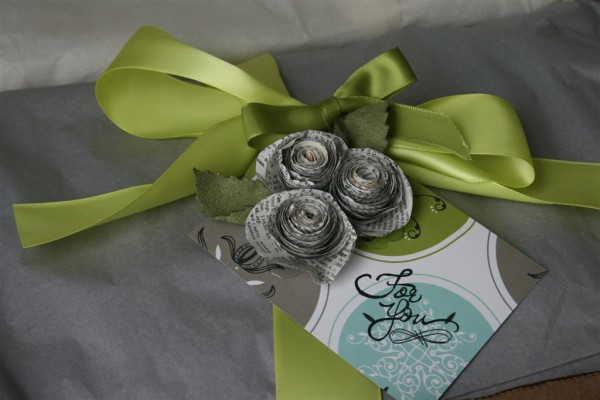
I had a few sheets left over from my book page wreath project.  I decided to try making just a few little flowers for a gift tag.


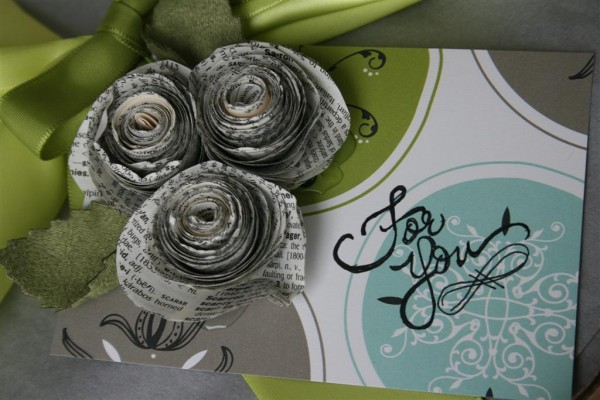
The cardstock I picked up at an American Crafts warehouse sale, 25 sheets for $1.  I thought it coordinated well with the gray tissue paper and green ribbon I was using.  I simply hot glued the flowers to the cardstock, and added a couple of faux suede leaves (a May Arts ribbon that I love).


I punched a hole in the top left corner behind the flowers to thread a ribbon through, then added a handwritten greeting.

One of my goals for this year is to re-establish the habit of thoughtfulness in my daily life.  Once upon a time (as in, back when I had 5 children) I felt like I did a really good job of being thoughtful.  It brought a lot of joy to my life and also helped me to nurture and maintain friendships.  Then the last 3 children came along and, like so many other things, small gestures of thoughtfulness fell out of my life in favor of plain old survival.

Taking five minutes to make this sweet tag made me feel happy.  It was simple, but gave me the chance to create something with a dear friend in mind.  It also cost me nothing because I used materials I have on hand.  This was a great way to make a few of those awesome paper flowers without committing to hours with a glue gun in hand!


If you’re interested, the flower tutorial is here .  Have a great day!

Hopeful Homemaker

Book Page Rosette DIY


I’m sure there’s a tutorial out there somewhere for making these rolled paper flowers, and if I’d hunted for one I might have saved myself an hour of time spent figuring them out.  But then, I might have wasted an hour on the internet looking at all the amazing things other people are making so… here’s how I make mine.


I tried rolling strips of paper but couldn’t get enough bulk.  Then I was peeling an apple for my daughter’s birthday pie.  I always peel my apples in a circle, leaving the peel in a long spiral.  As I looked at the long string of peel it dawned on me that I could cut my paper the same way.   I tried it and it worked, but still not enough bulk.  So I added a second paper and rolled two strips together.  Better, but not enough.  I settled on three pieces of paper for one rolled flower.  I was using my old dictionary, which has fairly thin pages, so you could probably get away with two sheets of thicker pages.

Ok, here goes.


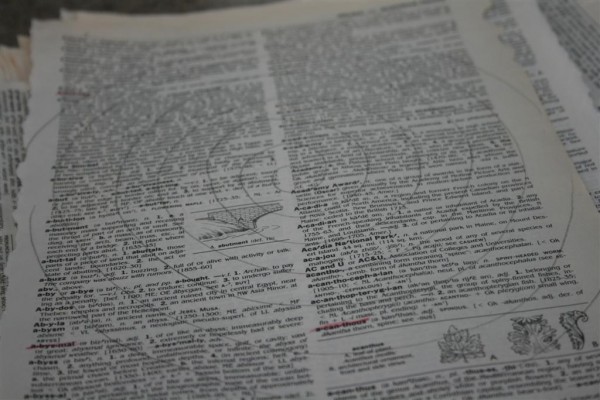
Tear out three pages.  Lay them flat and with a pencil, draw a spiral on the page.  Begin in the center and try to make each ring about 3/4 inch away from the previous one.


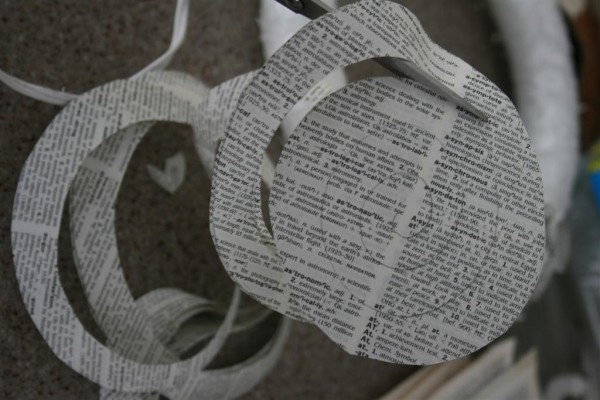
Carefully cut along the lines you drew.


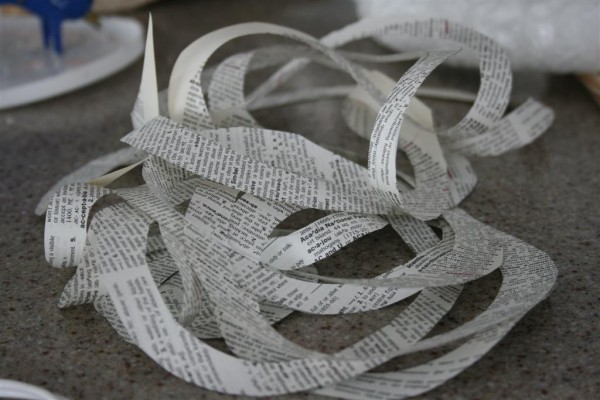
You’ll end up with something like this.


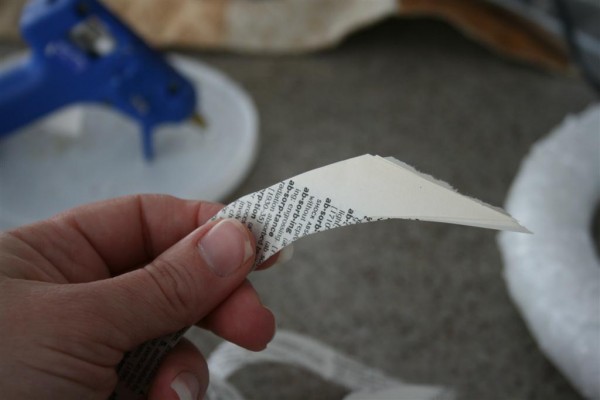
Now find the outer end of the spiral (the end that was on the edge of the page) for all three pages and line them up together.


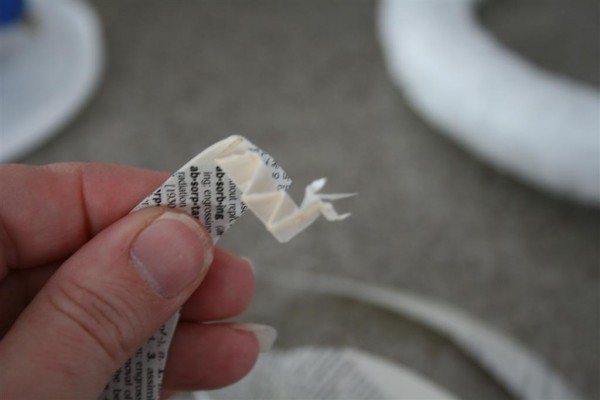
Fold or pinch the ends a little bit so you can wad them up for the very center of the flower.


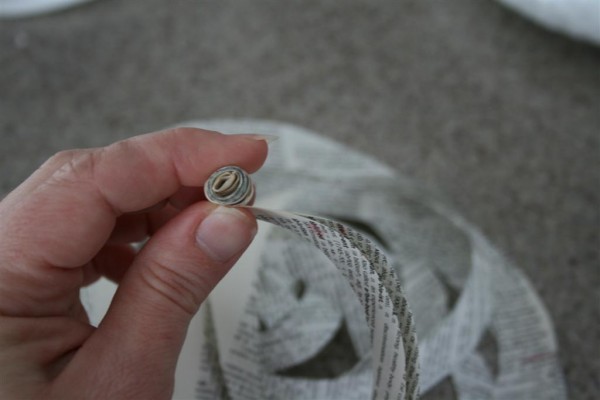
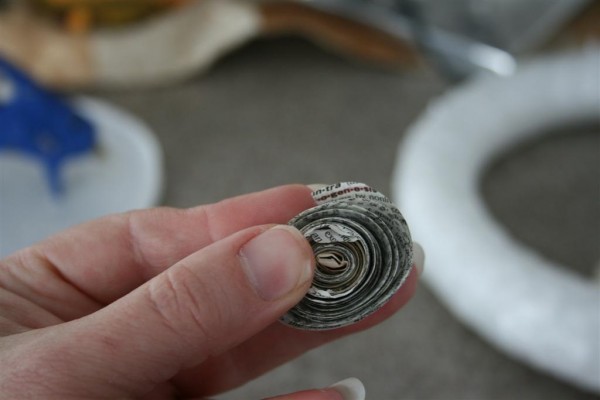
Now begin to carefully roll your paper around the center you just made.  Roll tightly and carefully.


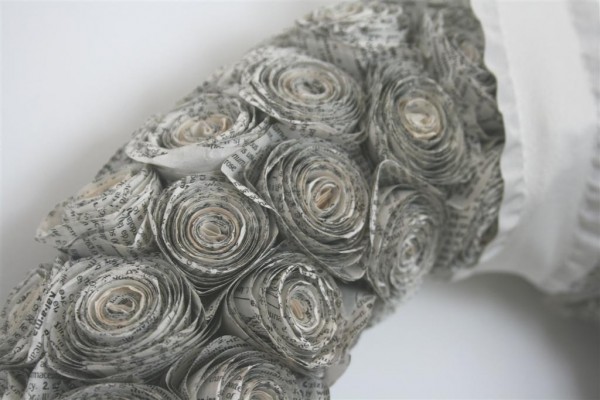
When you get to the end it should look something like this (above).


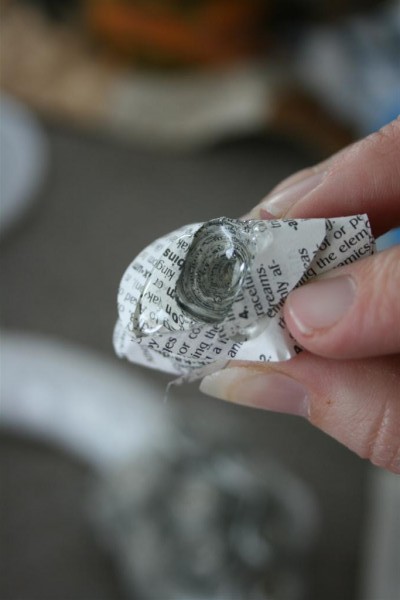
Carefully turn the rolled flower over and add a generous dot of hot glue to the flower, being careful not to burn yourself.


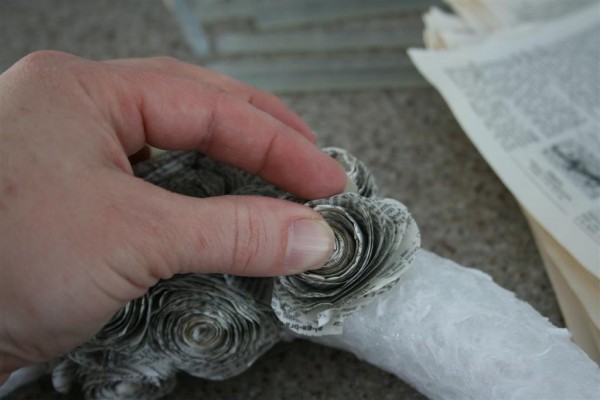
Quickly place the flower in it’s intended spot and hold in place for a few seconds while the glue begins to harden.


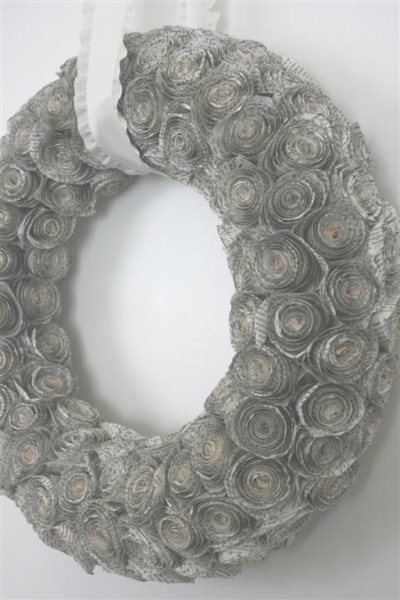
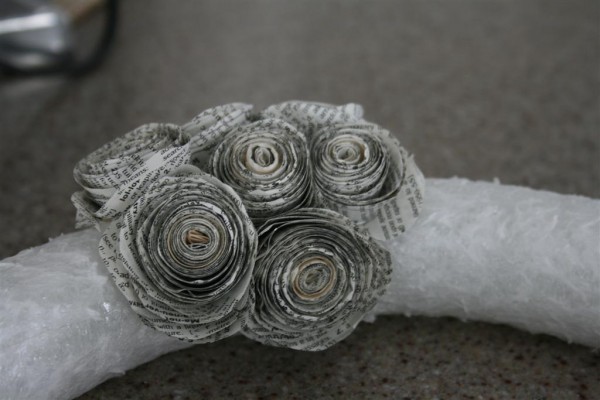
Add more flowers, making certain to glue them closely together so the wreath form isn’t visible.  Keep going (and going, and going) and eventually you’ll have a unique wreath.


Have fun!

Hopeful Homemaker

1 2 3 4 5 6 8