Starlight Lily Scrappy Quilt
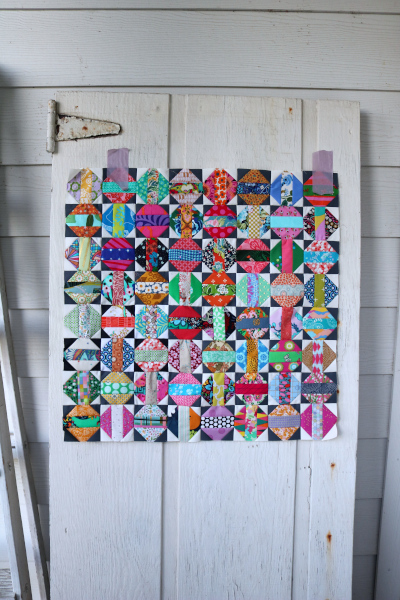
Once upon a time I made the Starlight Lily quilt as a pattern tester. I also made a scrappy version with low volume fabrics, just to see how it looked. All this while later, I have finally finished binding my Starlight Lily Scrappy quilt.
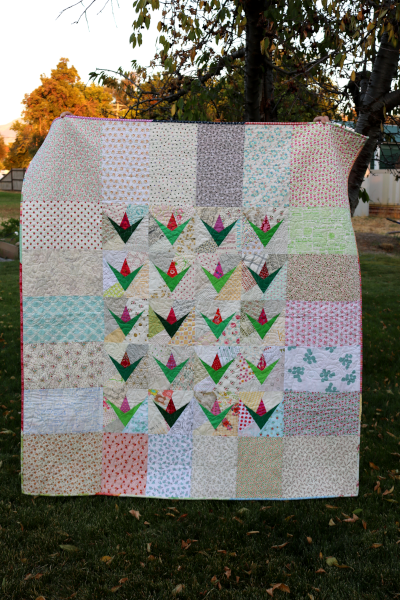
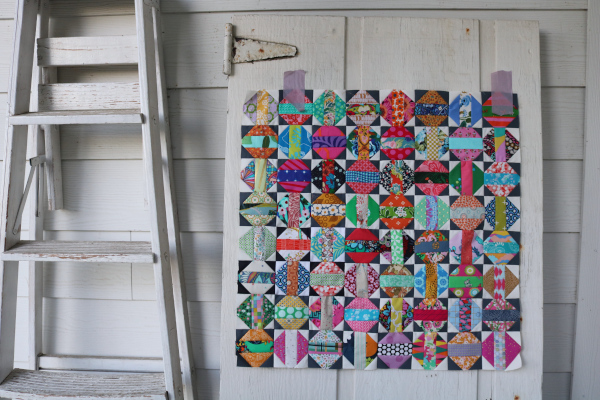
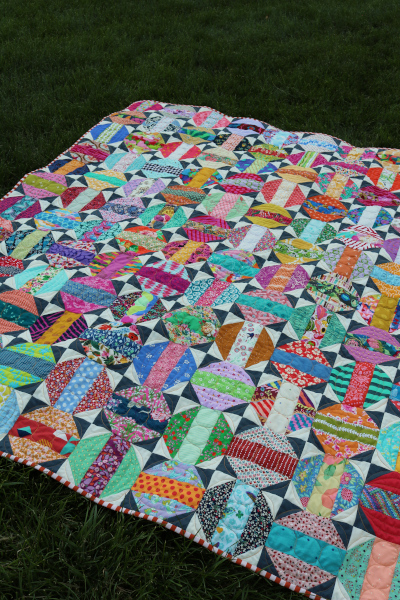
When I added borders, I broke them up into pieces so I could continue using my low volume fabrics, and because it seemed like a lot of negative space. Honestly, I’m not sure it was the best decision for this quilt. A green border would probably have been better. But that’s part of the journey – trying things to learn from them. More practice. We get better.
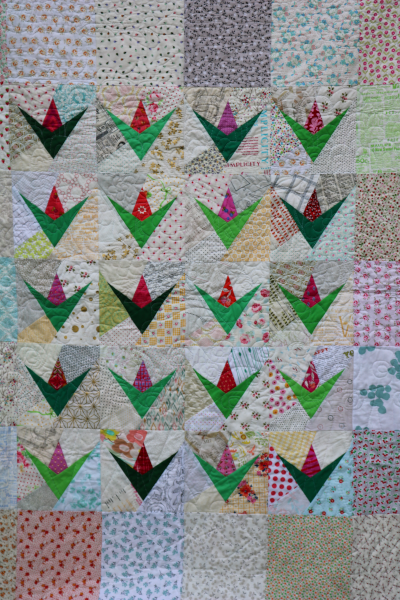
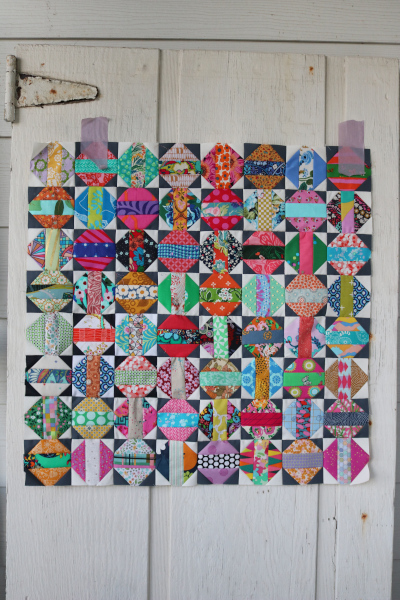
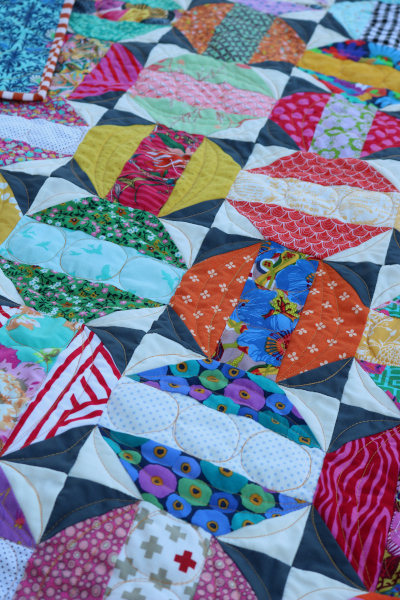
I do like that scrappy center! When I quilted this, I had it on my longarm machine and was very much a beginner. It’s a series of experiments and different stitches. Some of them too long, some of them with tension issues. I didn’t even know I was messing up in places. So it’s quilted, but NOT well. And yet it’s functional, although I don’t know how much washing the quilting would stand up to over time. So what do you do with a mostly functional quilt, whose workmanship you’re not proud of, and that you don’t really love?
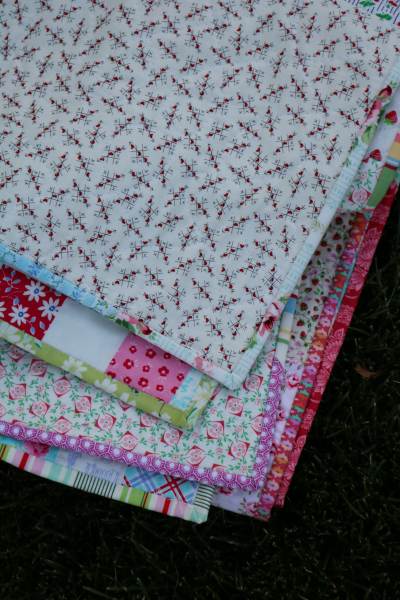
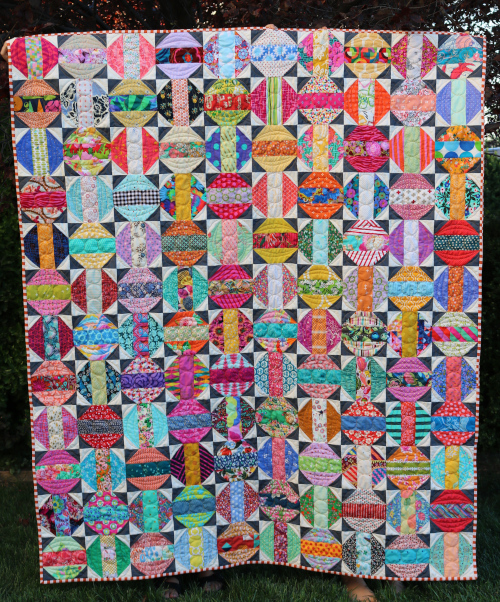
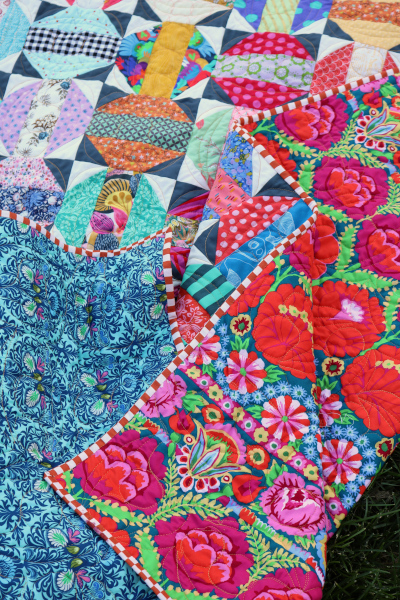
I don’t know. And that’s probably why it sat for so long, binding attached but no stitching. This summer, because I’m tired of the piles that come with unfinished projects, I stitched it down. Binding finished! I keep a roll of binding scraps to use for scrappy bindings. This one was fun, and the right binding for the quilt.
Yet the question remains: what to do with the starlight lily scrappy quilt? I’d like to donate it to someone, but I also want to give good gifts. I don’t like gifting something that isn’t my best work. But I also know that it’s not likely to see use at my house; we have so many favorites already in rotation. Any suggestions for me? What would you do with it?