HOME Quilted Christmas Stocking
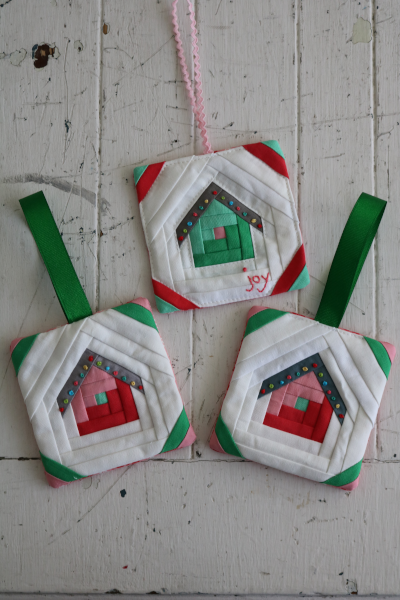
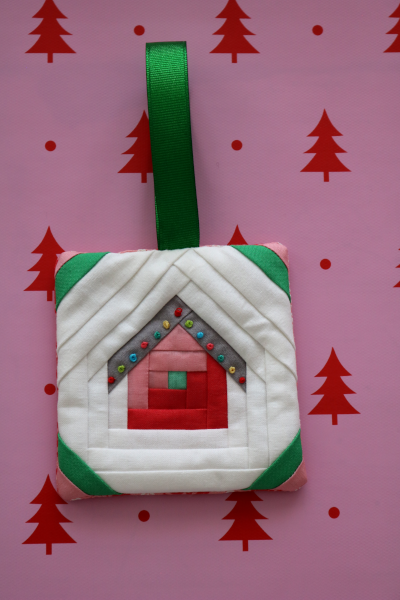
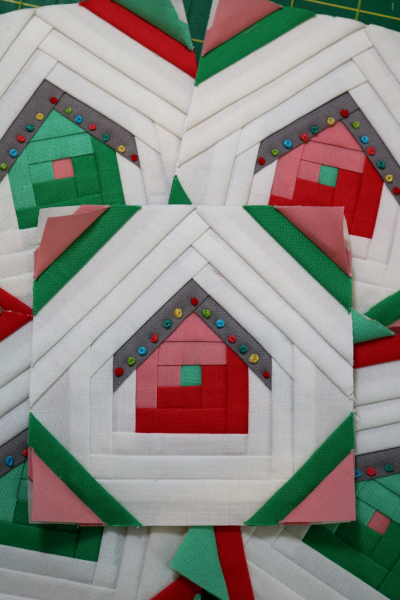
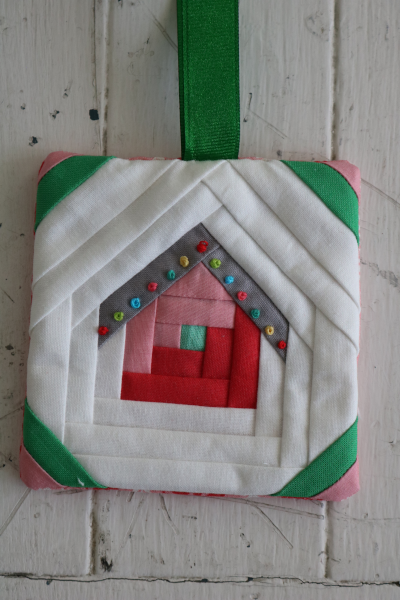
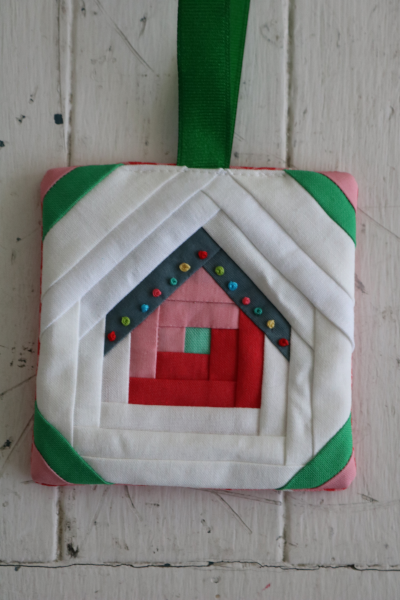
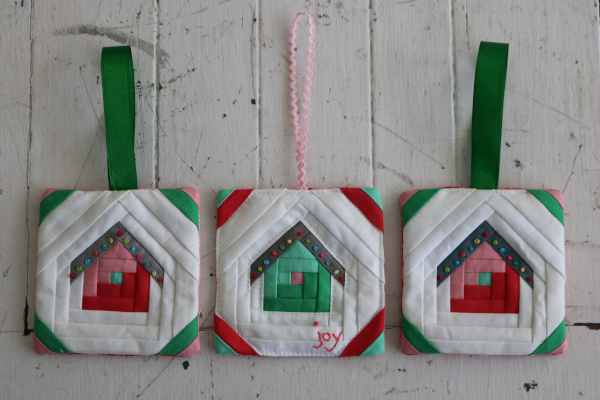
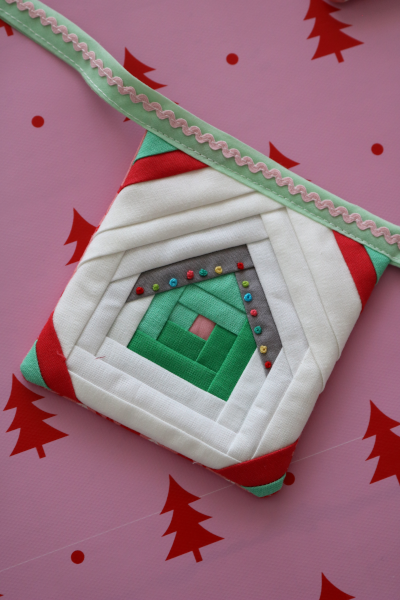
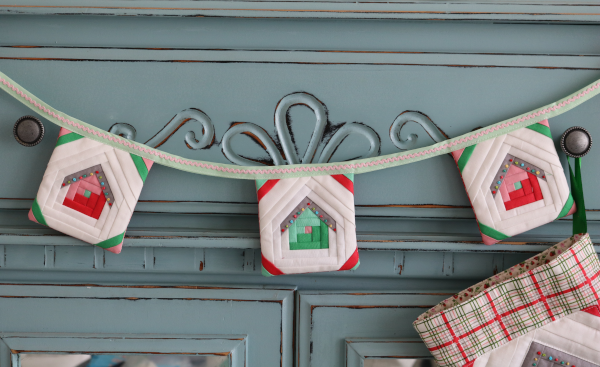
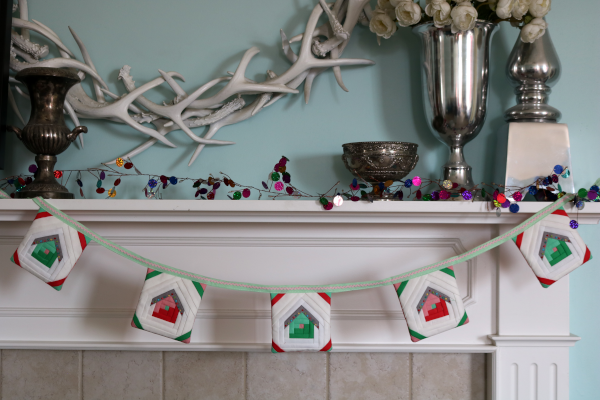
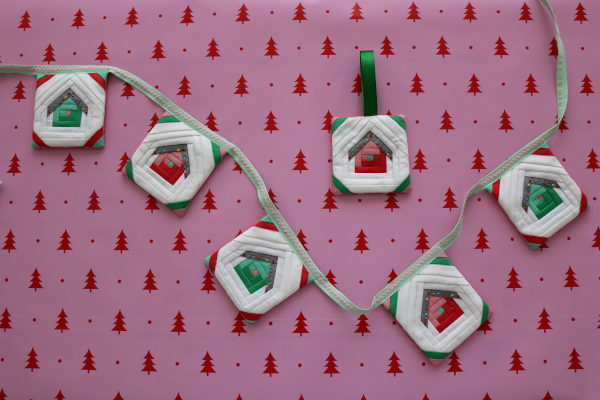
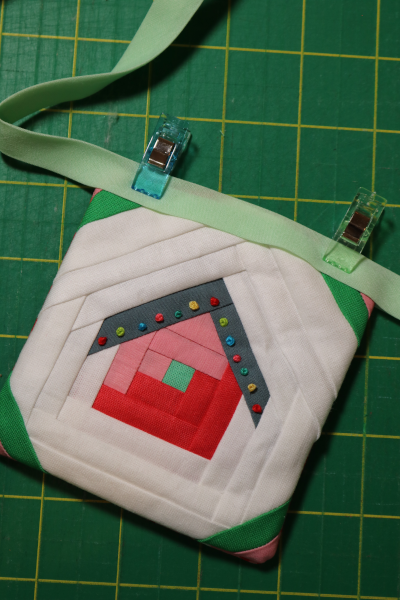
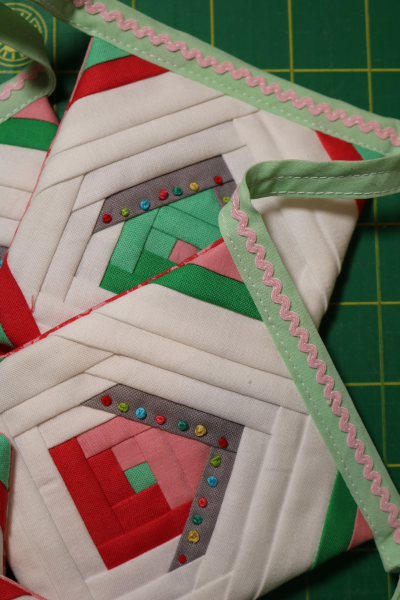
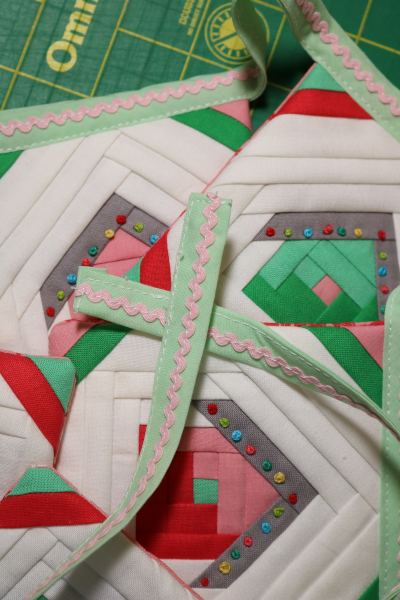
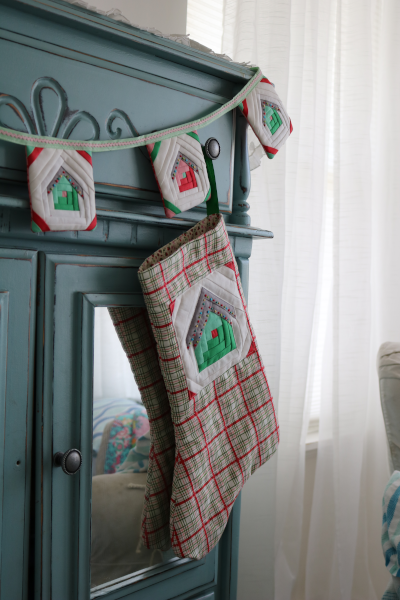
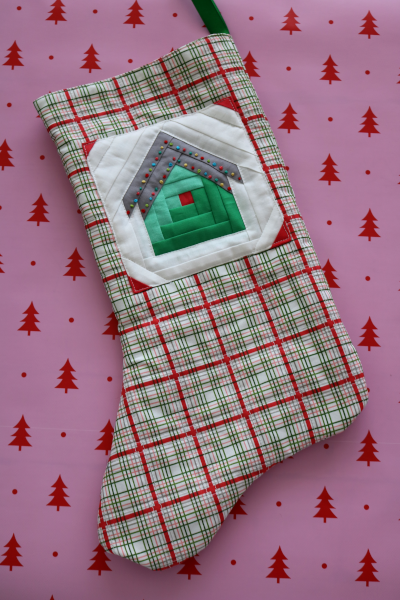
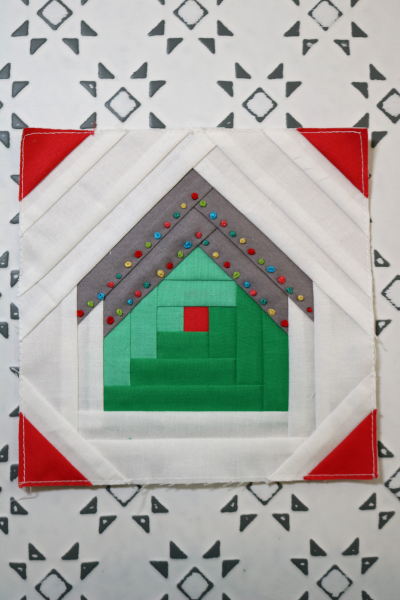
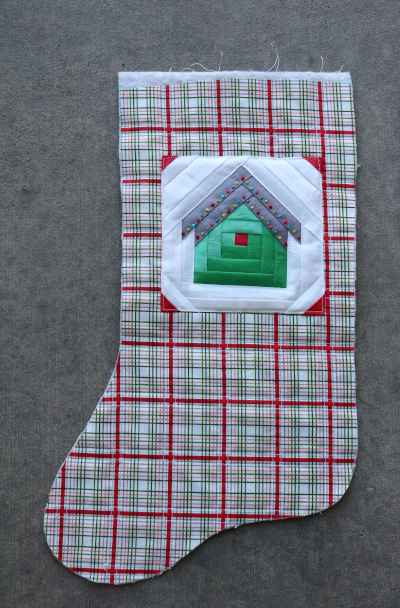
You may remember the lone 6″ HOME quilt block I sewed in Christmas colors when I also made my 4″ batch of blocks. I added two rows of Christmas lights to it, and then set it aside so I could make my bunting and ornaments. All of these blocks are made with my HOME quilt block pattern, which has been my go-to holiday sewing block in 2024. After finishing those projects, I turned my attention back to the 6″ block. I decided to make a stocking. After auditioning several prints I ultimately settled on a plaid. Here is my HOME Quilted Christmas stocking.

It’s cheery and bright and it makes me want to decorate for Christmas.
Want a quick how-to for a quilted stocking?
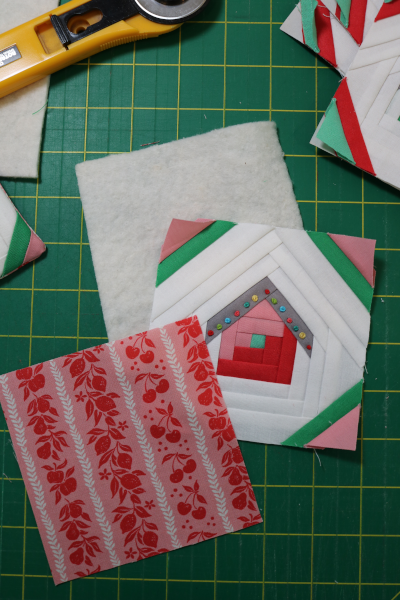
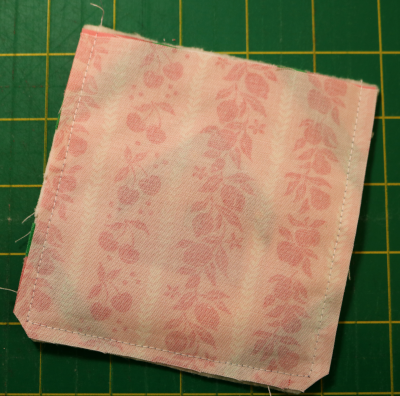
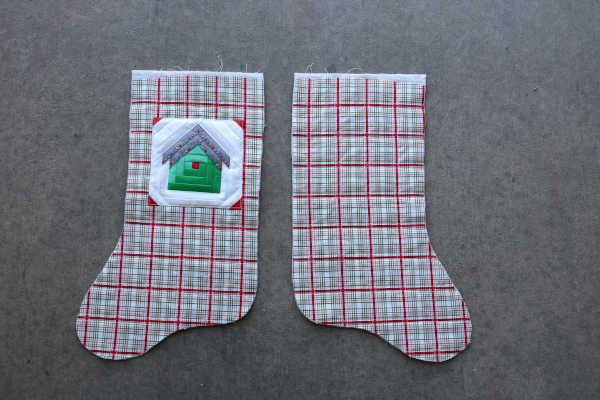
First, find a stocking shape that you’re happy with. I traced the stockings we use for our family to make a template. Cut two of them, and if it’s a print, cut them at the same time with wrong sides of the fabric together. This provides you with a front and a back. Cut two pieces of batting 1″ larger than the stocking pieces around all sides.
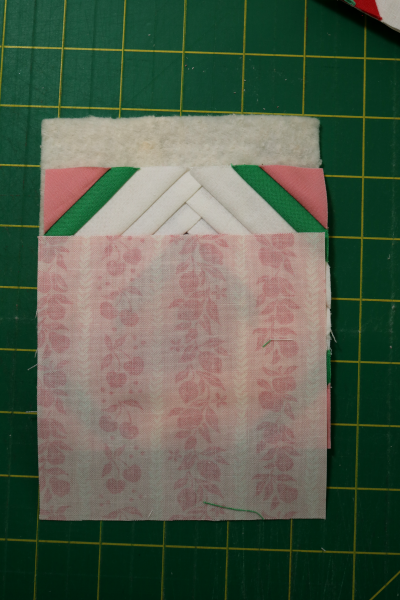
I used adhesive spray to secure the batting to the back of my pieces, and then quilted and trimmed each of them.
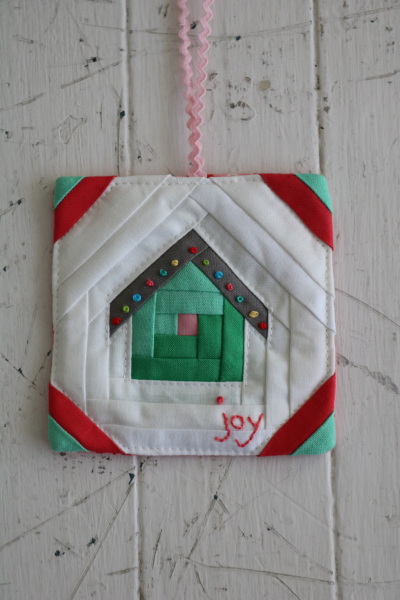
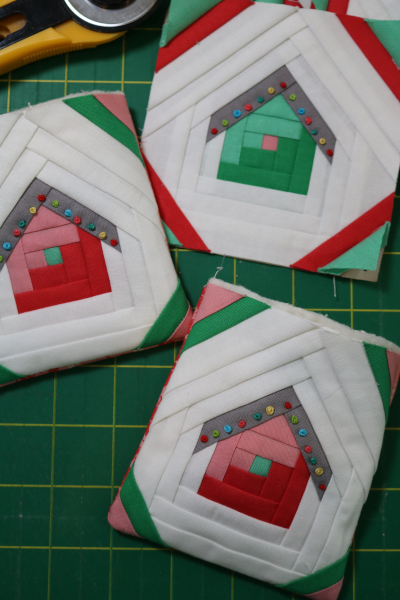
You’ll also need to sew a 6″ HOME quilt block in fabrics of your choice, or choose some other fabric or block to feature.
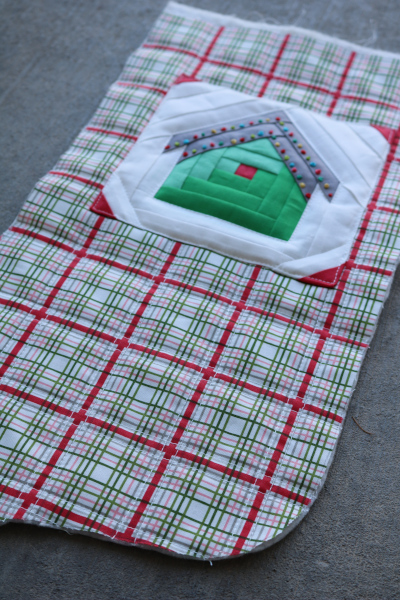
Because I selected a plaid print for my stocking, I also chose to “applique” the 6″ HOME block to the top of the stocking instead of piecing it together. I didn’t want to disrupt the plaid by cutting it. With any other print, I would have pieced the top of the stocking to insert the block before quilting it. This time, however, I opted to cut and quilt the outer stocking pieces first. I chose simple straight line quilting that echoed the widest red stripes in the plaid.
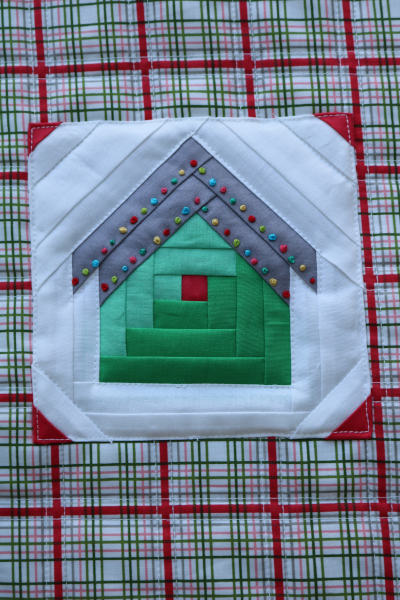
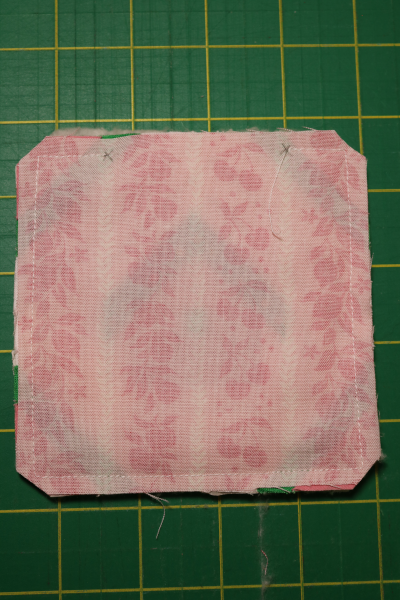
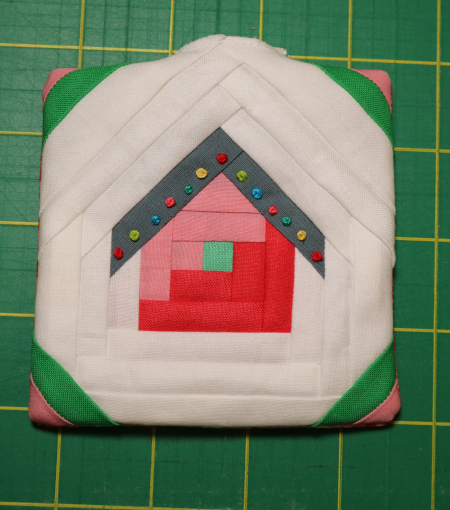
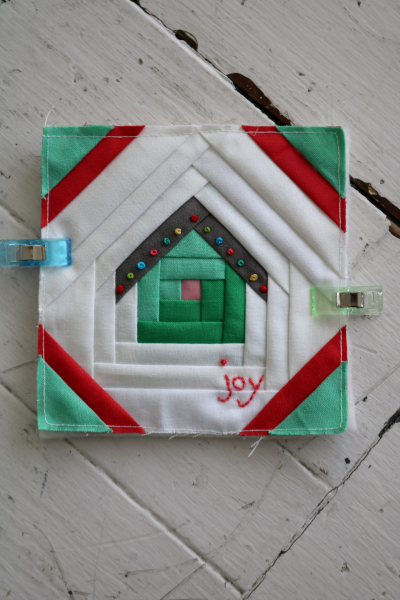
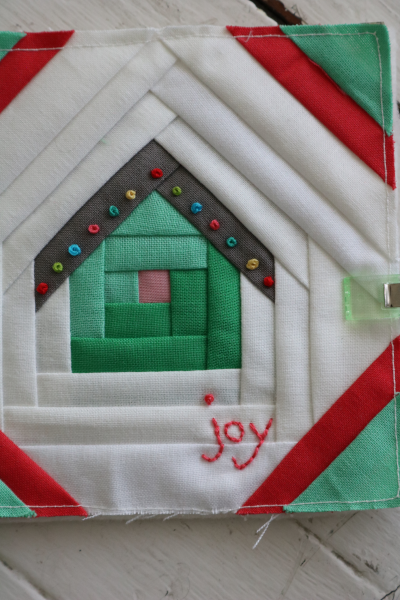
I put a piece of batting behind the 6″ HOME block, turned the edges under, and centered it on the top section of the stocking body. Then I proceeded to stitch it on by machine.
Stitch very slowly to be certain your edges are turned under and the stitches are close to the edge of the block for stability.
Now the front and back of the stocking are ready to go!
Because this is a quilted stocking, you need a lining. Select a lining fabric, and cut two more stocking pieces, making sure to cut one of each if you’re using a print. This is easily accomplished by cutting them at the same time, with wrong sides together.
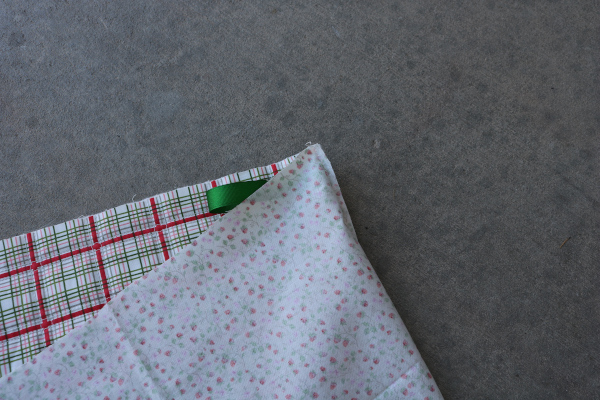
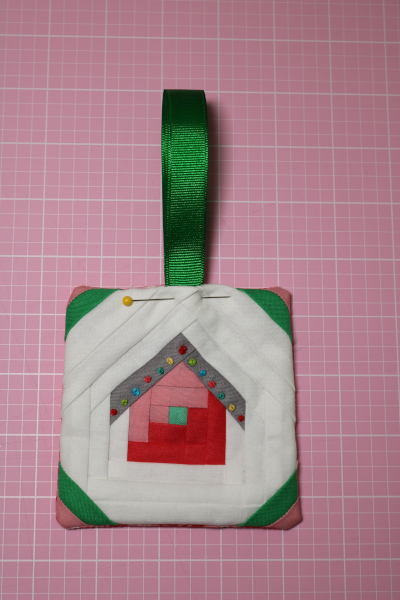
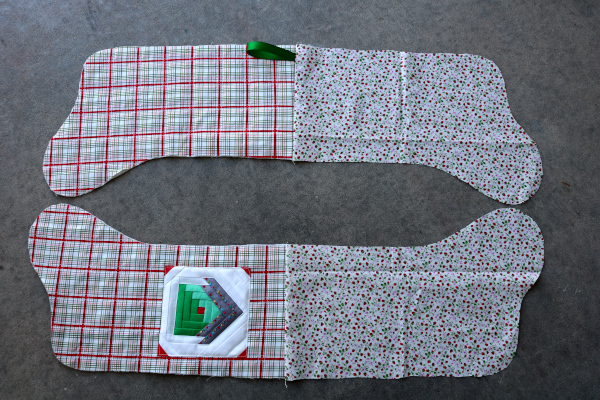
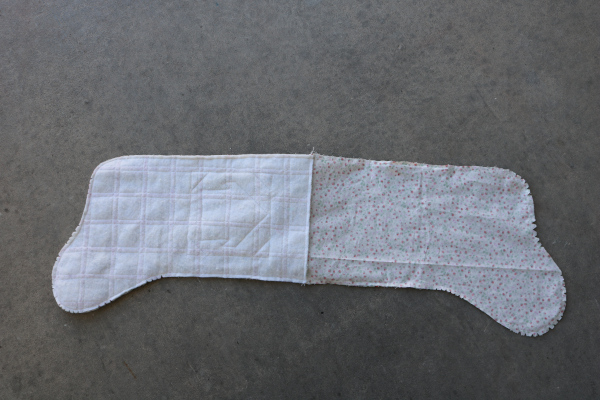
Pair up the four pieces by laying them right sides together. Make sure that the wrong side is facing out, and that the toes of the stocking are going the right directions. Next, sew the pieces together along the top edge of the stocking. On one side, you might want to insert a hanging loop for your stocking. I used a green ribbon, and put the cut ends into the seam allowance before I sewed them together. Make sure it’s inside the 1/4″ seam allowance line. Now open the seams and press. You should have two very long pieces.
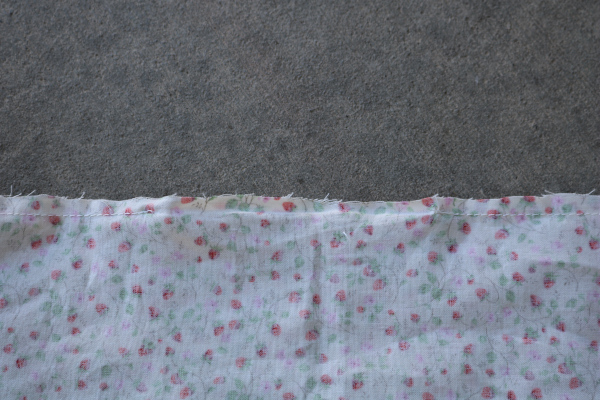
Flip one side so the right sides are together. Carefully line up the pieces and pin at intervals. You need to sew these together, but leave an opening for turning the stocking right side out.
Leave an opening about 3″ long on a straight side of the lining. Stitch all the way around the stocking and stop a few inches early to preserve the opening.
Carefully clip the seam allowance in the toe and on the curves of the stocking. Cut out tiny “v” shapes and throw them away. Take care not to clip the seam! This will allow you to turn the stocking right side out and have a nice smooth curve.

Turn the stocking right side out. Tuck the raw ends of the opening in, and sew shut. Tuck the lining inside the quilted stocking. Ta-da! You have a lovely, lined, HOME quilted Christmas stocking. You may want to topstitch around the top edge of the stocking for a nice finish.
To my surprise, I like the slightly puffy dimension of the HOME block on top of the quilting. In this situation I believe it enhances the stocking, and I’m excited to use my new Christmas themed decorations in my home this holiday season.

Perhaps I’ll manage to finish a few more holiday projects, particularly ones I started last year. I sure hope so!