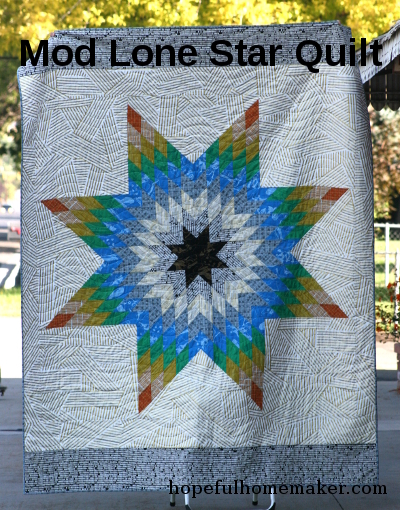
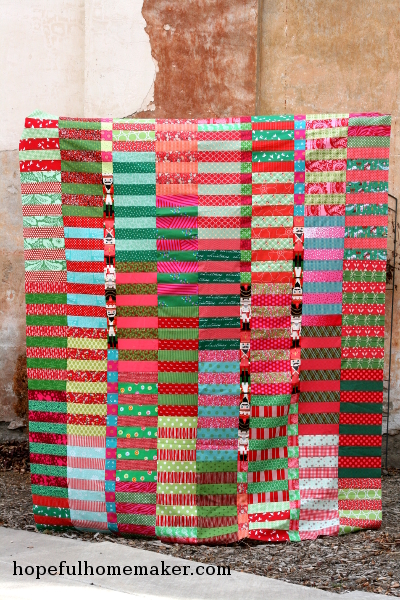
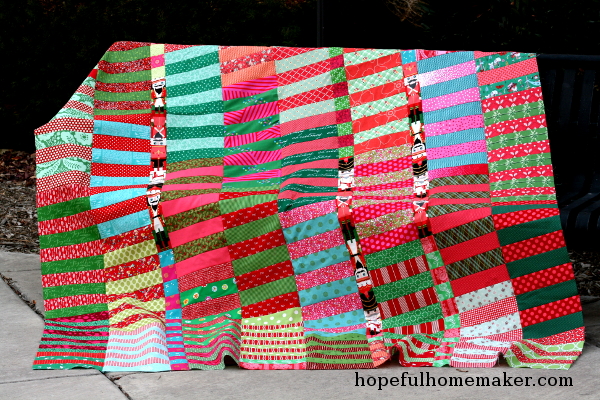
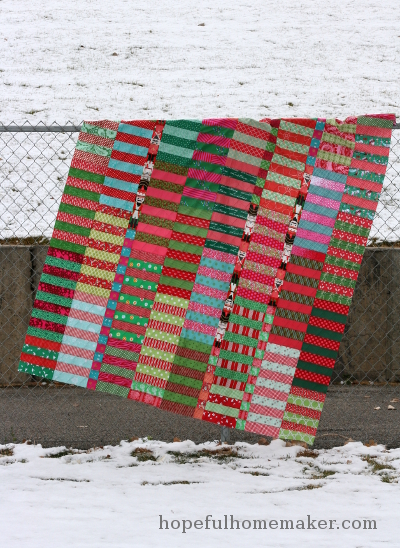
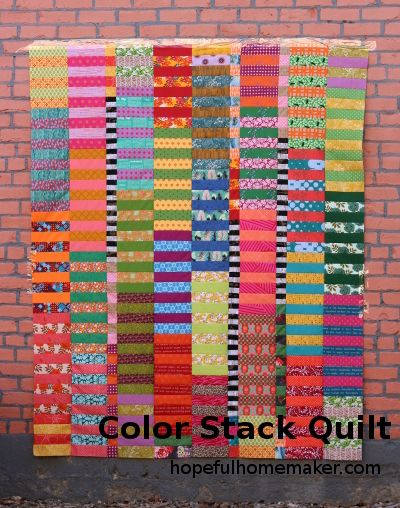
https://youtu.be/U3YQQo-PJVU Autumn is full of color, and I had to make a quilt to celebrate it before the season ends. I decided to work with simple blocks made from 2.5″ strips. While I knew I could look around and find a pattern to follow, I really wanted to just sew and see what happened. This Color Stack Quilt is the result.
Because it is fast and fun to make, I’m sharing a free tutorial for you to make your own.
If you would like the convenience of downloading the Color Stack Quilt pattern, it is available here . The downloadable pattern also has re-sized blocks and instructions for making a Baby Color Stack quilt .
This original 67″ x 80″ quilt requires two jelly rolls or 70 strips of fabric measuring 2.5″ x width of fabric (at least 40 inches long). For the skinny black and white strips, you will also need 3 strips of 1.5″ x 40″ in both black and white. For my quilt, I chose to cut strips of fabric from stash.

Select your 70 strips and pair them in sets of two. Set aside three sets, or six strips of fabric, along with your 3 skinny (1.5″ wide) black and 3 skinny white strips.
With the remaining strips, sew each set together to create long strips. You should have 32 long strips.
Cut each strip into five pieces that are 8″ long. Set six sets aside to use for partial blocks.
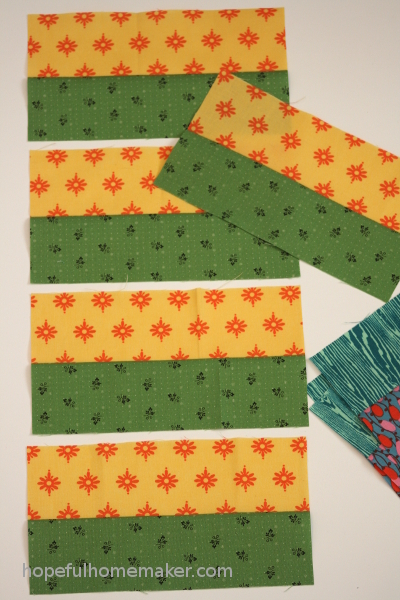
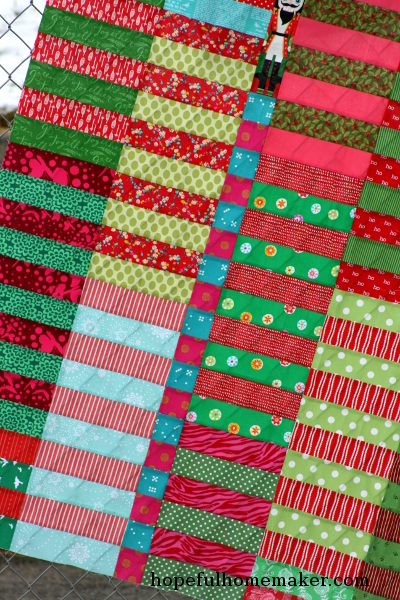
Sew the five pieces together, alternating colors, to make a block that is 8″ by 20.5.”
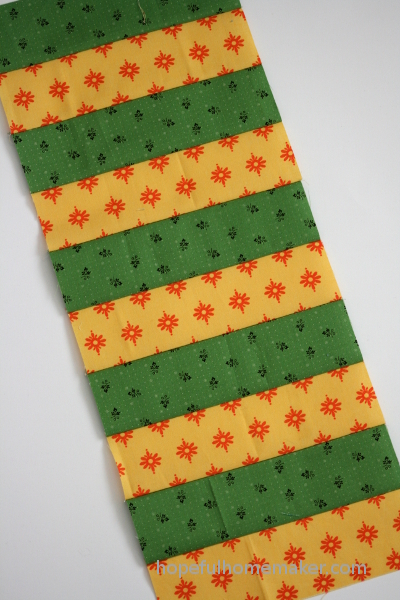
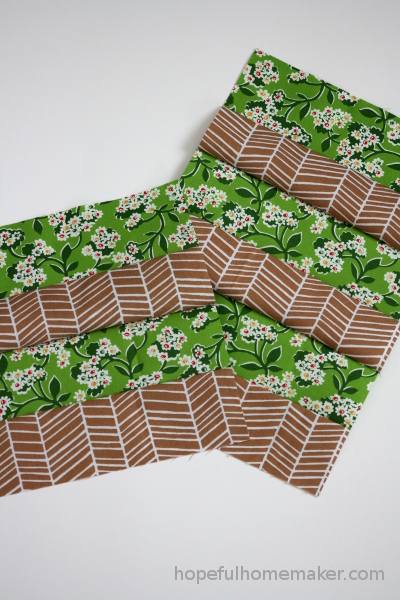
Make 26 of these color stack quilt blocks. With two of the remaining sets, sew four pieces together and leave the fifth separate as shown below.
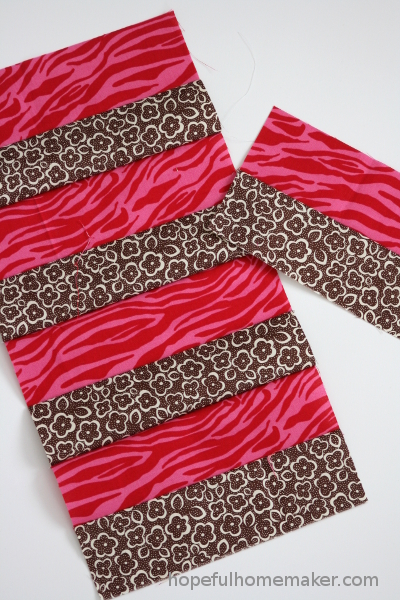
And with the last four, make partial blocks of two and three pieces:
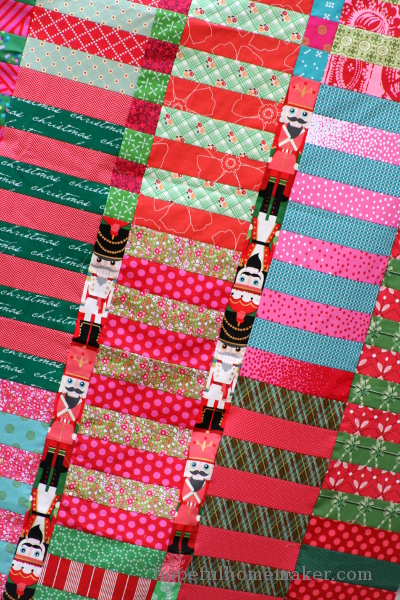
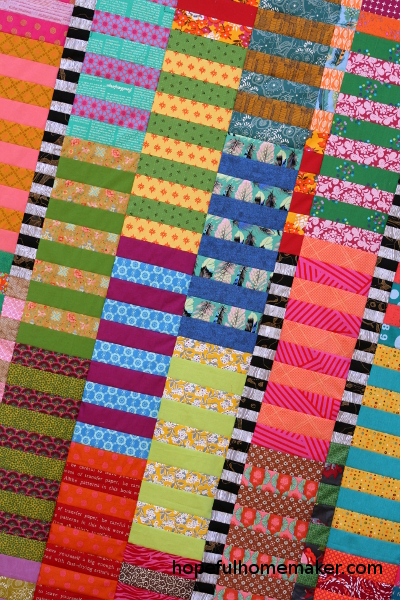
The quilt is made with 8 columns of 4 blocks in each column, and three skinny strips mixed in:
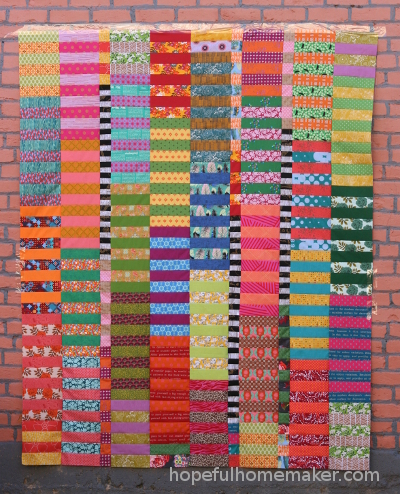
Two of the columns (columns 2 and 7) are made from four full blocks. The other six have three full blocks and partial blocks at the top and bottom so that the stacks can be staggered between columns.
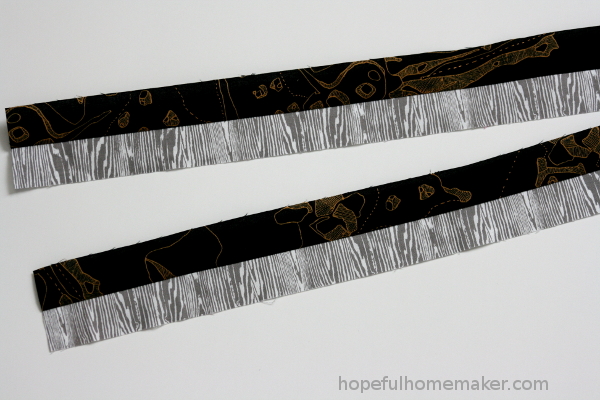
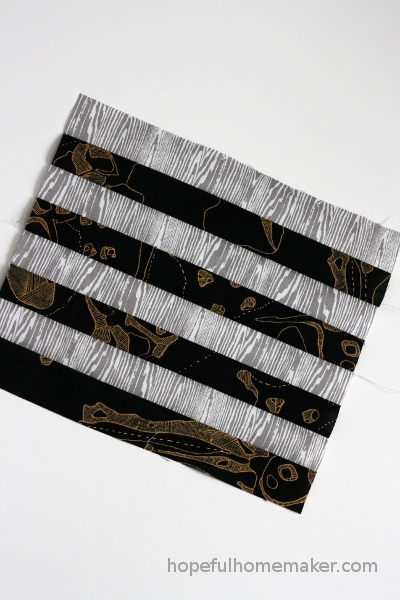
To make the skinny strips, first pair the black and white fabrics together and sew them into long strips just like the blocks you’ve completed to make three sets of strips. Cut each strip into two pieces that are each 20 inches long.
Sew these two strips together, colors alternating.
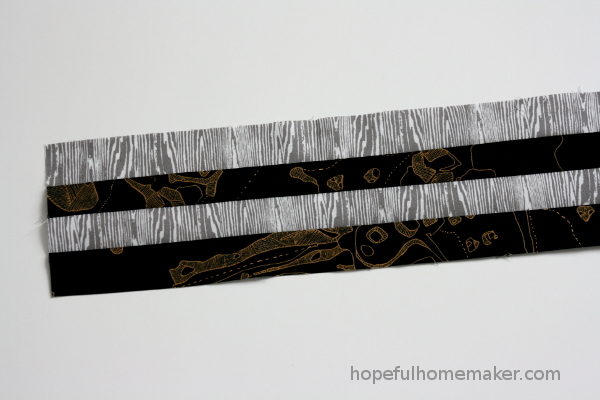
Now cut this strip in half to make two pieces that are 10 inches long.
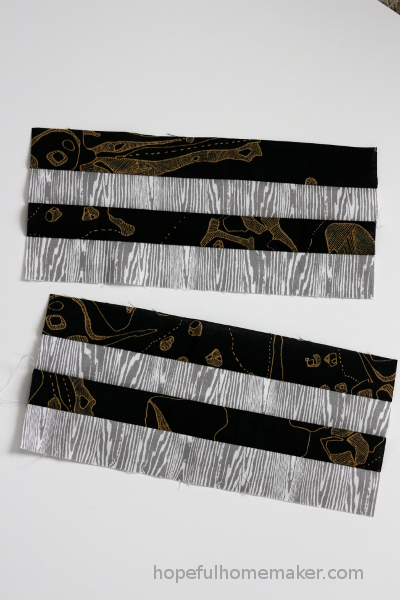
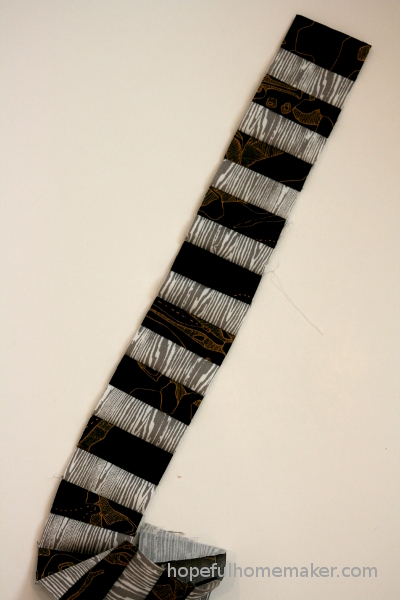
Stack them on top of each other and sew together again.
Repeat this process twice more, cutting the block in half and stacking until you have a long strip that is 2.5″ wide. Make three.
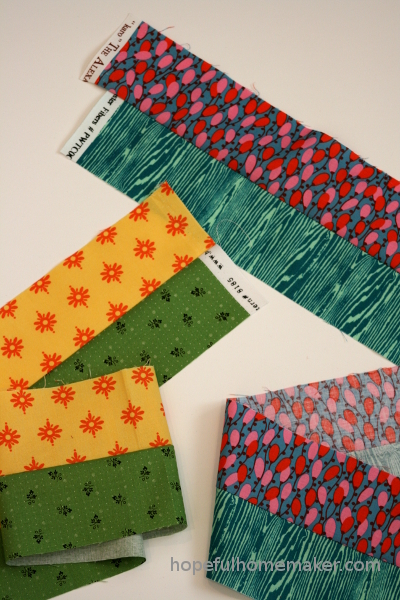
With the colored 2.5″ strips that you set aside at the beginning, make three pairs of two fabrics and sew together into a long strip. Cut these strips into 2.5″ wide units measuring 4.5″ x 2.5″. These units will be sewn together to make 2.5″ wide strips of varying lengths. Sew the units together to make ONE of each of the following lengths: 9 units, 8 units, 7 units, 5 units, 4 units, 3 units.

Take the strips that have 9 units and 3 units, and sew to each end of one black and white strip. Take the strips with 8 units and 4 units, and sew to each end of a second black and white strip. Finally, take the strips with 7 units and 5 units and sew them to each end of the last black and white strip.
Arrange blocks and columns to your satisfaction. Sew the 8 inch wide blocks into columns. Iron each column with seams going opposite directions for easy nesting of seams as you sew. Sew the columns together to complete your quilt top!
If you’re looking for a quick but rewarding project, I hope you’ll give this a try!
If you would like to download the pattern which includes a diagram for placing the partial blocks as well as a bonus pattern for a baby quilt , you can find it here.
Please share your projects with the tag #colorstackquilt 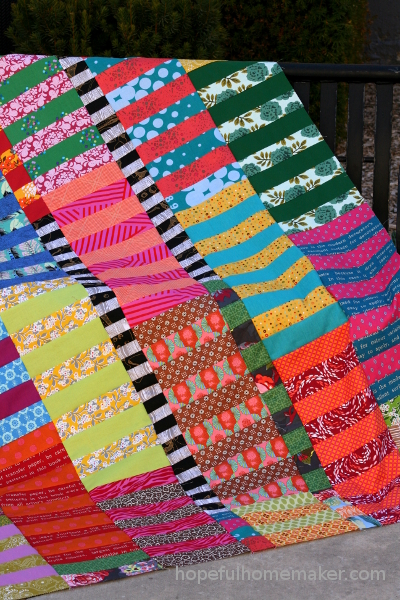 Happy quilting!
Jennifer