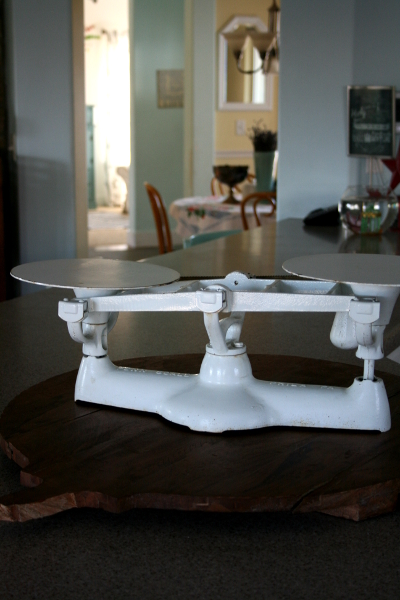
I keep this really fun vintage scale in my kitchen. My children and their friends all love to play with it, trying to get the two sides to be perfectly balanced as they pile various things on and move the hanging weight back and forth. The concept of balance seems simple when using the scale. If only it was so easy to figure out in life.
I feel like we’re out of balance, and it really wears on me. Of course, we’re all tired thanks to daylight savings and it’s the end of a school term so stress levels have been high with my high school students. The list goes on and on. I sense our family moving from one stage to another and I’m struggling a little to understand my role, or how to be most effective in it. There are obvious reasons why things feel wonky, but the result has been a growing sense of frustration in my heart and mind, which is hardly productive, but real.
I love to follow Kathryn Thompson , the author of the original Drops of Awesome blog post , and creator of the Drops of Awesome journal . Of all the blog posts I’ve ever read, I think hers still stands out as the one I remember most vividly, the one that impacted me profoundly. A few days ago I was going through some files and stumbled on this little message that I drew as a reminder of her post:
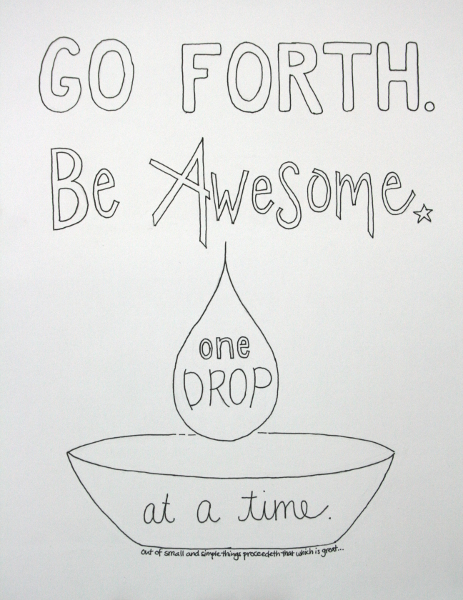
Almost three years ago I posted that picture, intending to do something awesome with it, and here it is, just the same and newly discovered. It’s too small a thing to let the perfectionist in me (the one I try to keep bound and gagged in the corner of a dark closet) come tearing through, but the weight of everything combined has certainly got her pounding on that locked door, and it’s enough to get me going.
Last year I lived through what was, for me, a life-altering hard thing. A thing that continues to be challenging, but because you can’t live in crisis mode forever, a thing we’ve learned to accommodate in daily life. It affects my every day, but I’m learning. A quote I’ve leaned on a lot is this one from Thomas S. Monson:
“There are times when we will experience heartbreaking sorrow, when we will grieve, and when we may be tested to our limits. However, such difficulties allow us to change for the better, to rebuild our lives in the way our Heavenly Father teaches us, and to become something different from what we were – better than we were, more understanding than we were, more empathetic than we were, with stronger testimonies than we had before.”
My goal this year is to rebuild my life. Now, there’s a ton of good that’s sturdy as ever, lots of stuff unchanged by our trial, but parts of me have been permanently rearranged, and that’s where the rebuilding needs to happen. I remind myself that it’s worth it to try new things, to see if I can fit the pieces together in a new, better pattern. Some pieces may be gone forever, but that simply means that more will arrive to fill in the holes. What I’m learning, though, is that it takes time, effort, and some trial and error to figure it all out and it’s ok that I’m not nailing it on my first try. It’s a process. The drops of awesome reminder probably came at the perfect time.
As we continue to pick our way through, I’m sure there are drops of awesome falling, and probably in more places than I’d guess. They just seem invisible right now. Their invisibility is a good indicator that I need to correct my vision. So I’m committing myself to get back in the groove of noticing and giving myself credit for what is going right, even when what is going wrong is huge and painful. Starting today.
Lara Casey is a fan of saying that there’s nothing magical about January 1st. She’s right. We can begin, or begin again at any time. Today is the best time. It usually is. I took a pizza to my son at school a few minutes ago, because he didn’t pack one this morning in the rush to finish an art project. Drop of awesome, right there.
All is well.
Jennifer